-
-
Notifications
You must be signed in to change notification settings - Fork 4
1.2. Basic Usage
1.2. Basic usage
-
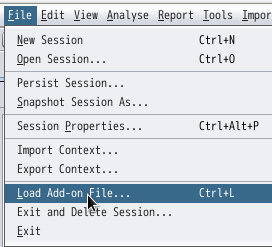
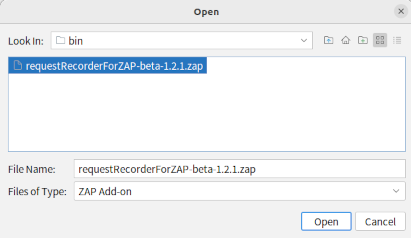
Install add-on file according to the ZAP add-on installation method (example: File menu "Load add-on file").
※ ZAP add-on file can be found here :release page
※ Addon file name is for example : requestRecorderForZAP-beta-1.2.1.zap
-
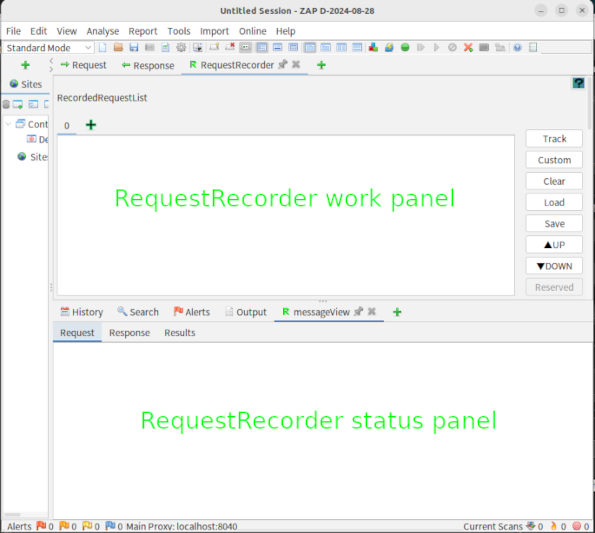
To display RequestRecorder work panel,Right-click the + tab on the work panel at the upper right of the application's window and select [RequestRecorder] from the menu.
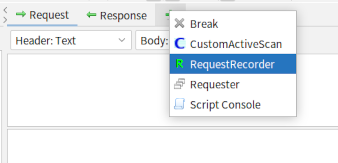
The RequestRecorder work panel and status panel
-
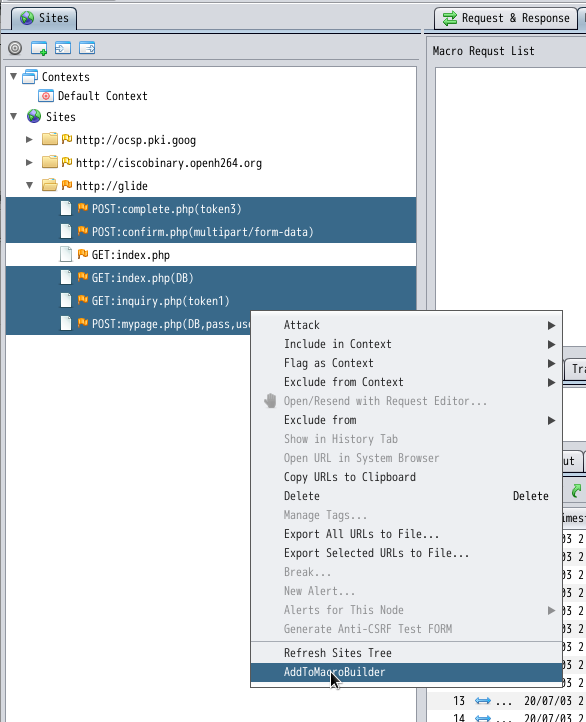
After browsing the site via ZAPROXY, select the URL you want to execute from the tree node of the site map panel or the history panel, and select [AddToRequestRecorder] from the right click menu.
-
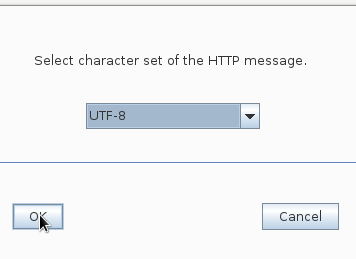
The language selection dialog is displayed. Check the displayed language and click the OK button.
-
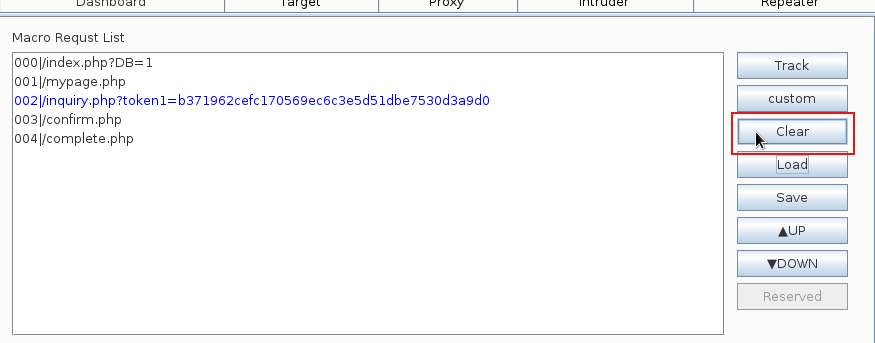
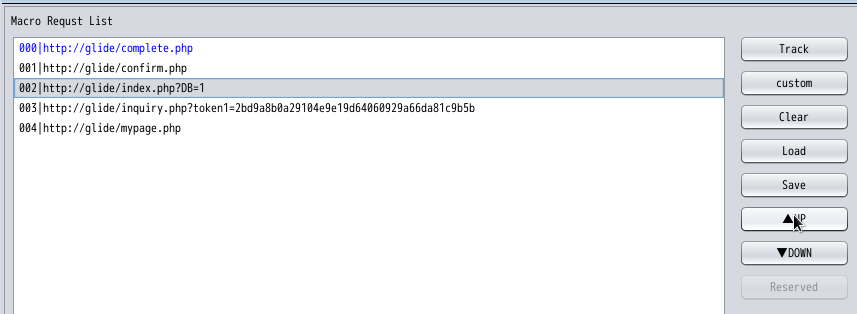
URL is added to RequestRecorder's "RecordedRequestList" (hereinafter, this is called "RequestList"). Use the ▲UP/▼DOWN buttons to change the order of sequence (ascending order).
-
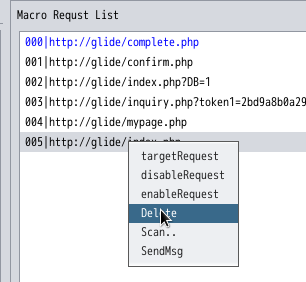
If you want to delete an unnecessary request, right-click on the request and select [Delete] menu.
-
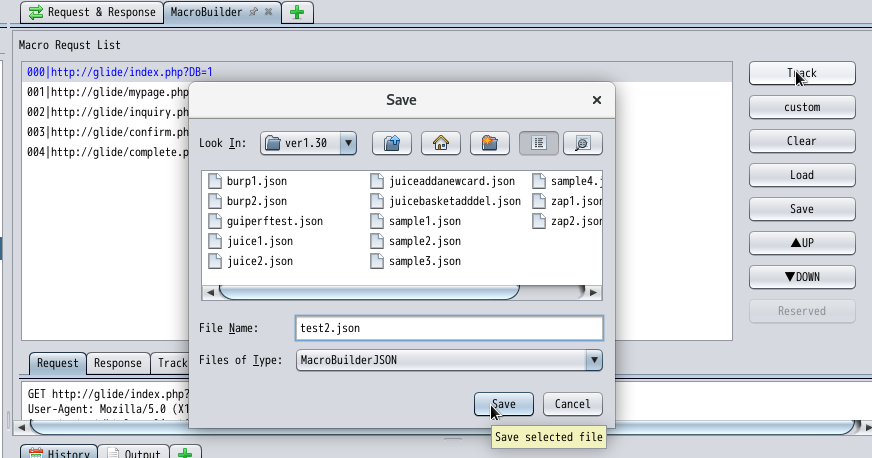
To configure CSRF parameter tracking, press the [Track] button at the top right of the RequestRecorder work panel. The Macros are generated to track CSRF parameters. A save dialog is displayed to save the generated sequence of macros.
-
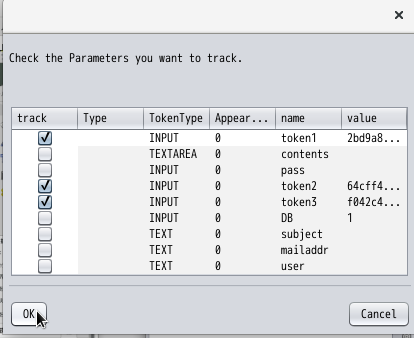
The parameter list is displayed. A check mark is set for the parameter that is the target of tracking CSRF token. Change the setting if necessary.
-
you can configure requestRecorderMethod in ZAPPROXY Context support here: context support, then You can apply authentication with the requestRecorderMethod.
If you does not configure requestRecorderMethod in Context, RequestRecorder does not work when using the original ZAPROXY menu/buttons in the "Site Map Panel" or "History Panel". The sequence will only be peformed when using the menu/button in the "RequestRecorder" work panel. below sections explain when does not configure Context with requestRecorderMethod.
-
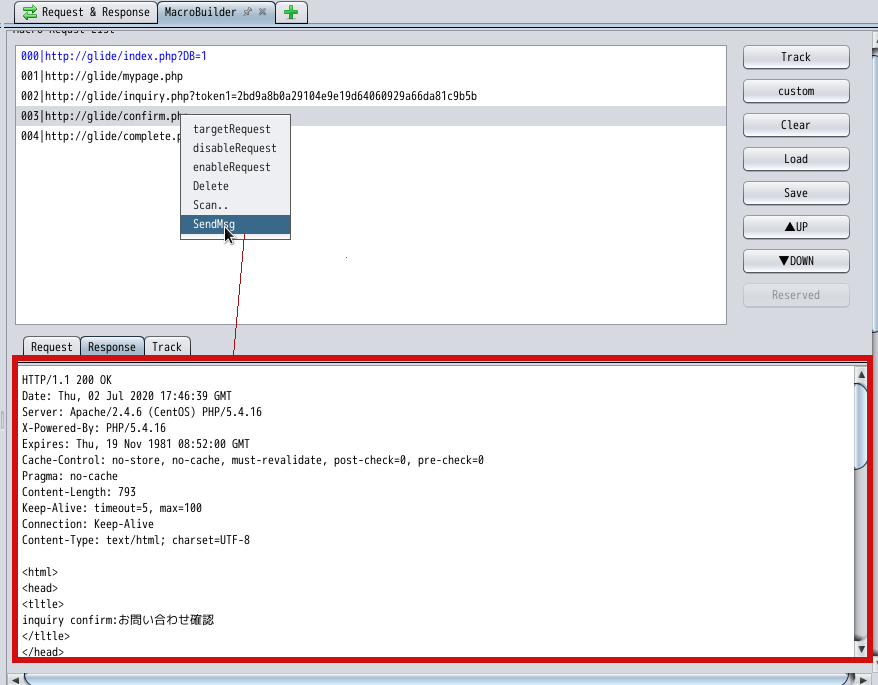
To send only one request manually, select the URL you want to send from the request list in the RequestRecorder work panel and select "Send Msg" from the right-click menu.The result is displayed in the "Request Response" column (red frame) of the RequestRecorder status panel.
-
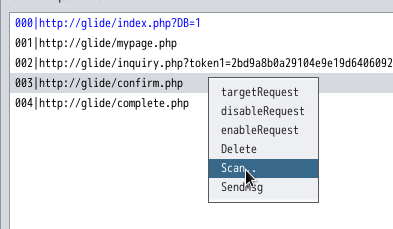
To execute ActiveScan, select the URL you want to scan from the request list in the RequestRecorder panel and select "Scan.." from the right-click menu.
-
If you want to reassemble the request sequence from the beginning, click the clear button to delete all parameters.
