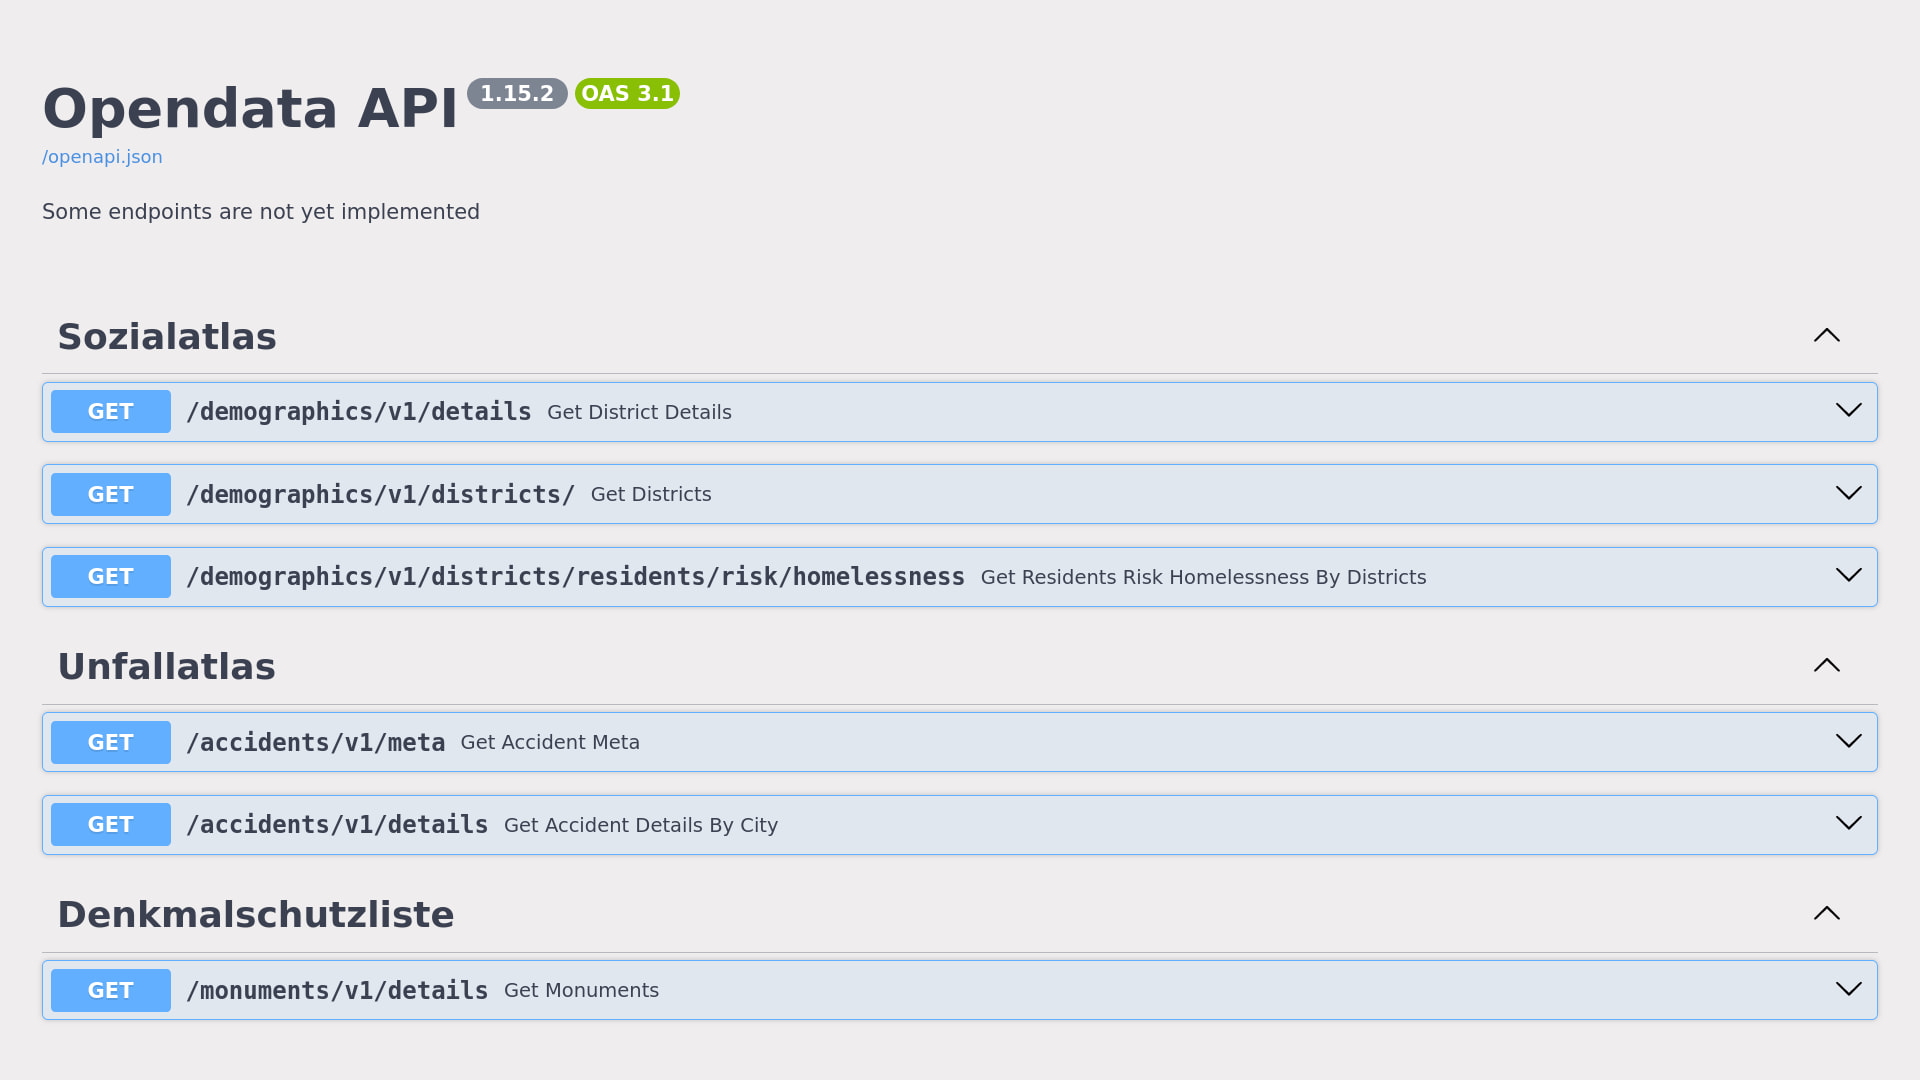
These API endpoints are open to everyone. Please use GitHub issues to report or request anything.
The API can be accessed at the following URL:
To retrieve and insert data into your PostgreSQL database, follow the instructions in the SETUP.md document.
For detailed usage instructions and examples, refer to the USAGE.md.
Before running your own instance of the Open Data API, make sure to install the necessary system dependencies on your Ubuntu machine.
sudo apt update
sudo apt install wget
sudo apt install git git-lfs
sudo apt install python3 python3-pip python3-venv
sudo apt install postgresql-16 postgresql-postgis gdal-binsudo apt install ufw
sudo ufw allow 22/tcp
sudo ufw allow 80/tcp
sudo ufw allow 443/tcp
sudo ufw allow 5665/tcp
sudo ufw enable
sudo ufw statusIt is recommended to run the Open Data API as a dedicated user. Below are the commands to create a user named oklab and set up the necessary permissions.
sudo adduser oklab
sudo usermod -a -G www-data oklab
sudo mkdir -p /srv/oklab
sudo chown -R oklab:oklab /srv/oklab
sudo chmod 770 -R /srv/oklab- Modify PostgreSQL Configuration:
Open and edit the PostgreSQL configuration file /etc/postgresql/16/main/pg_hba.conf and add the following lines:
local   oklab           oklab                                   trust
host    oklab           oklab           127.0.0.1/32            trust
After editing the configuration, restart PostgreSQL:
sudo systemctl restart postgresql.service
sudo systemctl status postgresql.service- Create Database and User:
Switch to the postgres user and create the necessary database and user:
sudo -i -u postgres
createuser -d oklab
createdb -O oklab oklab
psql -U oklab
exit- Enable PostGIS Extension:
Log into the oklab database and enable the necessary extensions:
psql -U postgres
\c oklab

CREATE EXTENSION IF NOT EXISTS pg_trgm;
CREATE EXTENSION IF NOT EXISTS postgis;
CREATE EXTENSION IF NOT EXISTS hstore;

ALTER TABLE geography_columns OWNER TO oklab;
ALTER TABLE geometry_columns OWNER TO oklab;
ALTER TABLE spatial_ref_sys OWNER TO oklab;

\qTo run your own instance of the Open Data API, first clone the repository, initialize a Python virtual environment, and install the required dependencies.
git clone https://github.com/oklabflensburg/open-data-api.git
cd open-data-api
python3 -m venv venv
source venv/bin/activate
pip3 install -r requirements.txt
deactivateCreate a .env file and add the following environment variables with your values:
DB_PASS=YOUR_PASSWORD_HERE
DB_HOST=localhost
DB_USER=oklab
DB_NAME=oklab
DB_PORT=5432To use all available Open Data API endpoints, you will need to import data into the database.
cd ..
git clone https://github.com/oklabflensburg/open-social-map.git
cd open-social-map
psql -U oklab -h localhost -d oklab -p 5432 < data/flensburg_stadtteile.sql
cp ../open-data-api/.env .
cd tools
python3 -m venv venv
source venv/bin/activate
pip3 install -r requirements.txt
python3 insert_districts.py ../static/flensburg_stadtteile.geojson
deactivate
psql -U oklab -h localhost -d oklab -p 5432 < data/flensburg_sozialatlas.sql
psql -U oklab -h localhost -d oklab -p 5432 < data/flensburg_sozialatlas_metadaten.sql
If the data import process fails or you need to reset, use this command to delete all tables (be cautious):
psql -U oklab -h localhost -d oklab -p 5432 < data/cleanup_database_schema.sqlAfterward, repeat the above data import steps.
cd ..
git clone https://github.com/oklabflensburg/open-monuments-map.git
cd open-monuments-map
git lfs pull
psql -U oklab -h localhost -d oklab -p 5432 < data/denkmalliste_schema.sql
cp ../open-data-api/.env .
cd tools
python3 -m venv venv
source venv/bin/activate
pip3 install -r requirements.txt
python3 insert_boundaries.py ../data/denkmalliste_geometrien.geojson
python3 insert_monuments.py ../data/stadt-flensburg-denkmalschutz.geojson
deactivate
cd ..Once the data is imported, you can start the Open Data API locally using the following command:
cd ../open-data-api
source venv/bin/activate
uvicorn app.main:app --reloadTo test the API, you can run this curl command:
curl -X 'GET' 'http://localhost:8000/demographics/v1/details' -H 'accept: application/json'To set up the Open Data API as a service, create a file /usr/lib/systemd/system/open-data-api.service and add the following configuration:
[Unit]
Description=Instance to serve the open data api
After=network.target
Requires=postgresql.service

[Service]
Type=simple
User=oklab
Group=www-data
DynamicUser=true
WorkingDirectory=/srv/oklab/open-data-api
PrivateTmp=true
EnvironmentFile=/srv/oklab/open-data-api/.env
ExecStart=/srv/oklab/open-data-api/venv/bin/uvicorn \
        --proxy-headers \
        --forwarded-allow-ips='*' \
        --workers=4 \
        --port=6720 \
        app.main:app
ExecReload=/bin/kill -HUP ${MAINPID}
RestartSec=1
Restart=always

[Install]
WantedBy=multi-user.target
Start and enable the service to run at startup:
sudo systemctl start open-data-api.service
sudo systemctl status open-data-api.service
sudo systemctl enable open-data-api.serviceInstall the required packages for the web server:
sudo apt install nginx certbot python3-certbot-nginxEdit the Nginx configuration to secure the server and set up HTTPS. An example Nginx configuration file can be found here nginx.conf
sudo nginx -t
sudo certbotUse the following commands to start, check status, and enable the Nginx service:
sudo systemctl start nginx.service
sudo systemctl status nginx.service
sudo systemctl enable nginx.serviceContributions are welcome! Please refer to the CONTRIBUTING.md guide for details on how to get involved.
This repository is licensed under CC0-1.0.
