-
Notifications
You must be signed in to change notification settings - Fork 10
Quickstart_en
This guide is a Quickstart tutorial for getting up to use ProcessingKit.
- Open Xcode
- Click
Create a New Xcode project - Click
Single View App

ProcessingKit is compatible with Carthage andCocoaPods. You can install ProcessingKit using these package manager. This tutorial will use CocoaPods.
Using RubyGems to install CocoaPods.
$ sudo gem install cocoapodsRun pod init command in project root directory.
$ ls
ProcessingKitWiki         ProcessingKitWiki.xcodeproj

$ pod init # Generate Podfile automatically
$ ls
Podfile                    ProcessingKitWiki
ProcessingKitWiki.xcodeproj
Add pod "ProcessingKit" into your Podfile
# Uncomment the next line to define a global platform for your project
# platform :ios, '9.0'

target 'ProcessingKitWiki' do
  # Comment the next line if you're not using Swift and don't want to use dynamic frameworks
  use_frameworks!

  # Pods for ProcessingKitWiki
  pod "ProcessingKit"  # Add this line
endRun pod install to install ProcessingKit.
$ pod install
Analyzing dependencies
Downloading dependencies
Installing ProcessingKit (1.2.0)
Generating Pods project
Integrating client project

[!] Please close any current Xcode sessions and use `ProcessingKitWiki.xcworkspace` for this project from now on.
Sending stats
Pod installation complete! There is 1 dependency from the Podfile and 1 total pod installed.
After running pod install. Podfile.lock, Pods and ProcessingKitWiki.xcworkspace are generated.
$ ls
Podfile                       ProcessingKitWiki
Podfile.lock                  ProcessingKitWiki.xcodeproj
Pods                          ProcessingKitWiki.xcworkspace
Open .xcworkspace file then lunch Xcode.

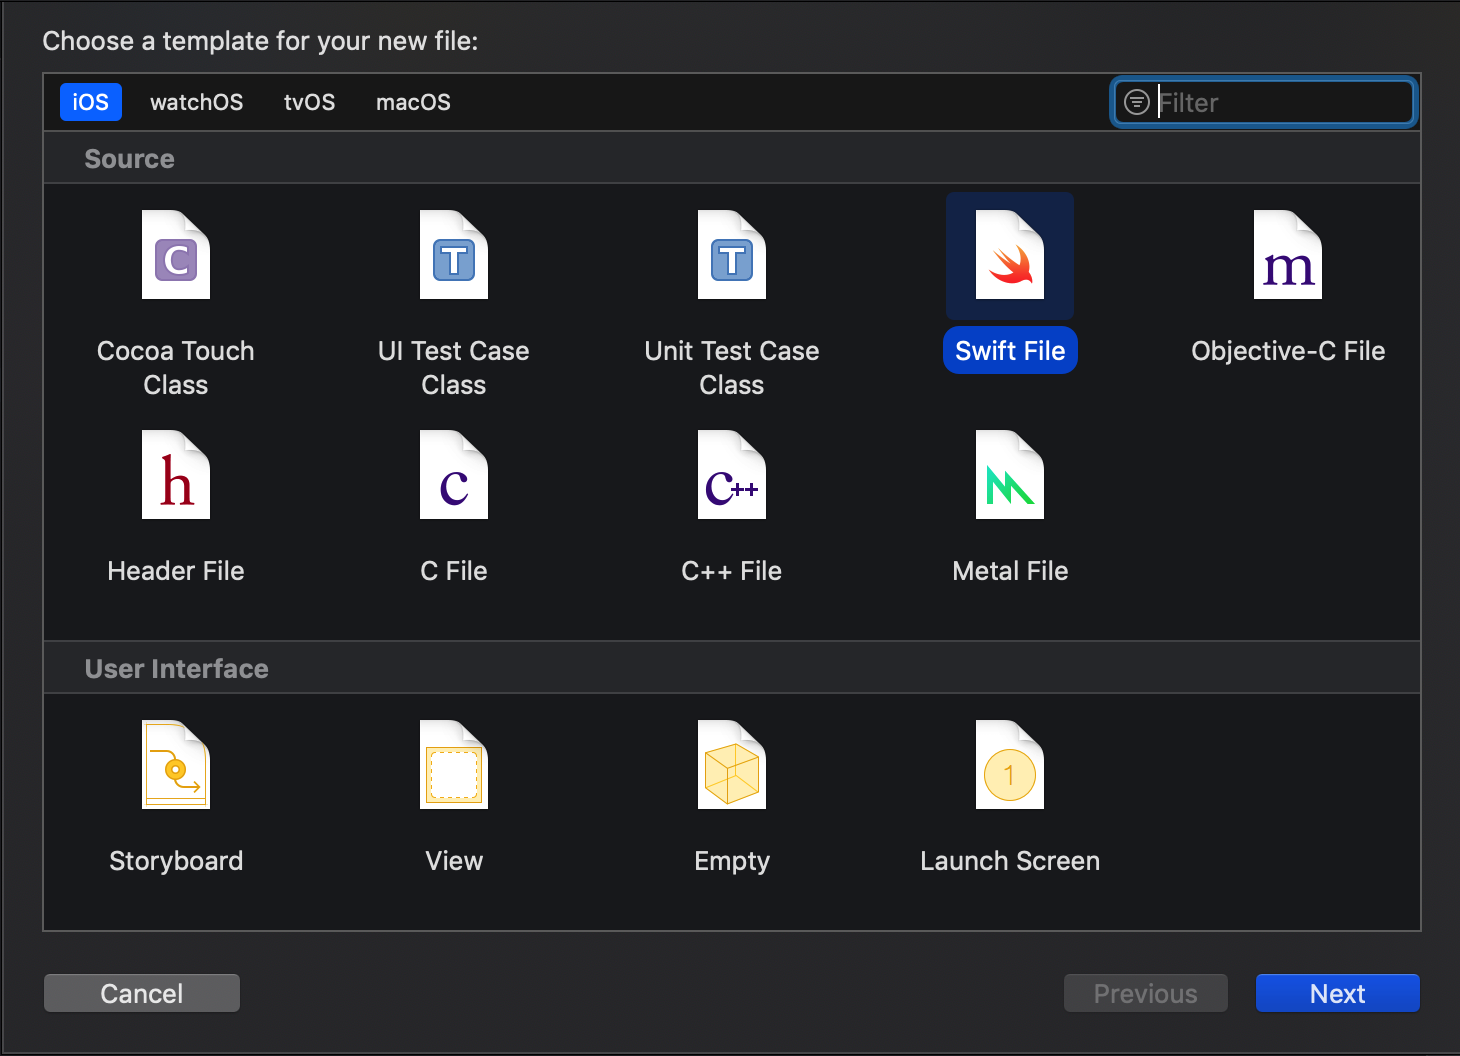
Create New Swift file from Xcode->File->New->File.

import ProcessingKit and create custom class inherits from ProcessingView.
import ProcessingKit

class SampleView: ProcessingView {
}
Implement setup() and draw() methods.
import ProcessingKit

class SampleView: ProcessingView {
  func setup() {
    // The setup() function is run once, when the view instantiated.
  }

  func draw() {
    // Called directly after setup(), the draw() function continuously executes the lines of code contained inside its block until the program is stopped or noLoop() is called.
  }
}
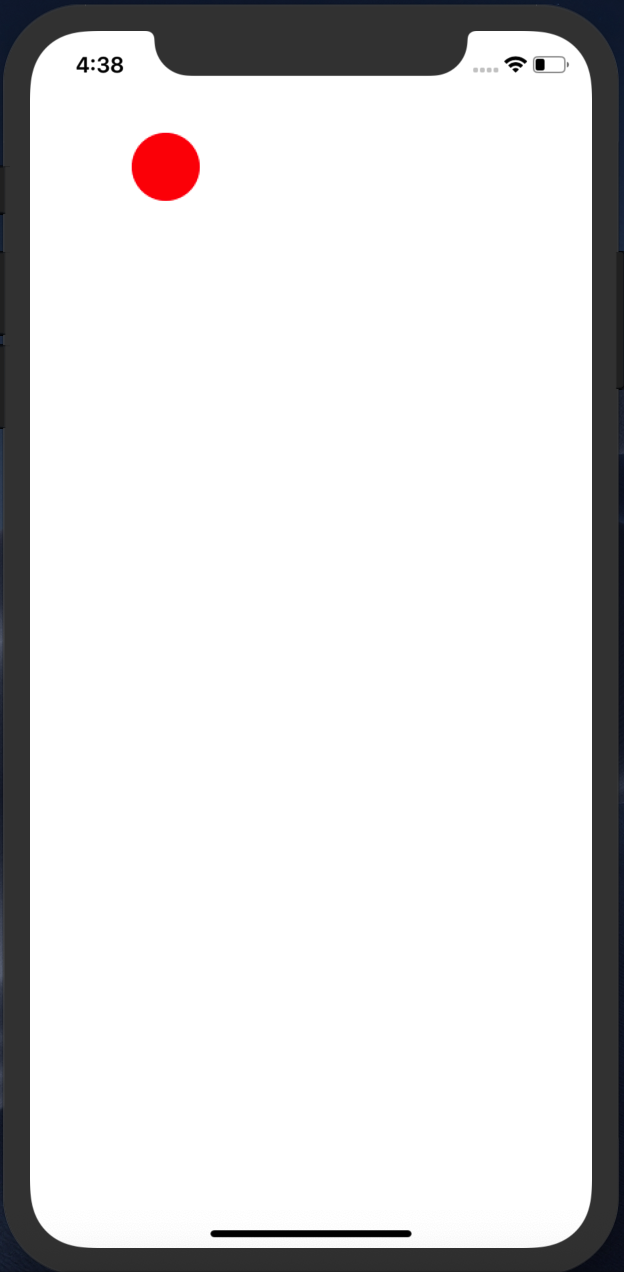
Draw a red circle with redius 50 on (x: 100, y: 100).
import ProcessingKit

class SampleView: ProcessingView {
    func setup() {
        fill(255, 0, 0)
        ellipse(100, 100, 50, 50)
    }
    func draw() {

    }
}
Open ViewController.swift.
import UIKit

class ViewController: UIViewController {

    override func viewDidLoad() {
        super.viewDidLoad()
        // Do any additional setup after loading the view, typically from a nib.

        let sampleView = SampleView(frame: self.view.frame) // Add this line
        self.view.addSubview(sampleView) // Add this line
    }


}
Instantiate sampleView and addSubView.
Run iOS Project from Xcode->Product->Run.

A red circle with a radius of 50 is drew at the point of (x: 100, y: 100).