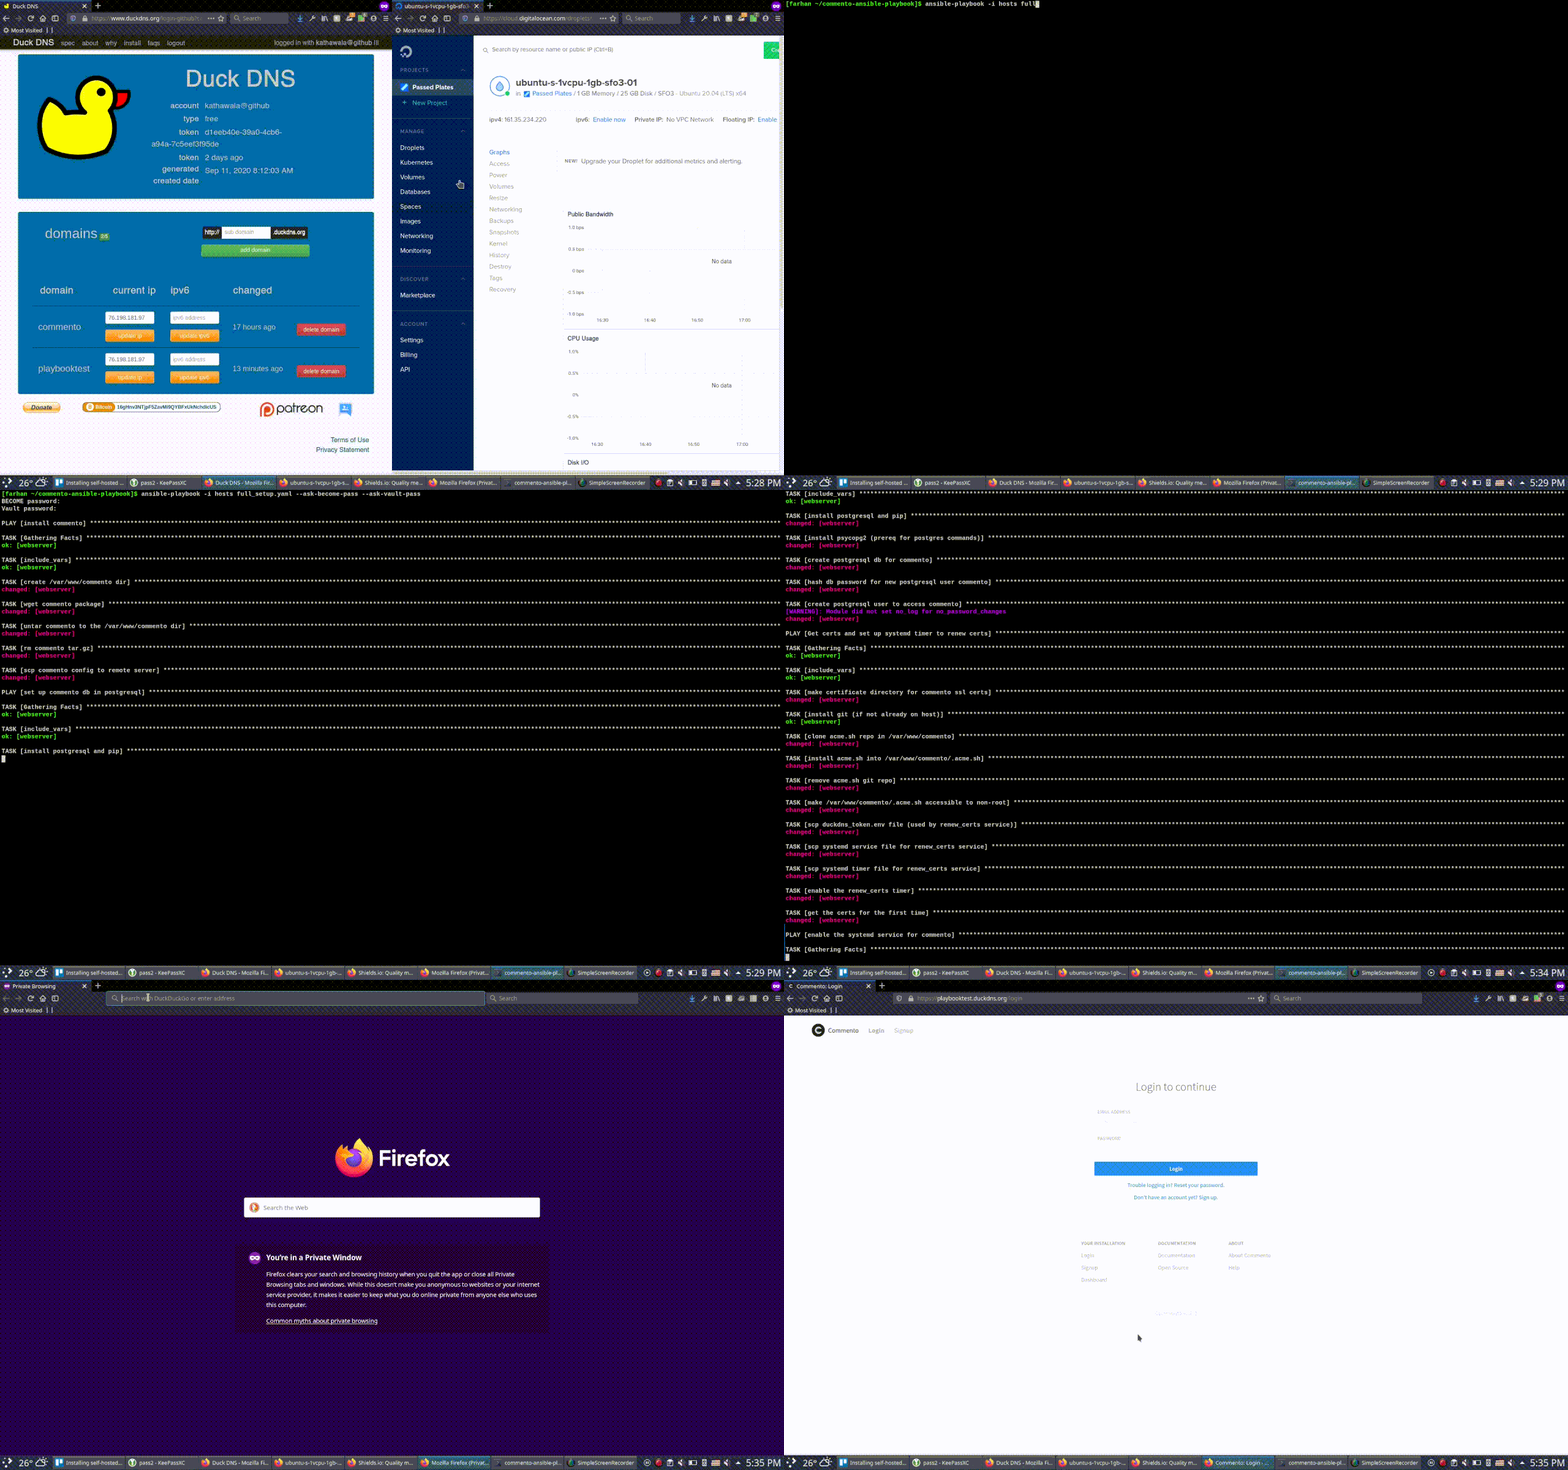
I wrote about this on my blog, you can read the article here.
- Commento Ansible Playbook
- Demo
- Table of contents
- Introduction
- Installation
- Usage
- Contribute
- License
- Thanks!
Commento.io is an open-source solution to add comment section functionality into any website (even static ones) by simply adding some javascript to the frontend and having a separate backend to store comments.
Commento has a paid, hosted solution, but you can self-host commento from a cheap VPS or from a laptop/computer at home FOR FREE.
SKIP the hassle of finding a domain name.
SKIP changing DNS records.
SKIP procuring SSL certs.
SKIP keeping said certs auto-renewing.
SKIP installing and configuring all sorts of packages and databases, etc.
Pay NOTHING for the convenience!
- Make sure you have
ansibleinstalled on your system. Installation instructions for all systems. git clone https://github.com/kathawala/commento-ansible-playbook.git
This playbook sets up the following:
- SystemD service running commento
- SystemD service running a postgresql database connected to commento
- SystemD service running Nginx to route traffic to commento
- SystemD timer (i.e. cron job) to provide SSL certs and renew them every month.
This playbook works on and has been tested for machines that run either Ubuntu 20.04 LTS or Debian 10. I haven't tried any other operating systems, open an issue if you'd like support for another one.
To use it you need to sign in to DuckDNS and have a DuckDNS API token and subdomain. This playbook uses DuckDNS because it's easy. If another way is best for you, open an issue or submit a PR. We'll try to make it work.
Also make sure you have set up ansible to point at the machine you want to host commento on. More info on how to do that, here.
- Enter the root directory of the repo.
cd commento-ansible-playbook - Add your subdomain from DuckDNS to the file
vars/vars.yaml.- If your domain name is example.duckdns.org then
vars/vars.yamlshould look like:--- VERSION: 1.8.0 DOMAIN_NAME: "example.duckdns.org" SITE_URL: "example.duckdns.org"
- If you want to run commento on a non-standard port (e.g. 4430), change
SITE_URLas follows:You also need to take the extra step of adding your nonstandard port to the nginx configuration template--- VERSION: 1.8.0 DOMAIN_NAME: "example.duckdns.org" SITE_URL: "example.duckdns.org:4430"
commento-ssl.conf.j2:listen [::]:4430 ssl ipv6only=on; listen 4430 ssl;
- If your domain name is example.duckdns.org then
- Enter your GMail address information (for SMTP relay), DuckDNS token (for DNS), Akismet key^ (for automated comment moderation) and a database password of your choice to
vars/secure_vars.yaml. Here's an example:--- DB_PASSWORD: strongandsecurepassword GMAIL_ADDRESS: [email protected] GMAIL_PASSWORD: 'pwdwithspecialchar"#&' AKISMET_KEY: 12345hsjd DUCKDNS_TOKEN: 123abc-09zy-12ab-91za-blahblahblah
^ optional
-
Allow "Less Secure App Access" in GMail. Your SMTP relay will not work otherwise, and you need that to allow commenters to sign up with their own email address.
-
Run the
full_setup.yamlplaybook like followsansible-playbook -i hosts full_setup.yaml --ask-become-pass
note: If your host machine runs Debian 10, ansible won't automatically determine the correct python interpreter, so you need to add the following flag
-e 'ansible_python_interpreter=/usr/bin/python3'to the above command -
Done! Visit https://example.duckdns.org (replace with the domain name you entered in step 2) and register your site with your new self-hosted commento instance!
You can use Akismet for automated spam filtering in your comment sections.
It's pay-what-you-want for the lowest tier, but consider paying what you can, if you can.
If you don't want to use it, you can leave an empty string for the AKISMET_KEY var in var/secure_vars.yaml.
You can also host commento on an old computer at your house. Just port forward the 443 and 80 ports from your router to the machine on your home network that you want to host commento. Here's a great guide on port forwarding that covers lots of popular routers and common missteps people make while port forwarding.
If you plan to do this, you should use the DuckDNS Dynamic DNS tool to update DuckDNS with your home's IP address (as ISPs often rotate out the IP address assigned to your home).
Free comment section functionality on your blog in 15 minutes or less!
That's a good deal! Consider donating to the services that make this possible:
- DuckDNS -- PayPal | Patreon | btc:16gHnv3NTjpF5ZavMi9QYBFxUkNchdicUS
- Commento -- consider paying for a month or two of commento.io
Open an issue or a PR if there is a configuration you'd like to see. Maybe an OS that isn't supported or something else I hadn't thought of.
GNU General Public License version 3
Leave a star on GitHub, check out my blog, and share this playbook if you found this helpful.


