This demo is part of a larger Flat Data project created by GitHub OCTO. Read more about the project here.
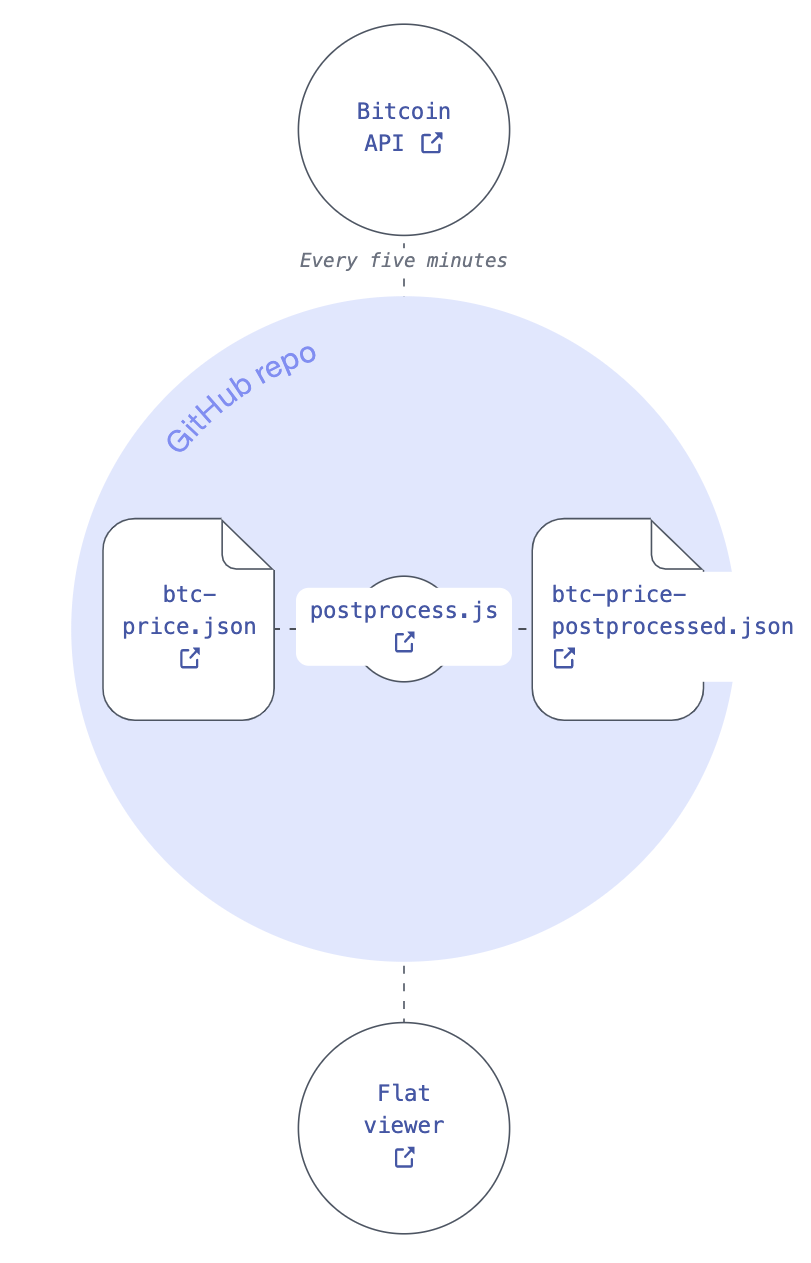
This repository uses a Flat Data Action to fetch the current price of Bitcoin from this link and downloads that data to btc-price.json and a filtered version of the data to btc-price-postprocessed.json. Both files are updated every 5 minutes if there are changes.
While this example uses a javascript Deno file to run the postprocessing tasks, you can also use Python as specified in this example: https://github.com/pierrotsmnrd/flat_data_py_example. Thank you @pierrotsmnrd!
This is a super simple example of how to use Flat Data using the Github GUI.
-
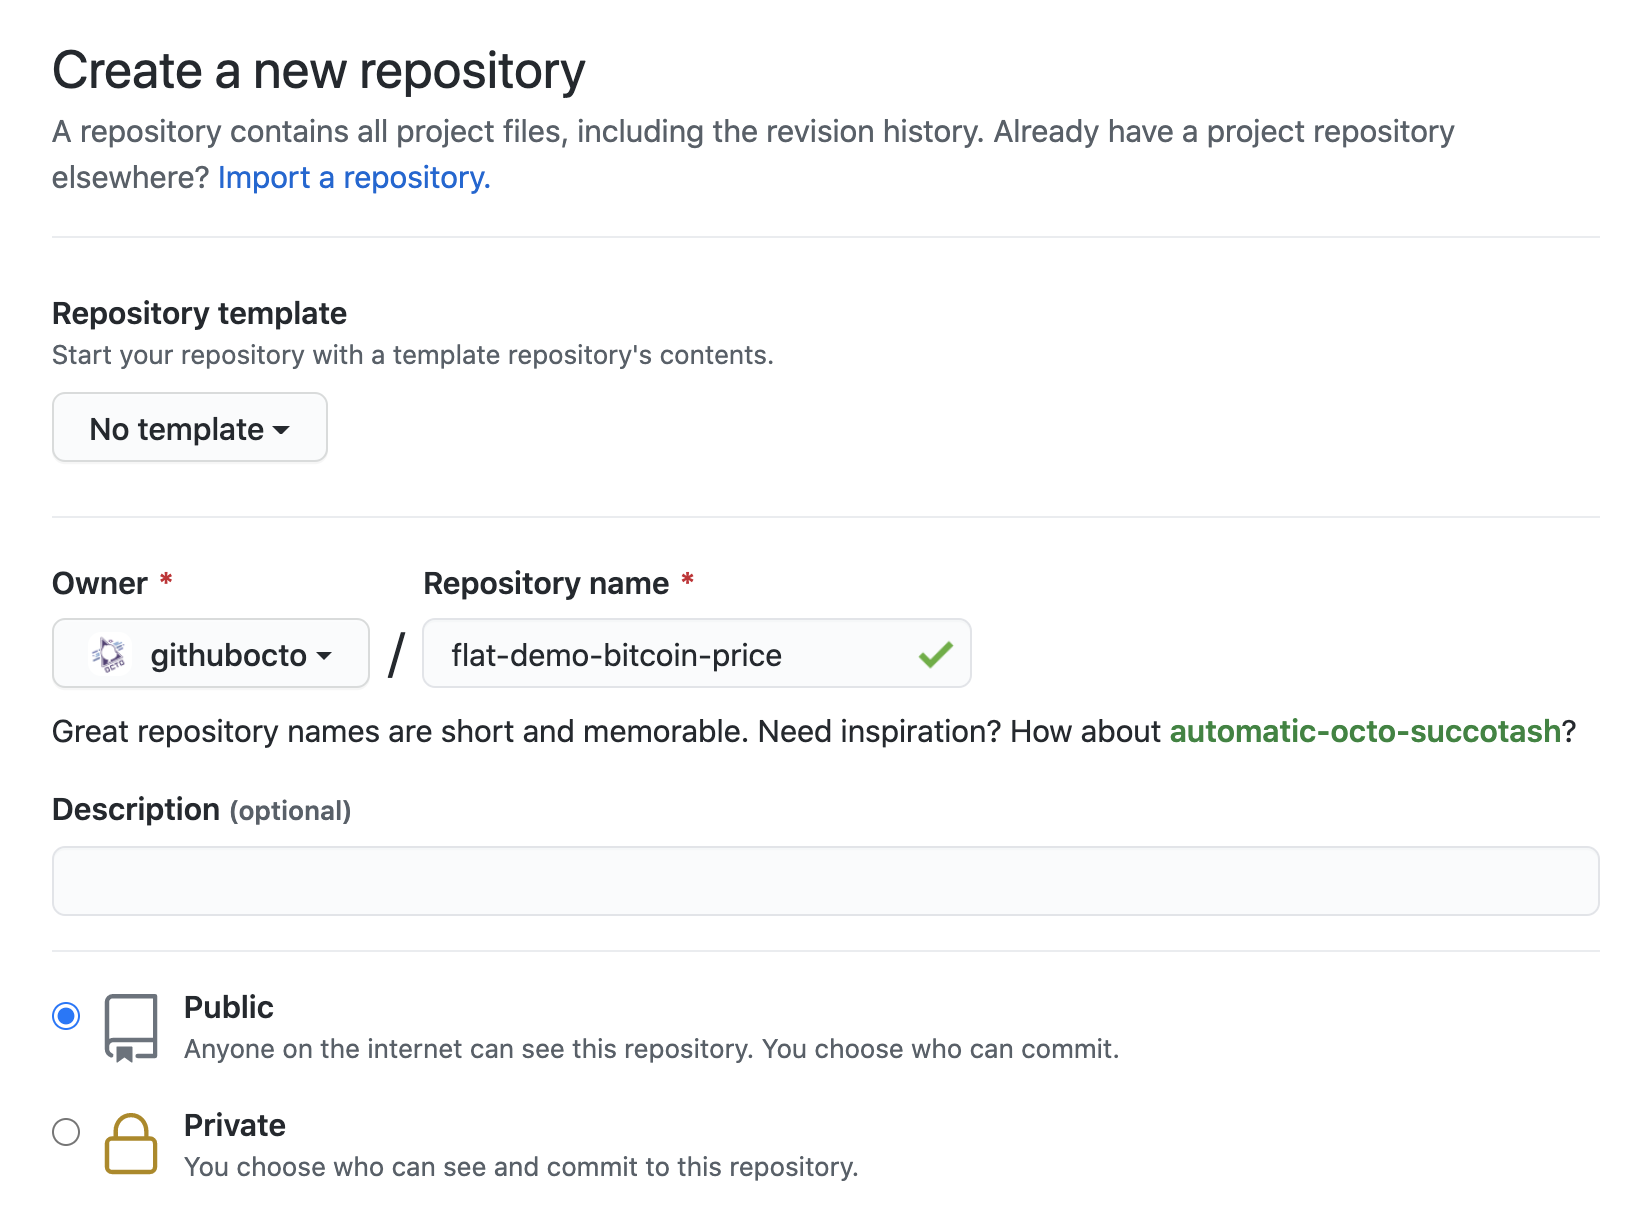
Create a new GitHub repository: create a new GitHub repository.
-
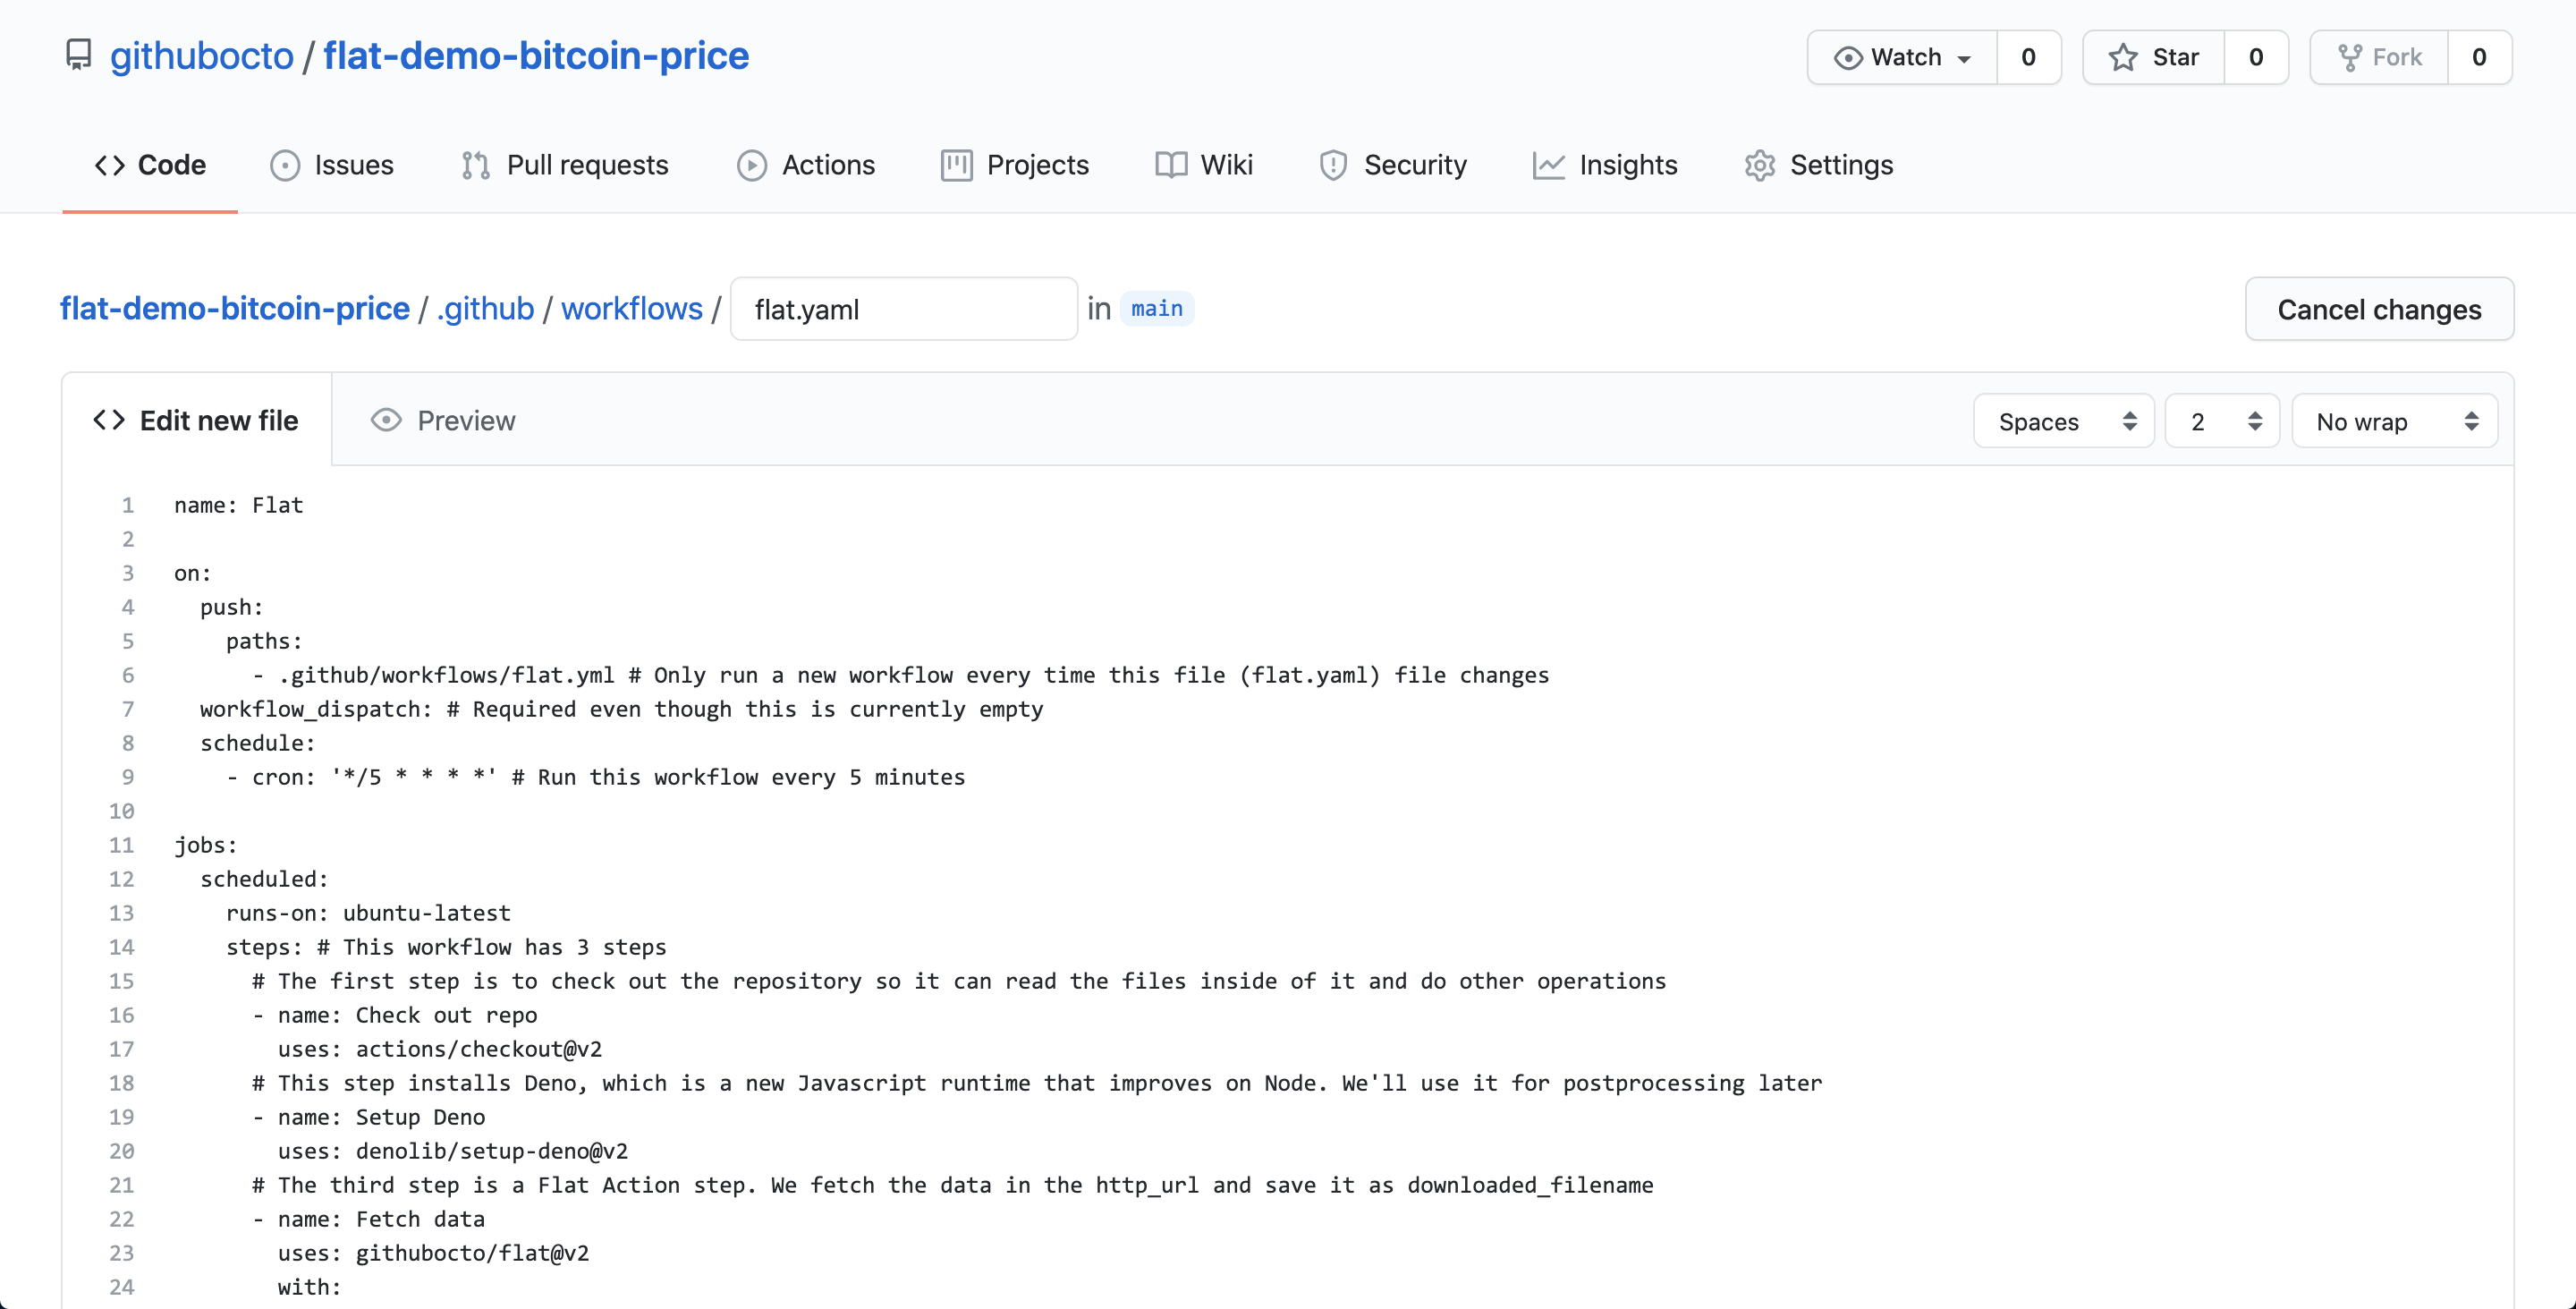
Create a flat.yaml file inside of a .github/workflows/ folder: You can use the GitHub GUI to create a new “flat.yaml” file inside of a very specific folder: .github/workflows/. You can create the folders by just typing out the path as you create the flat.yaml file.
-
Add the following code to the flat.yaml file:
name: Flat

on:
  push:
    paths:
      - .github/workflows/flat.yml # Only run a new workflow every time this file (flat.yaml) file changes
  workflow_dispatch: # Required even though this is currently empty
  schedule:
    - cron: '*/5 * * * *' # Run this workflow every 5 minutes

jobs:
  scheduled:
    runs-on: ubuntu-latest
    steps: # This workflow has 3 steps
      # The first step is to check out the repository so it can read the files inside of it and do other operations
      - name: Check out repo
        uses: actions/checkout@v2
      # This step installs Deno, which is a new Javascript runtime that improves on Node. We'll use it for postprocessing later
      - name: Setup deno
        uses: denoland/setup-deno@main
        with:
          deno-version: v1.x
      # The third step is a Flat Action step. We fetch the data in the http_url and save it as downloaded_filename
      - name: Fetch data
        uses: githubocto/flat@v3
        with:
          http_url: https://api.coindesk.com/v2/bpi/currentprice.json # The data to fetch every 5 minutes
          downloaded_filename: btc-price.json # The http_url gets saved and renamed in our repository as btc-price.json
Let’s discuss what’s happening in a few of these lines of code:
a. This section tells the workflow to manually start any time that there is a change made to the flat.yaml file
push:
    paths:
      - .github/workflows/flat.yml
b. This section determines how often the Action will run. It uses a utility called cron to schedule time-based jobs. Cron jobs have a very particular syntax, and in this example we’re telling the workflow to run every 5 minutes (Actions schedules run at most every 5 minutes). You can use a handy page like this one to figure out any schedule (every hour, once a month, every Saturday, etc).
schedule:
    - cron: '*/5 * * * *'
c. Finally, we have a section for the Flat Action itself. The action takes at minimum two parameters. The
http_urlparameter specifies what endpoint or data we want the Action to download. Thedownloaded_filenamespecifies what to rename the downloaded data once we commit it to our repo.with: http_url: https://api.coindesk.com/v2/bpi/currentprice.json downloaded_filename: btc-price.json
-
Commit the flat.yaml file: Once you commit the flat.yaml file to your folder, you will have officially completed writing your first Github Action! GitHub Actions is a service that lets us automate all kinds of workflows in a repository by writing instructions and scripts in a YAML file. In this example our action uses another action itself, the Flat Action.
-
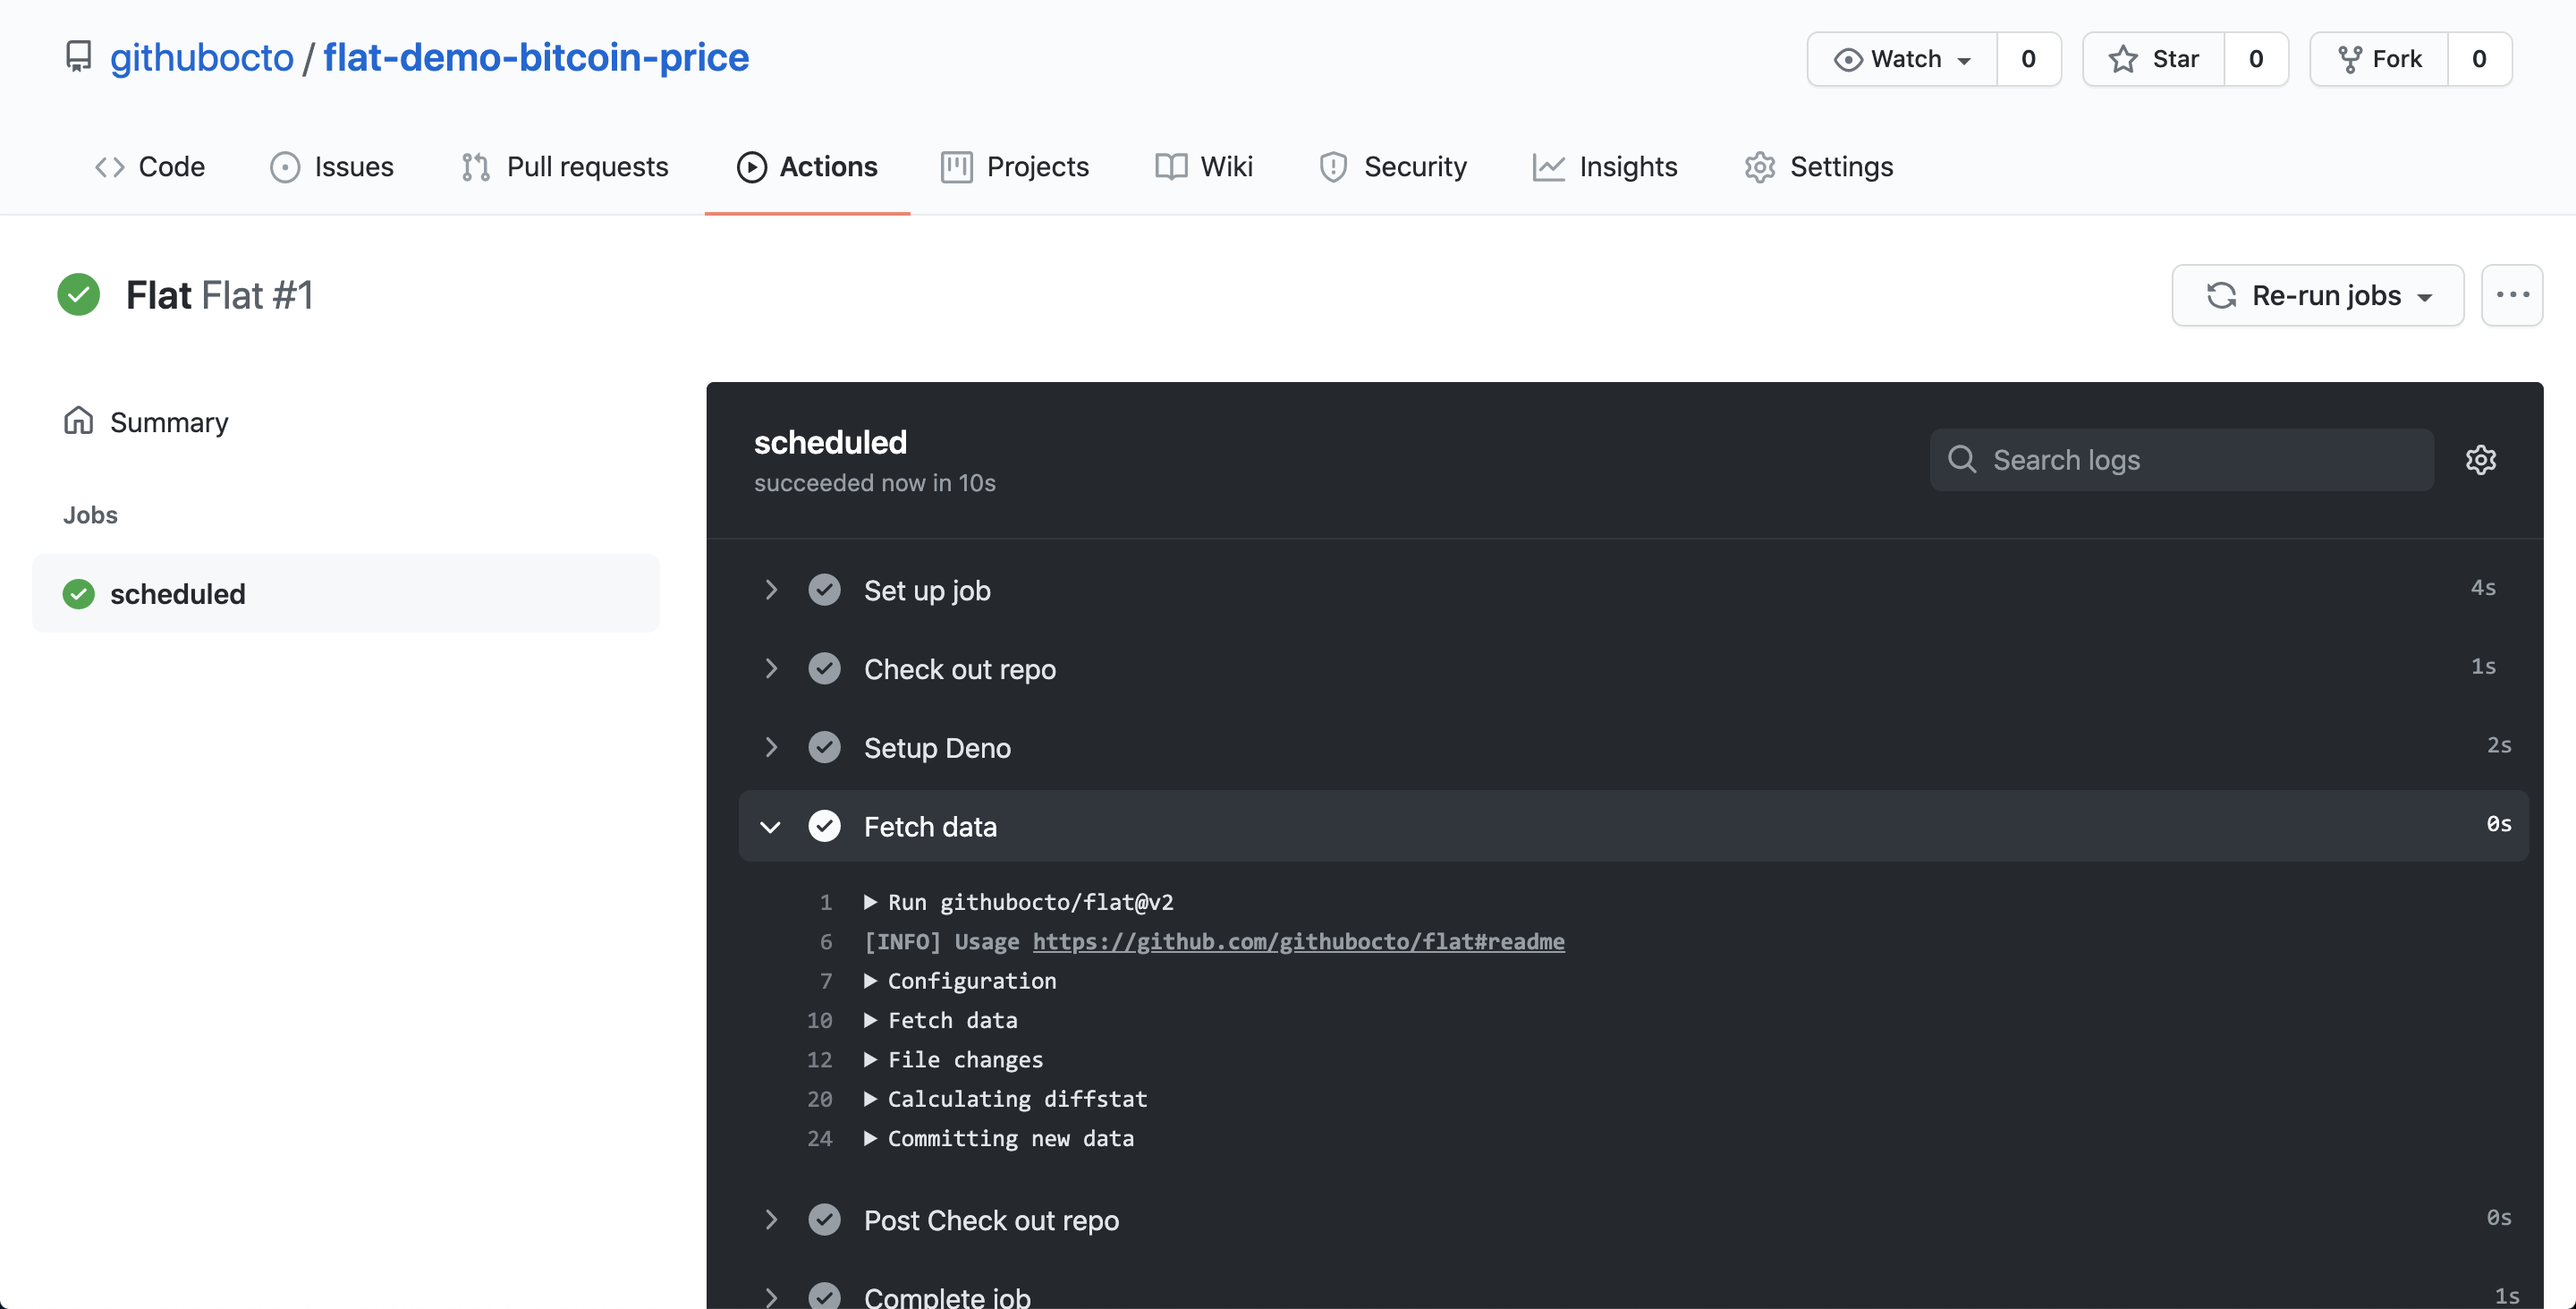
Launch a GitHub Action workflow: Without doing anything, our Action will run every 5 minutes and fetch any new Bitcoin price data. For the sake of this tutorial, we’ll also trigger it manually so you can see the result instantly.
Navigate to the “Actions” tab, click on the “Flat” workflow on the left hand column, click on “Run Workflow” dropdown and then button.
-
Check for the btc-price.json file: After a few seconds you should see the btc-price.json file show up in your repository. It’s the same data as was in the original endpoint!
-
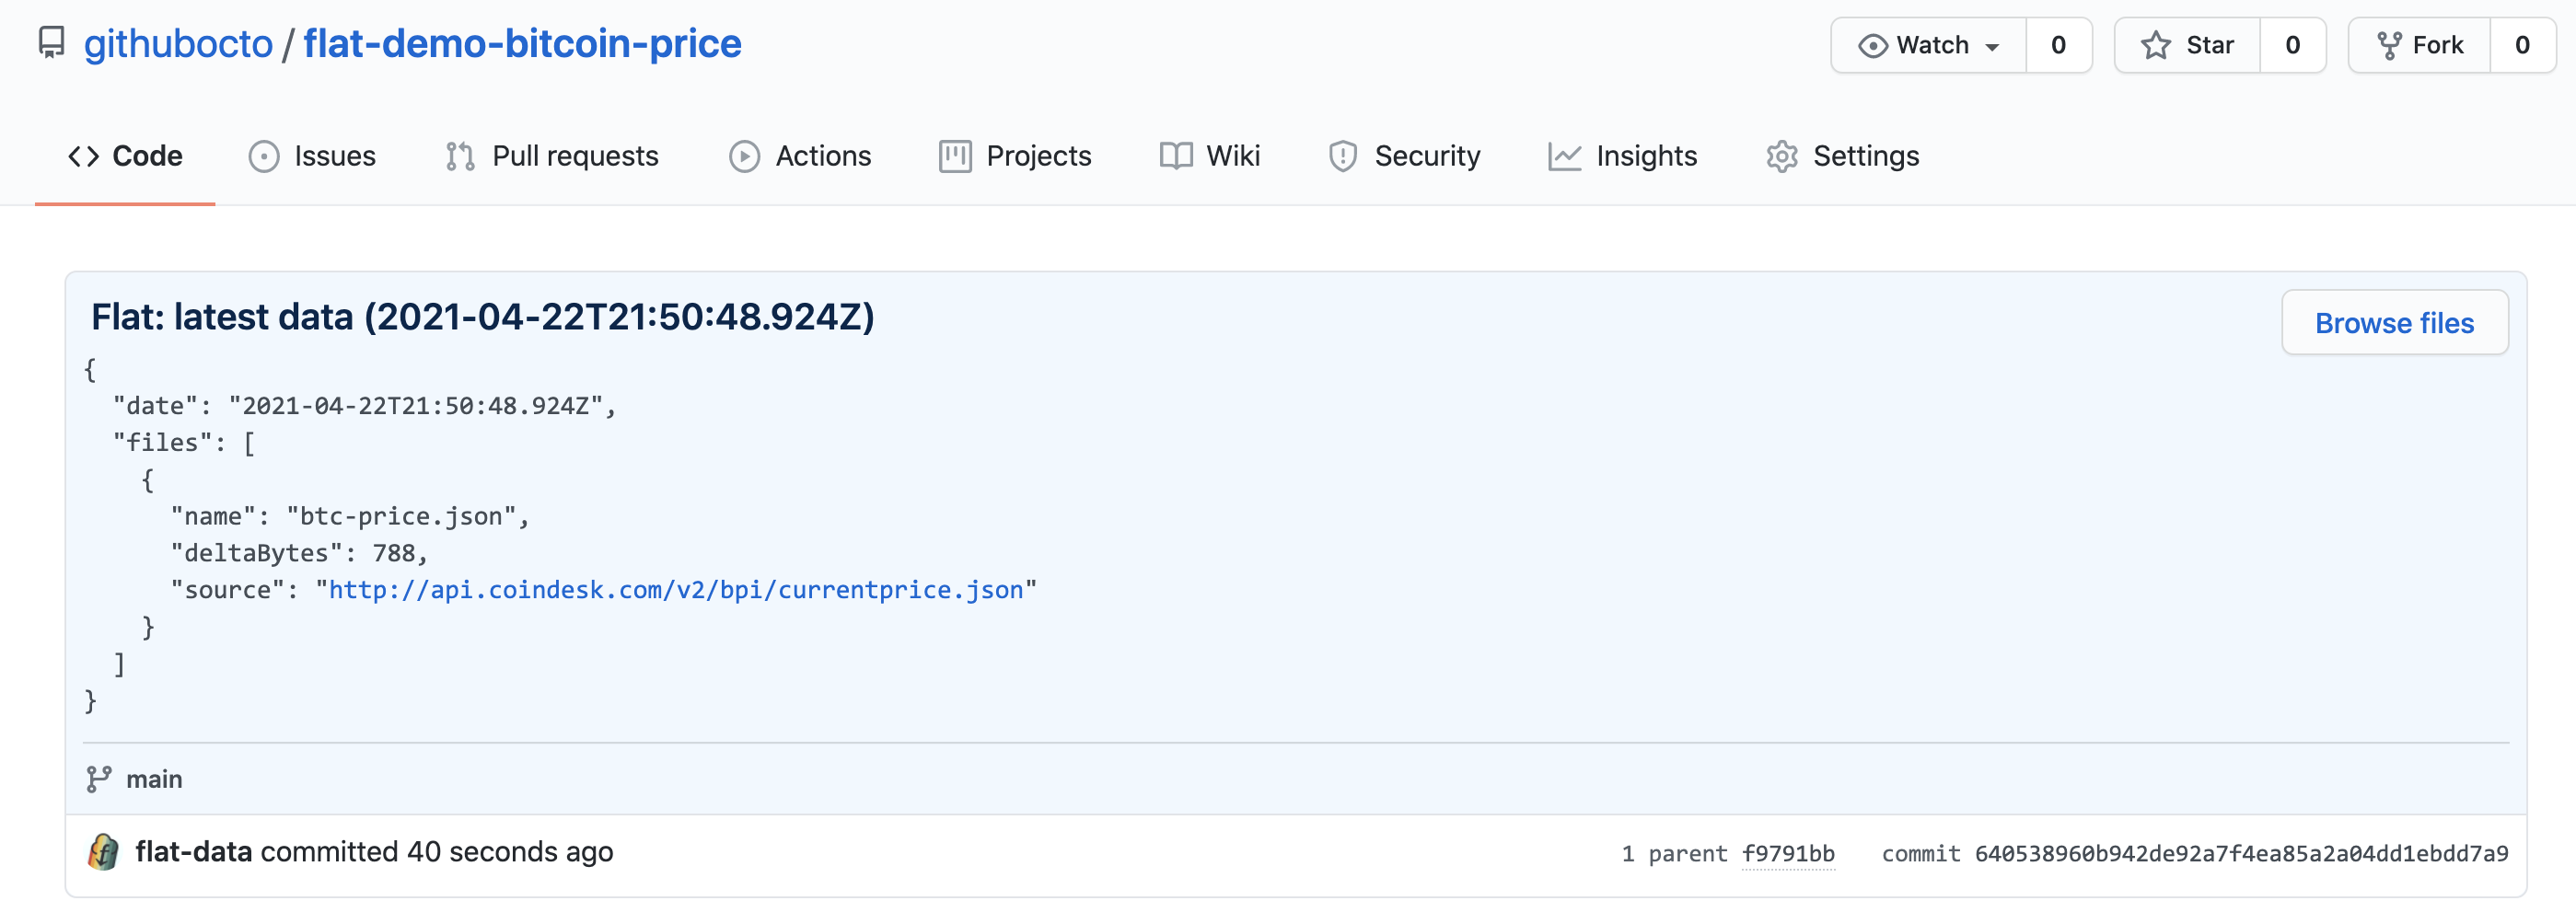
Check the commit history: If you check the commit history for the repository, you’ll see that Flat Action logs when a particular file changed and was committed to your repository.
At this point you’ve used Flat Data to get data on a schedule (in this case every 5 minutes) into your repo. Congrats! But Flat Data can do a bit more. Read on to see how you can add an extra step to process your data in more advanced ways.
We hope you’re already starting to see how the Flat Action can be useful. It allows you to download any kind of data (JSON, CSV, images, text files, zip folders, etc.) into your repositories at a repeatable schedule. As long as what you’re fetching has a URL, it can be downloaded into a GitHub repo.
But what if you want to process or change the data in some way before it gets added to your repository? We’ve built in a way for you to run these post-processing tasks by specifying a postprocess parameter. Let’s take a look at how to do that.
-
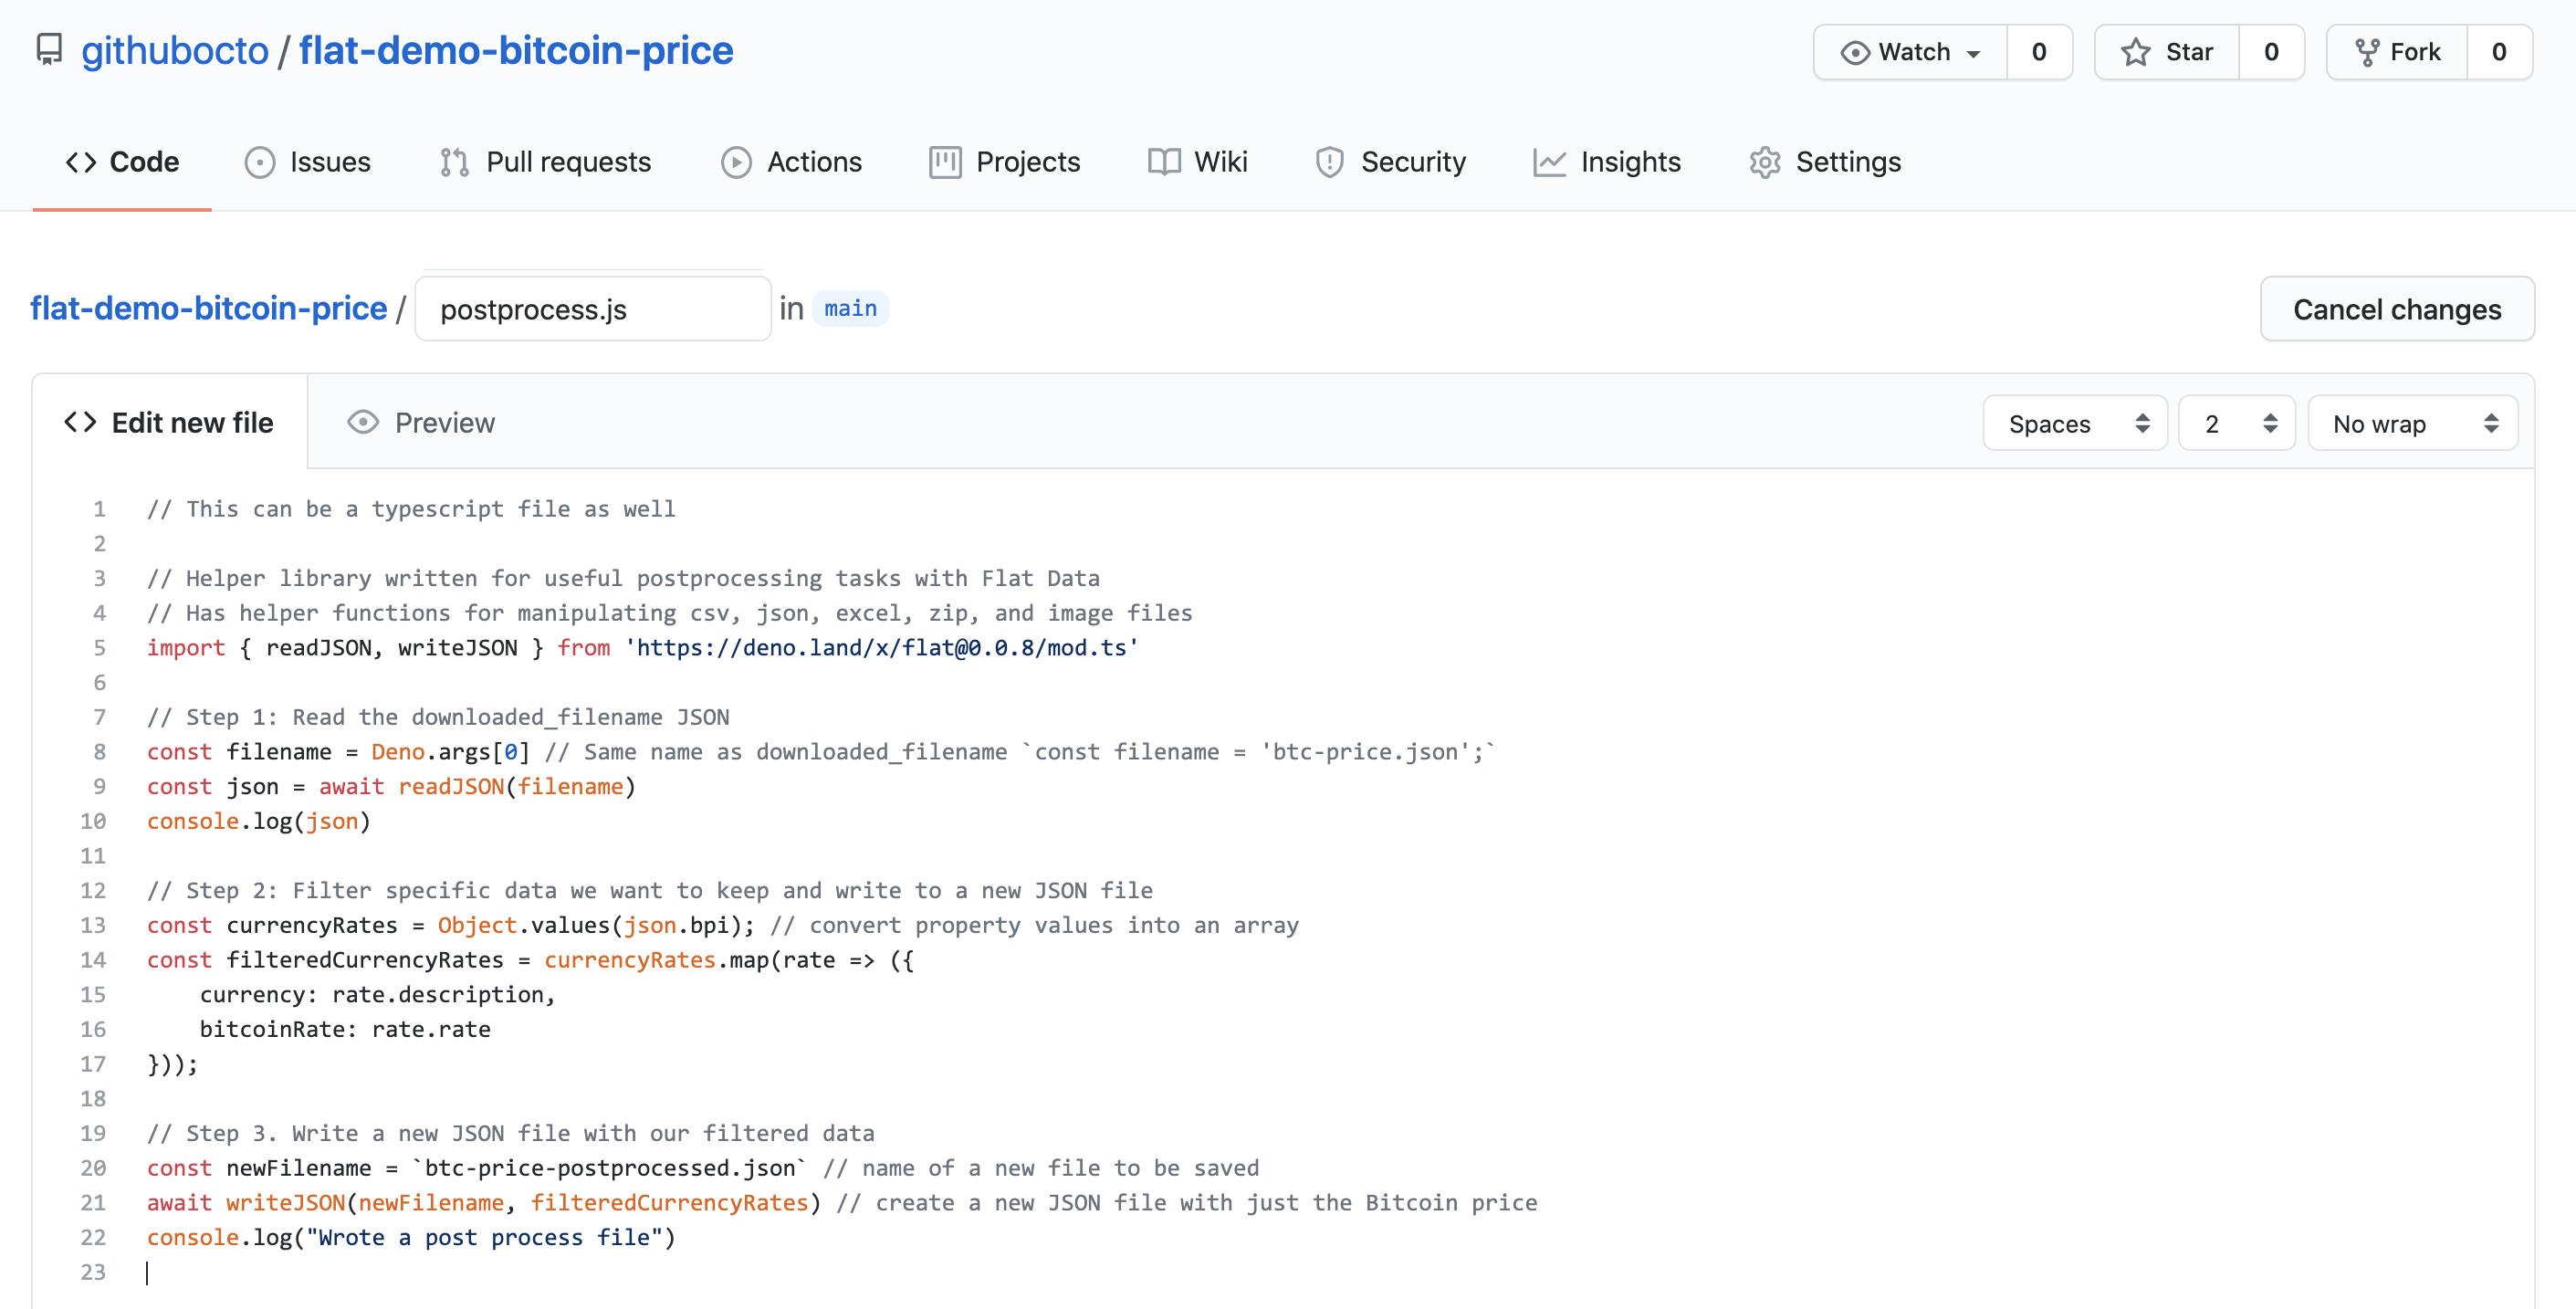
Create a postprocess script: Create a new file in the repository and call it postprocess.js.
-
Add code to the postprocess script: The following code written in Javascript and using Deno (more on this in a bit) fetches a particular key inside of the JSON data that represents the Bitcoin price in USD. It saves just this data point into a new JSON file.
// This can be a typescript file as well

// Helper library written for useful postprocessing tasks with Flat Data
// Has helper functions for manipulating csv, json, excel, zip, and image files
import { readJSON, writeJSON } from 'https://deno.land/x/[email protected]/mod.ts'

// Step 1: Read the downloaded_filename JSON
const filename = Deno.args[0] // Same name as downloaded_filename `const filename = 'btc-price.json';`
const json = await readJSON(filename)
console.log(json)

// Step 2: Filter specific data we want to keep and write to a new JSON file
const currencyRates = Object.values(json.bpi); // convert property values into an array
const filteredCurrencyRates = currencyRates.map(rate => ({
    currency: rate.description,
    bitcoinRate: rate.rate
}));

// Step 3. Write a new JSON file with our filtered data
const newFilename = `btc-price-postprocessed.json` // name of a new file to be saved
await writeJSON(newFilename, filteredCurrencyRates) // create a new JSON file with just the Bitcoin price
console.log("Wrote a post process file")
-
Add a postprocess parameter to flat.yaml: Go back to the flat.yaml file and click on the pencil icon to edit it. Add the
postprocessline below downloaded_filename. This tells the Flat Action that we want to pass the downloaded file through a script that will process it and do additional work.- name: Fetch data uses: githubocto/flat@v3 with: http_url: https://api.coindesk.com/v2/bpi/currentprice.json # The data to fetch every 5 minutes downloaded_filename: btc-price.json # The http_url gets saved and renamed in our repository as btc-price.json postprocess: postprocess.js # A postprocessing javascript or typescript file
-
Check the new postprocessed-btc-price.json file: In the repository you should now see a new file with just the Bitcoin price in USD.
-
Remove the original downloaded data (optional): If you optionally only wanted to keep the postprocessed-btc-price.json file and not the original data, you can add the following lines to the postprocess script to simply delete it before it gets committed to the repository.
import { readJSON, writeJSON, removeFile } from 'https://deno.land/x/[email protected]/mod.ts'

const filename = Deno.args[0]

…

await removeFile(filename) // or await removeFile(‘btc-price.json’)
💡What is Deno?💡
You might be wondering what Deno is and why the postprocess script was written in this language. Deno was created by the same engineers who wrote Node.js, but it was designed to improve on the capabilities of Node.js. Think of it as the successor to Node.js. Deno is more secure by default and does not need centralized package manager, to name just a few of it’s very handy features.
If you know how to program with Node, Deno programming will be a breeze and extremely familiar. To get you started quickly, we’ve written a handful of examples and helper functions to get you started. Go to this repo to learn more.
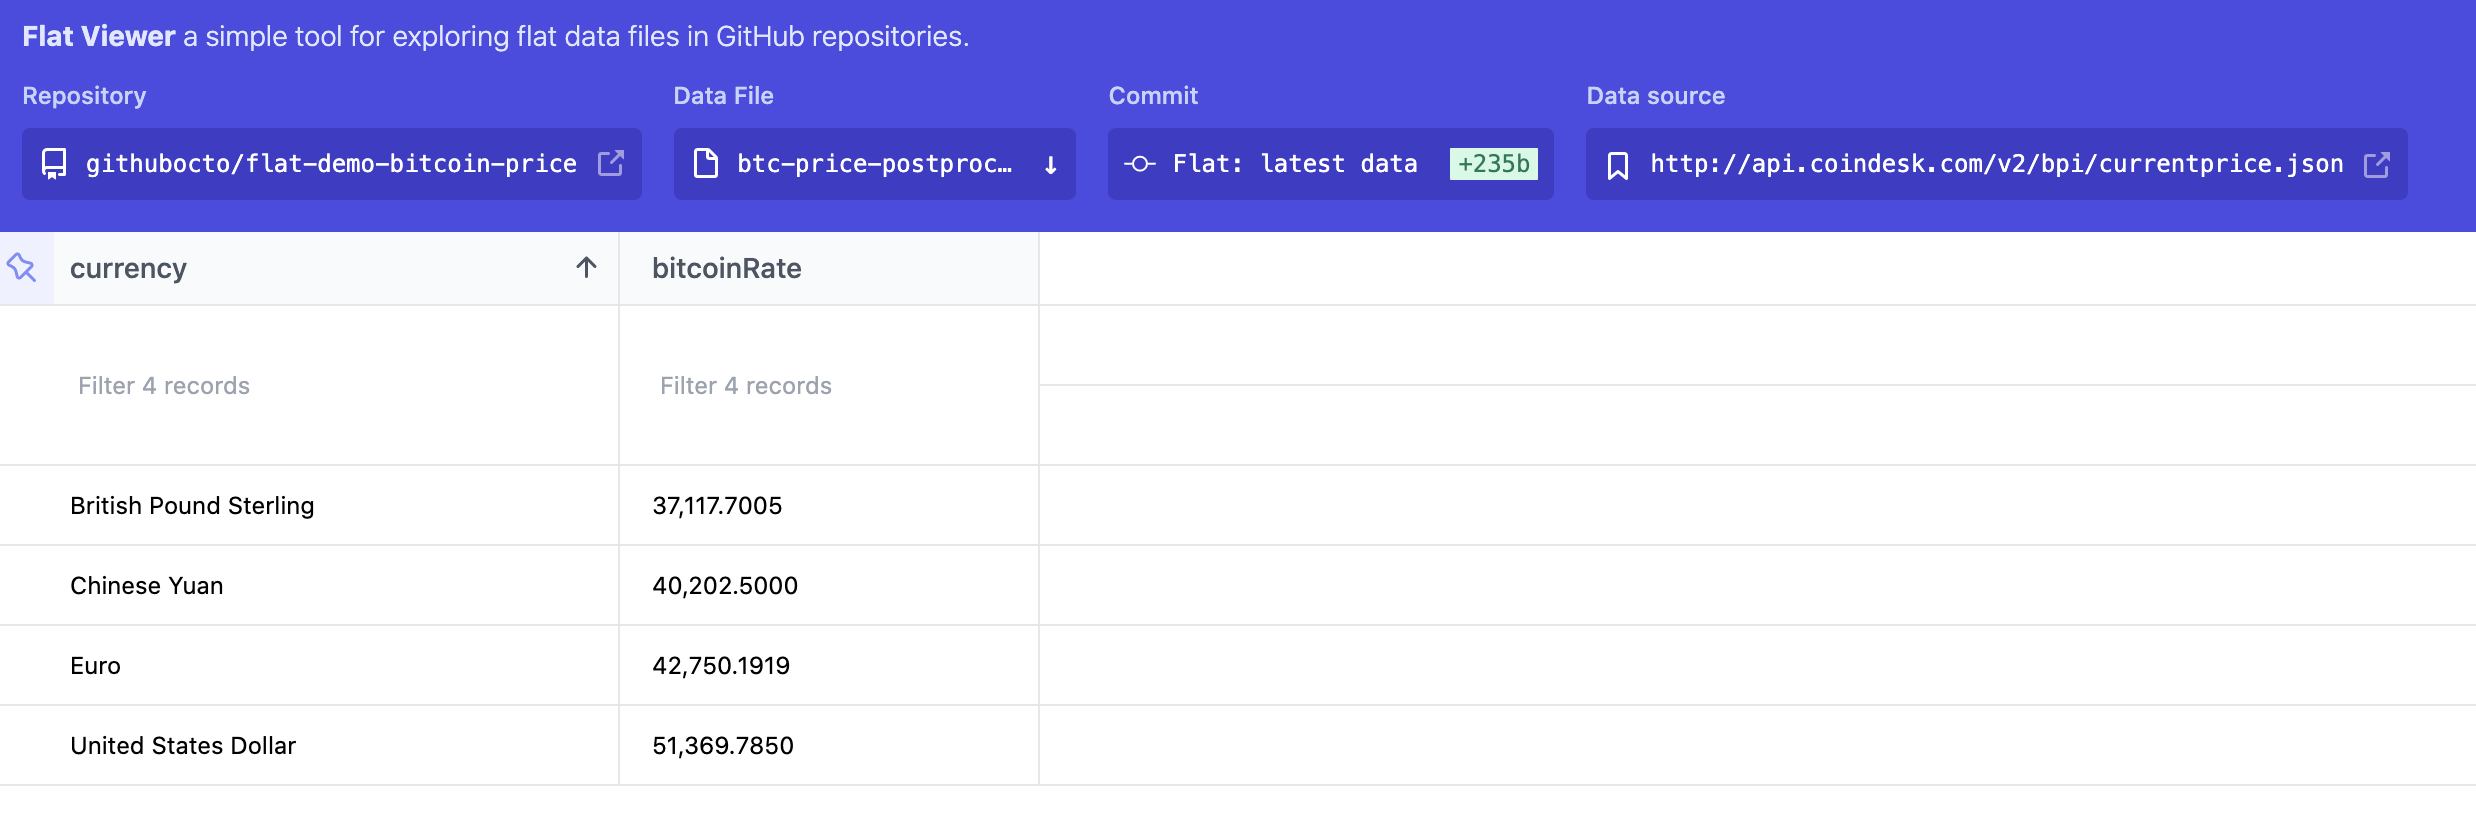
For tabular data, we built a Flat Viewer app you can use to visualize your data files with a GUI.
Check out the Flat Viewer for this repo: https://flatgithub.com/githubocto/flat-demo-bitcoin-price
How to use Flat Viewer:
-
Make sure your repository is public: Although you can use the Flat Action with any repository — whether private or public — the Flat Viewer only works with public repositories for now.
-
Go to the Flat Viewer URL for your repository: all you need to do to go to the Flat Viewer is change the domain of your repository from “github.com” to “flatgithub.com”. In this example instead of using the URL: https://github.com/githubocto/flat-demo-bitcoin-price we want to navigate to https://flatgithub.com/githubocto/flat-demo-bitcoin-price
-
Select ‘btc-price-postprocessed.json’ from the dropdown: you should be able to see the json file data in a neat tabular format. This is a super simple file, but we provide more useful filtering and formatting features for more complex files.
-
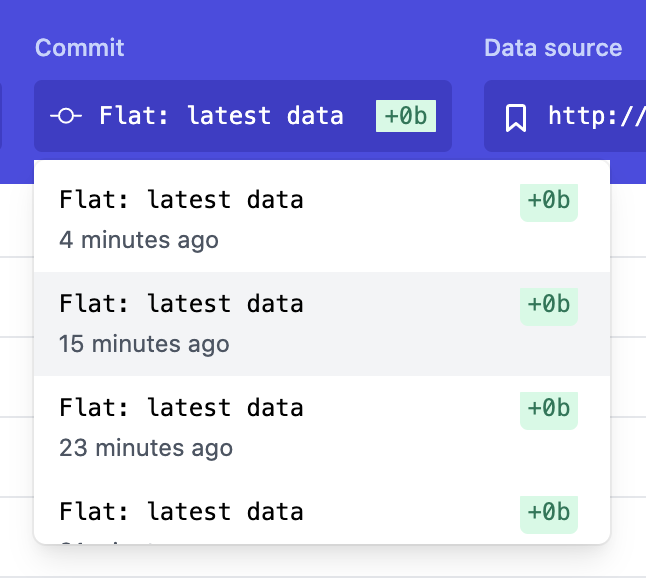
Look at the commit history: in the commit dropdown you can select previous versions of the file and see how the bitcoin price has changed over time.
You can also create Flat Data Action files easily with Flat Editor, a VSCode extension: https://github.com/githubocto/flat-editor.
