-
-
Notifications
You must be signed in to change notification settings - Fork 220
Panels
AudioKit Synth One has six editor Panels which allow you to alter the parameters which control the sound characteristics of each Preset. This section provides a high level overview of each Panel, and detailed information about each parameter or control.
Editing Parameters
Most controls are adjusted by pressing on an onscreen object like a dial, button, or slider and moving your finger up ⬆️ or down ⬇️. A few controls are adjusted by sliding left ⬅️ or right ➡️. Others are simple on/off toggle switches. For the most part these should be intuitive. You may also attached external equipment such as MIDI or Bluetooth Keyboards or other control surface devices. You can "train" these to manipulate Synth One parameters as well. Experiment to find our what works best for you.
Synth One Panels:
- Main (Oscillator Settings)
- FX (Effects Settings)
- SEQ (Sequencer / Arpeggiator Settings)
- TUNE (Tuning Settings)
- PAD (Performance Touch Pads)
- HAQ (Developer "Hacker" Settings)
To navigate amongst Panels use the Panel Navigator to the right of each Panel. If you want to show two Panels at once, tap the Hide button to the upper right of the piano keyboard.
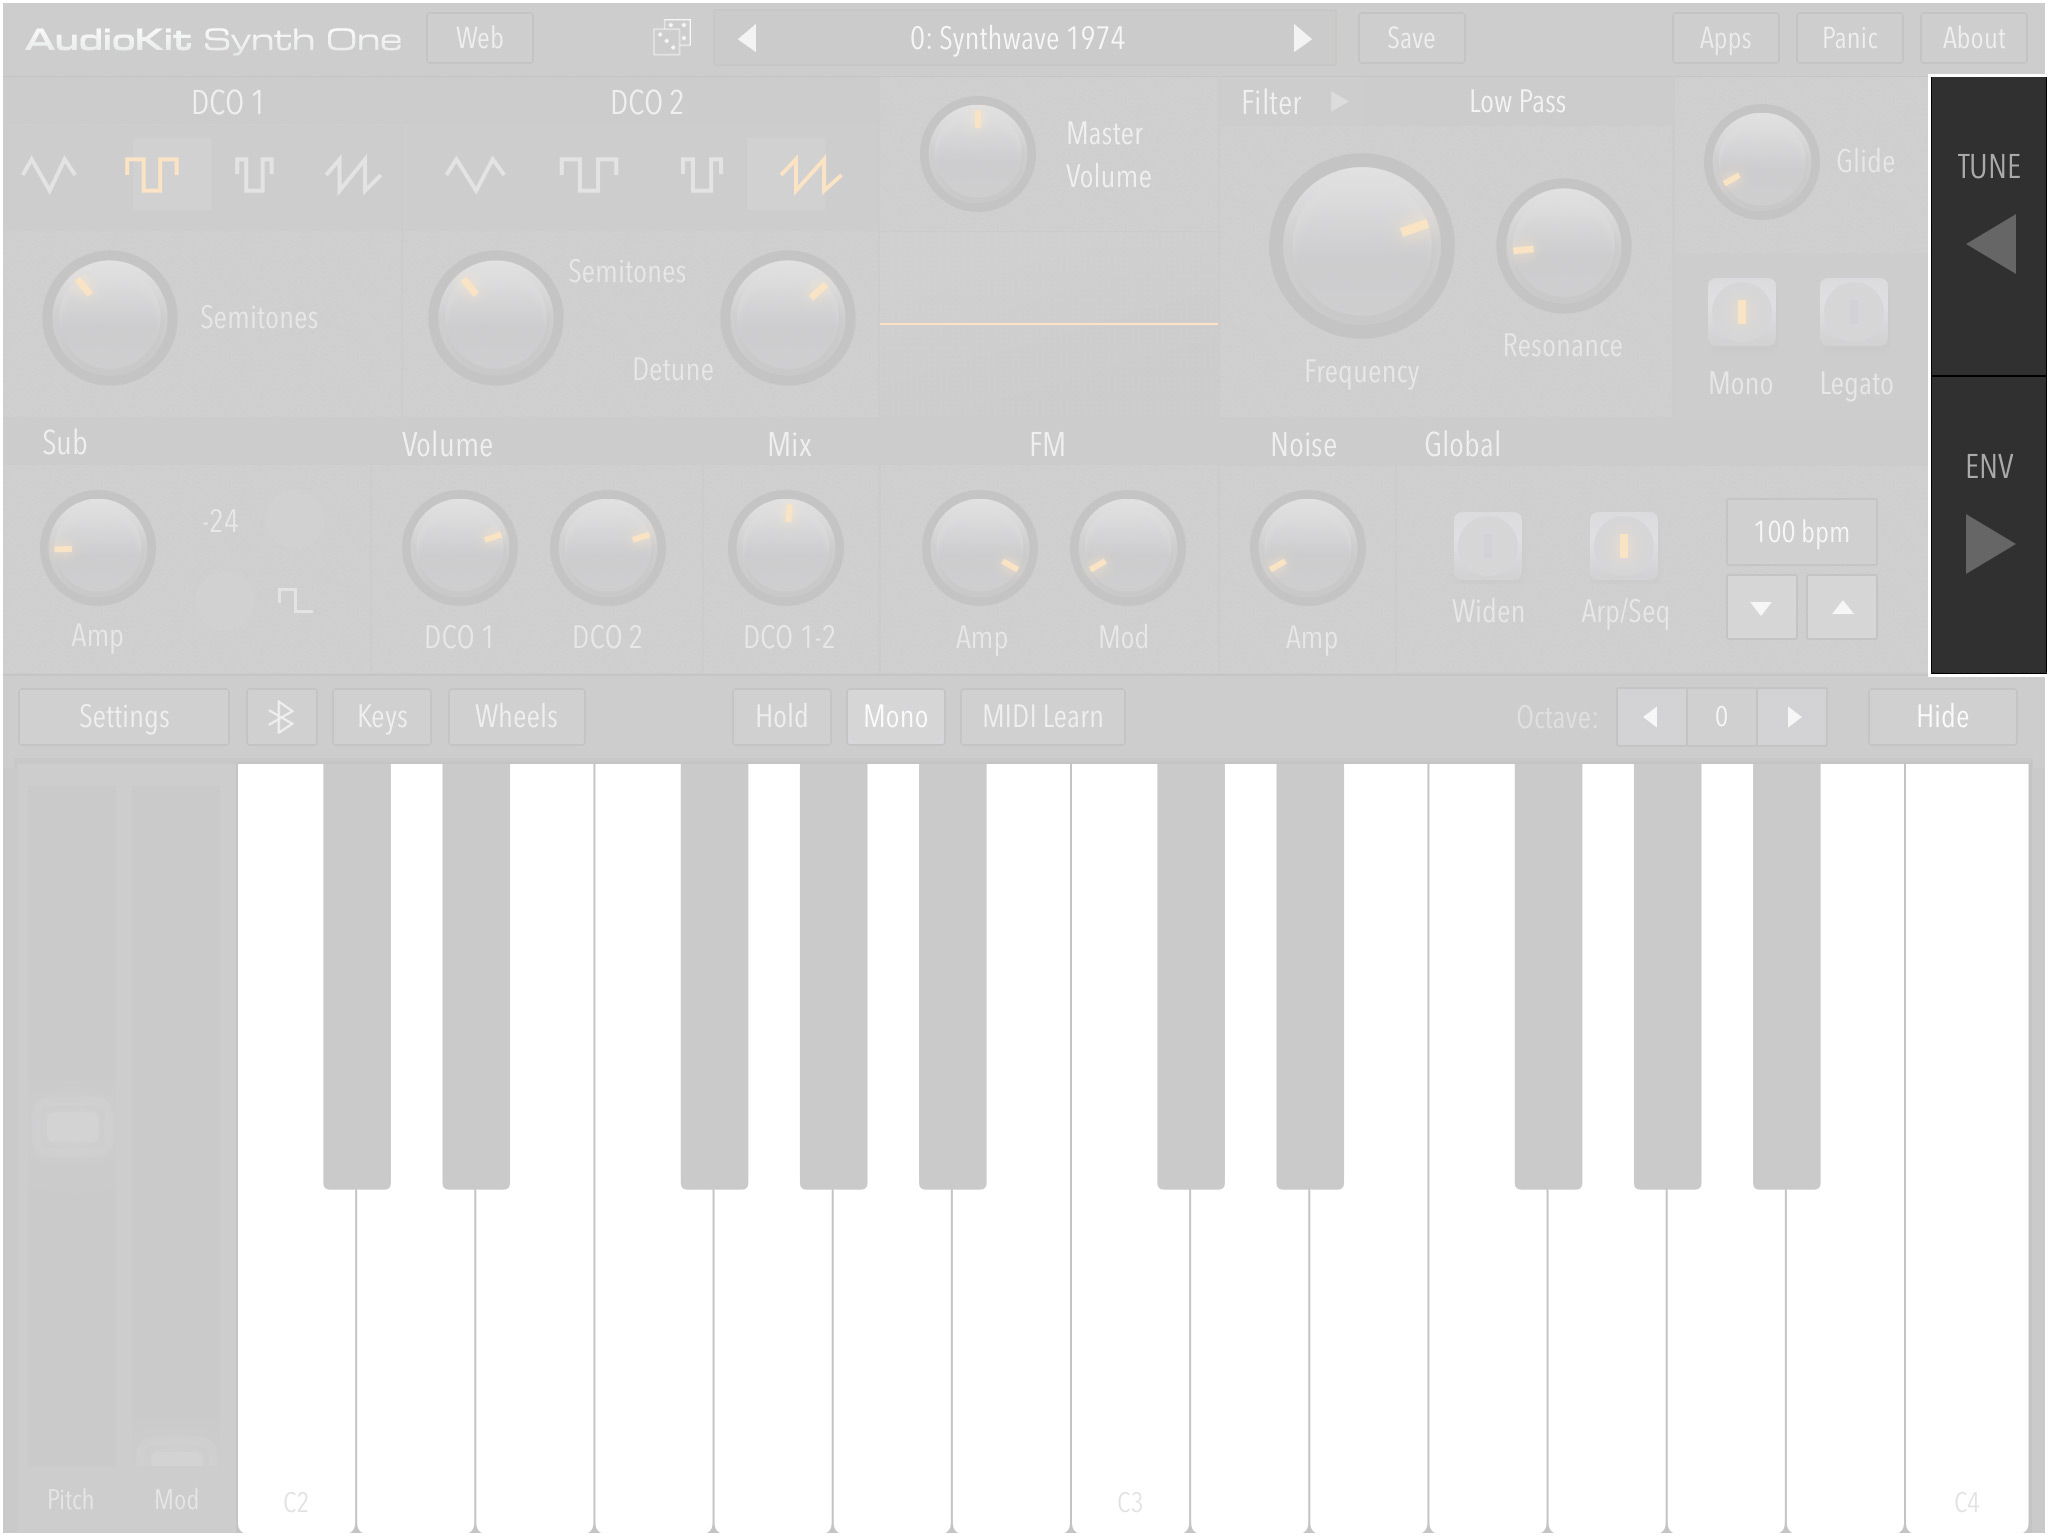
Panel Navigator
This panel contains some of the most commonly used elements of Synth One. These could also be referred to as the "Performance Characteristics" of a Synth One Preset. When playing Synth One, these controls can radically effect the overall character of the sound Preset being used. For example, adjusting the Frequency Dial (which is also often modified by the MOD slider), often modifies a sound between a high frequency/tinny/sharp sound, to a fatter/rounder/bass-like one.
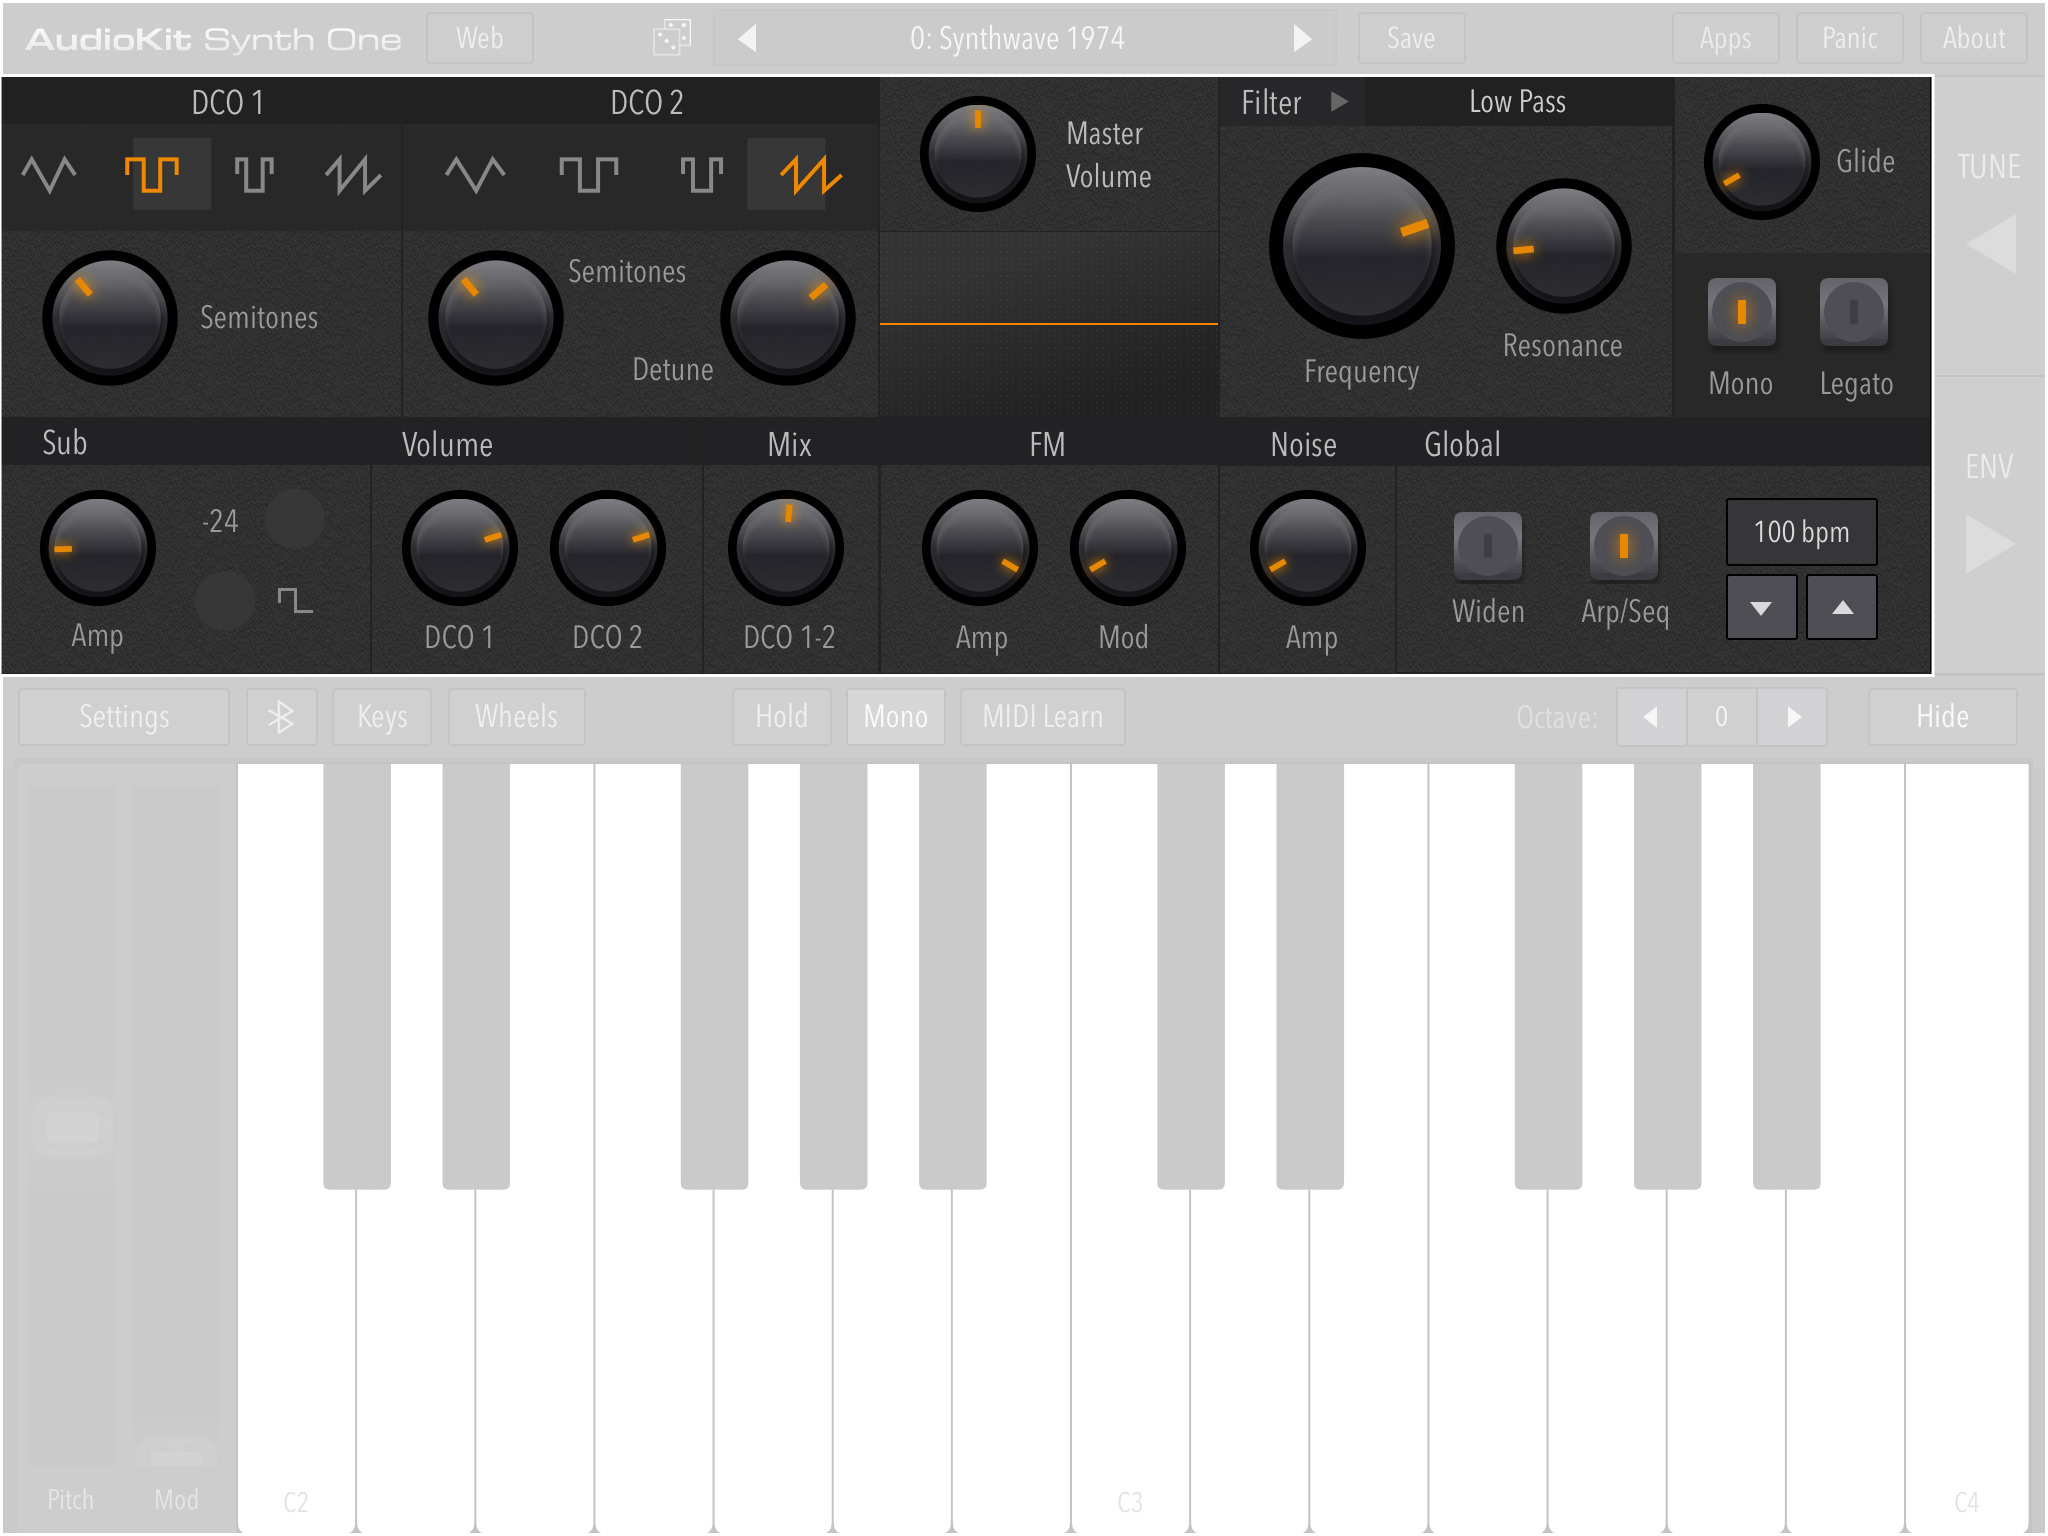
Main Panel
Oscillators 1 & 2
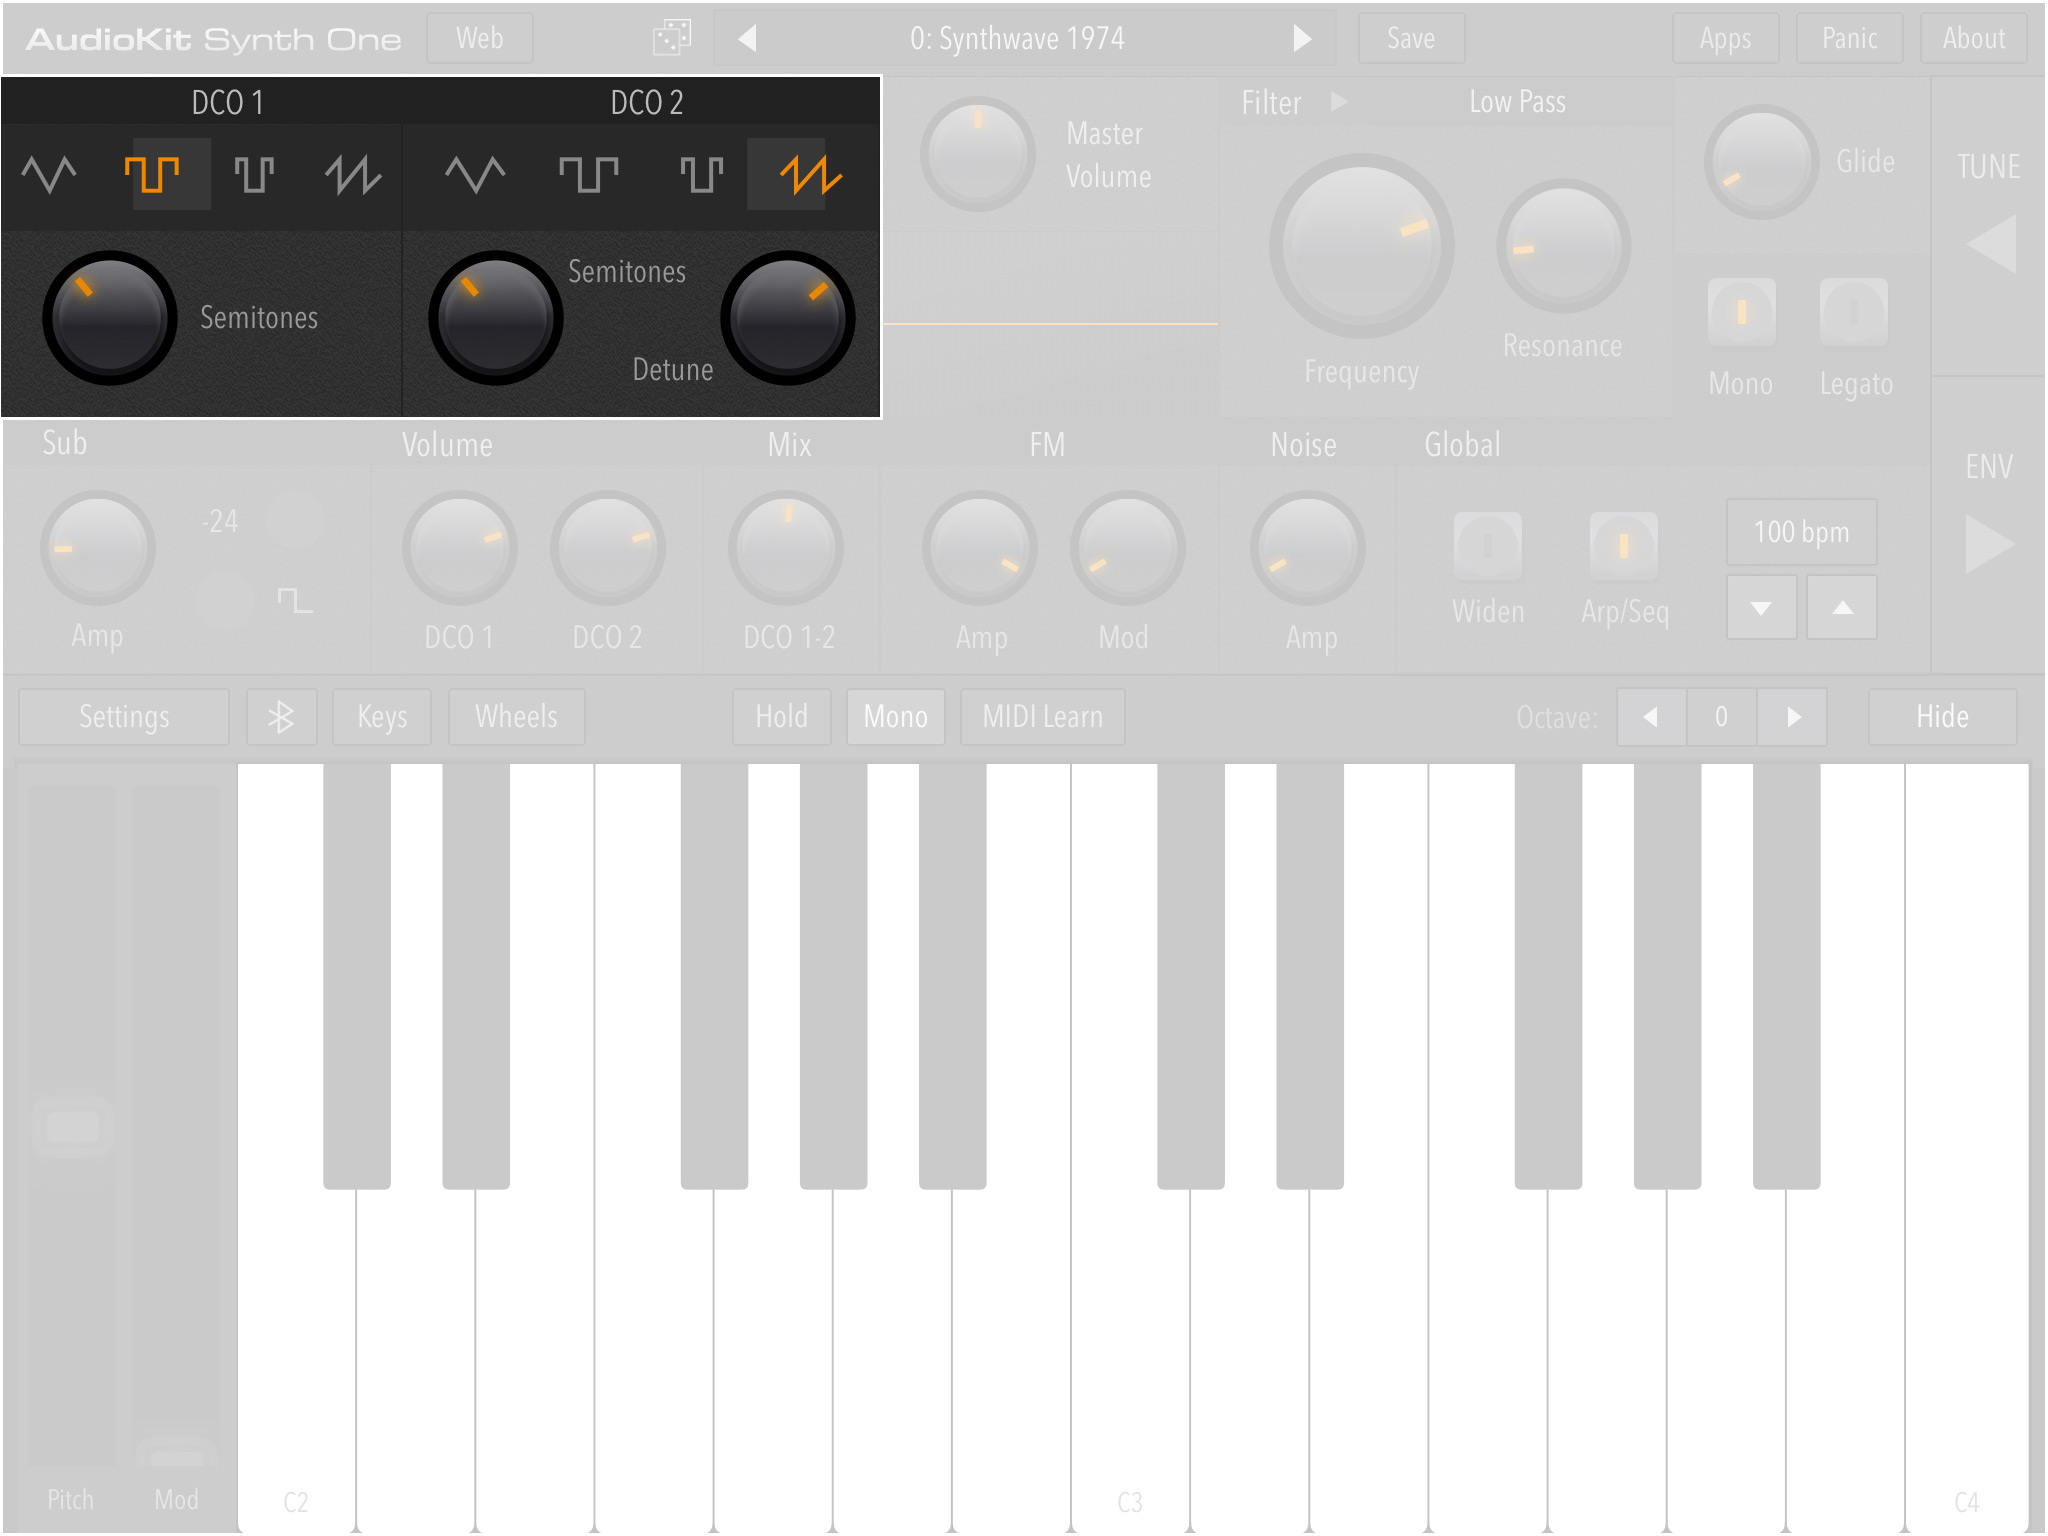
Main Panel: DCO 1 / DCO 2
The Waveform Type slider zone of each DCO is not simply 4 wavetable shapes (triangle, wide square, thin square, and saw) to select from, rather it's a dynamic polymorphic waveform slider that allows subtle modification between the available wave shapes. As you move horizontally across the shapes, you can hear the delicate differences between them as they blend smoothly together.

DCO 1 (Digitally Controlled Oscillator No. 1)
- Waveform Type (Triangle, Wide Square, Thin Square, Saw): Controls waveform shape/timbre/character.
- Semitones control dial: Controls note value between -12 and +24 semitones.

DCO 2 (Digitally Controlled Oscillator No. 2)
- Waveform Type (Triangle, Wide Square, Thin Square, Saw): Controls waveform shape/timbre/character.
- Semitones control dial: Controls note value between -12 and +24 semitones.
- Detune control dial: Controls the note detune value between -4.00 and +4.00 Hz. This allows DCO 2 to shift softly in pitch which can create everything from pleasing accidental notes, or wildly disturbing shifts in tonal cadence. Perfect for everything from Jazz to Horror Soundtrack music!
Master Volume control dial: Controls the main output level of the current Preset
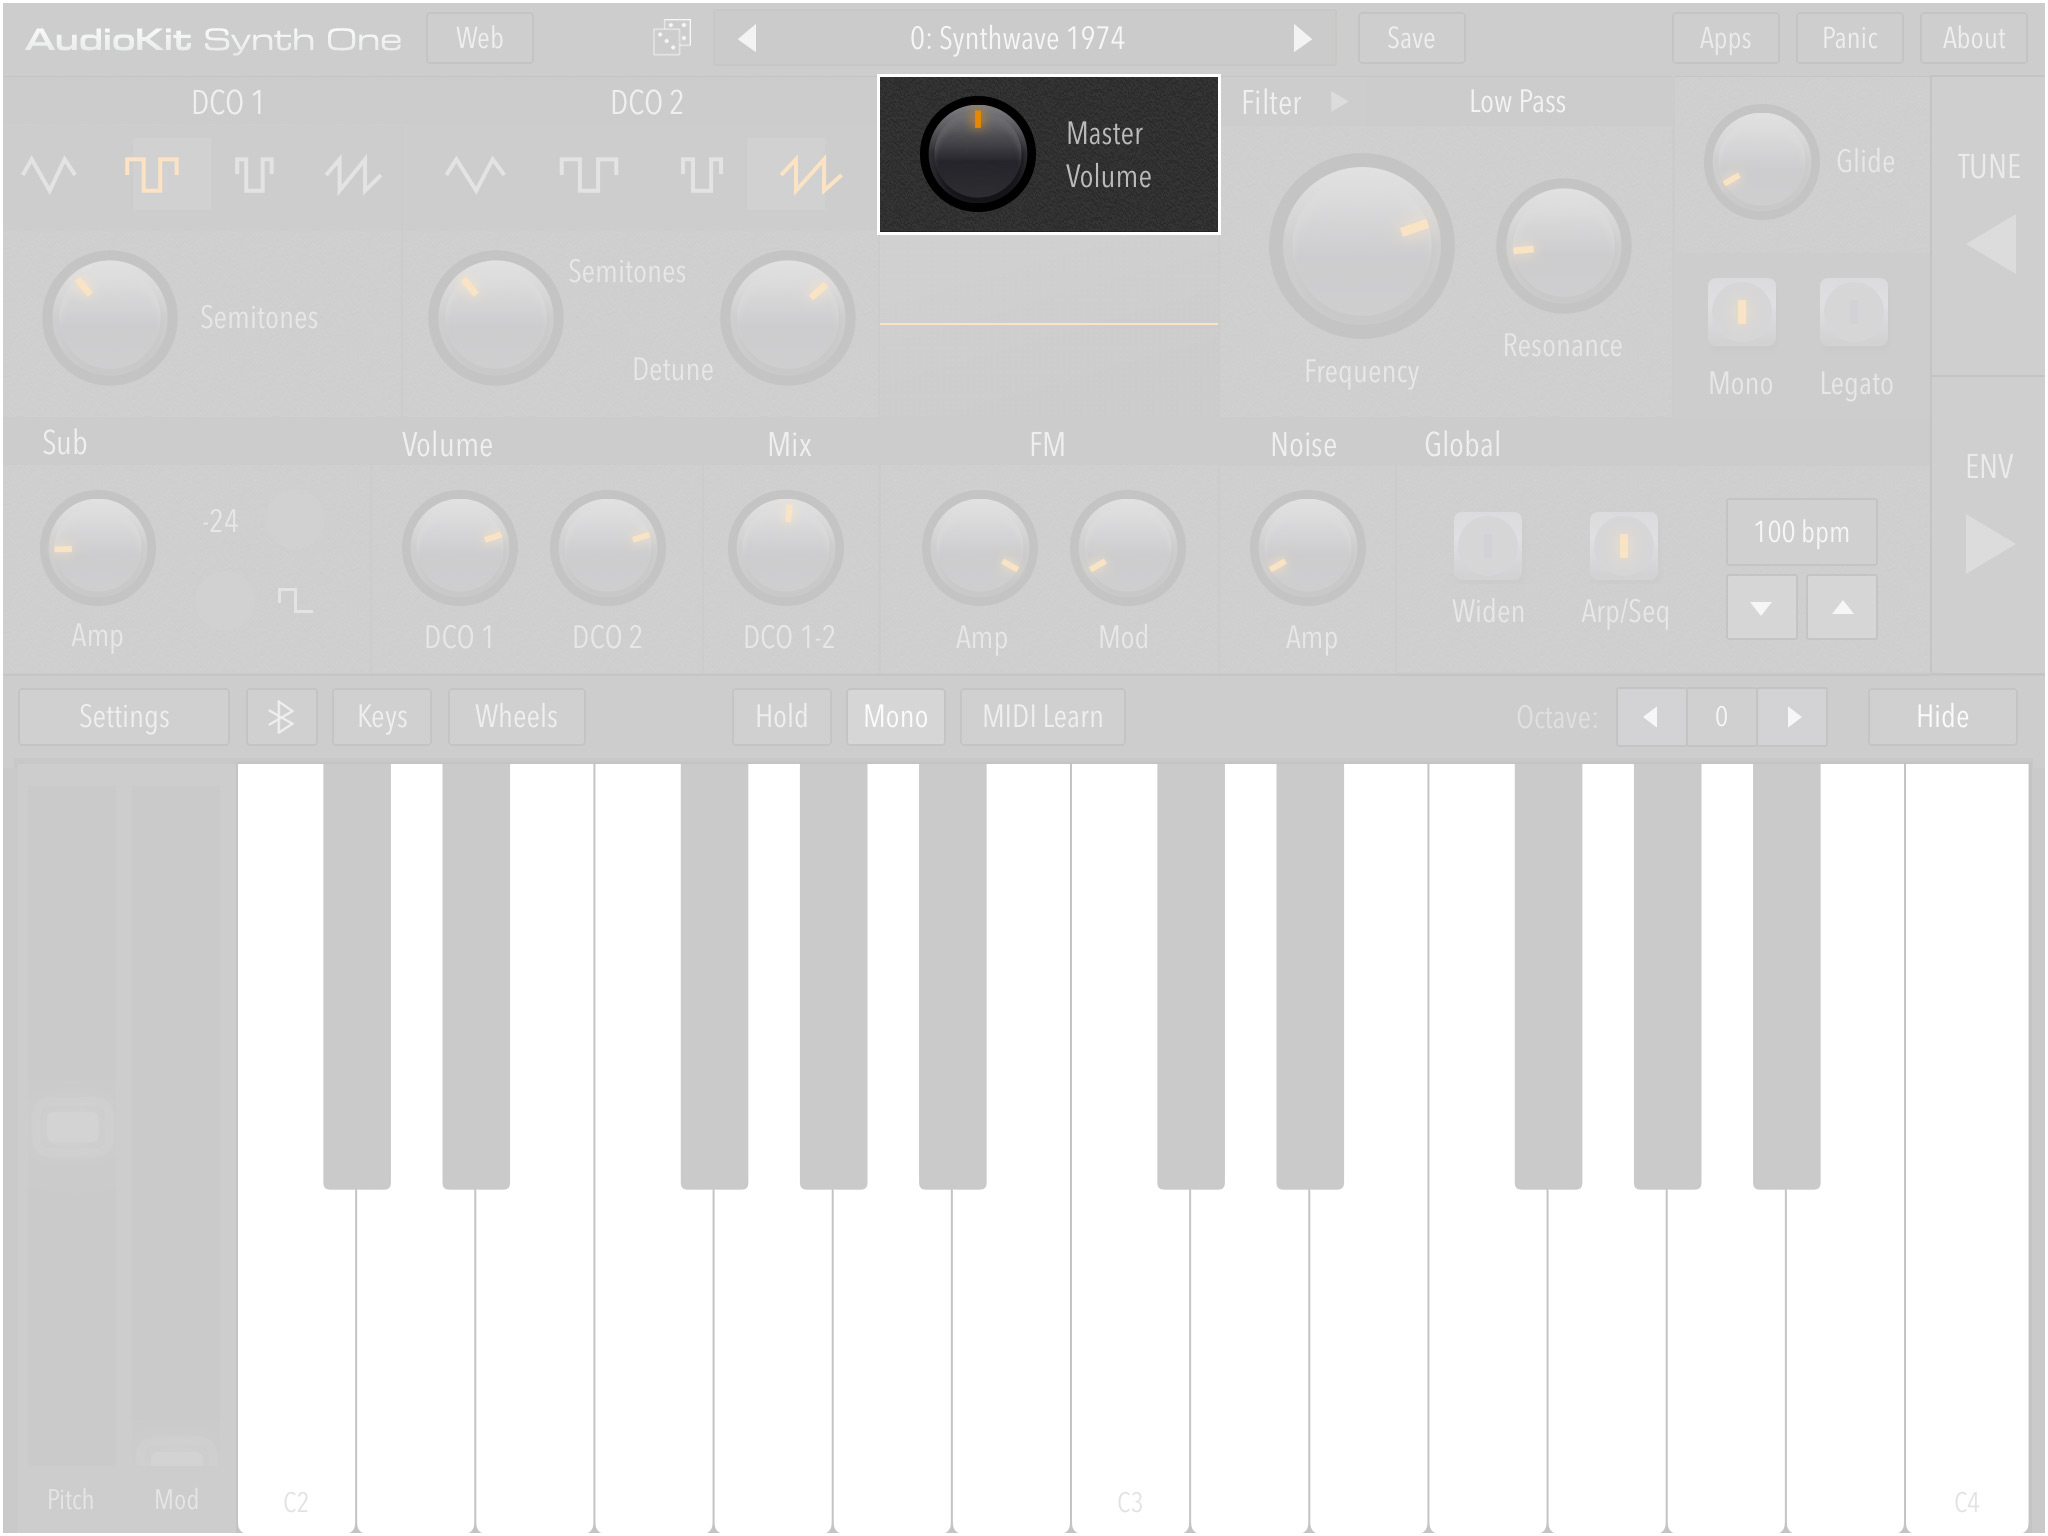
Main Panel: Master Volume
Slide up ⬆️ to increase the level of the Preset, up to 200% — Which is 100% louder than most other synthesizers available on the market today.
Slide down ⬇️ to decrease the overall level of the Preset, down to 0% — Completely silent, not sure why you would ever need to do this however, feature was clearly included for completeness.
Waveform Animation Window
Displays an animated waveform of the note(s) being played. Tap on the window to switch between Line and Fill rendering modes.
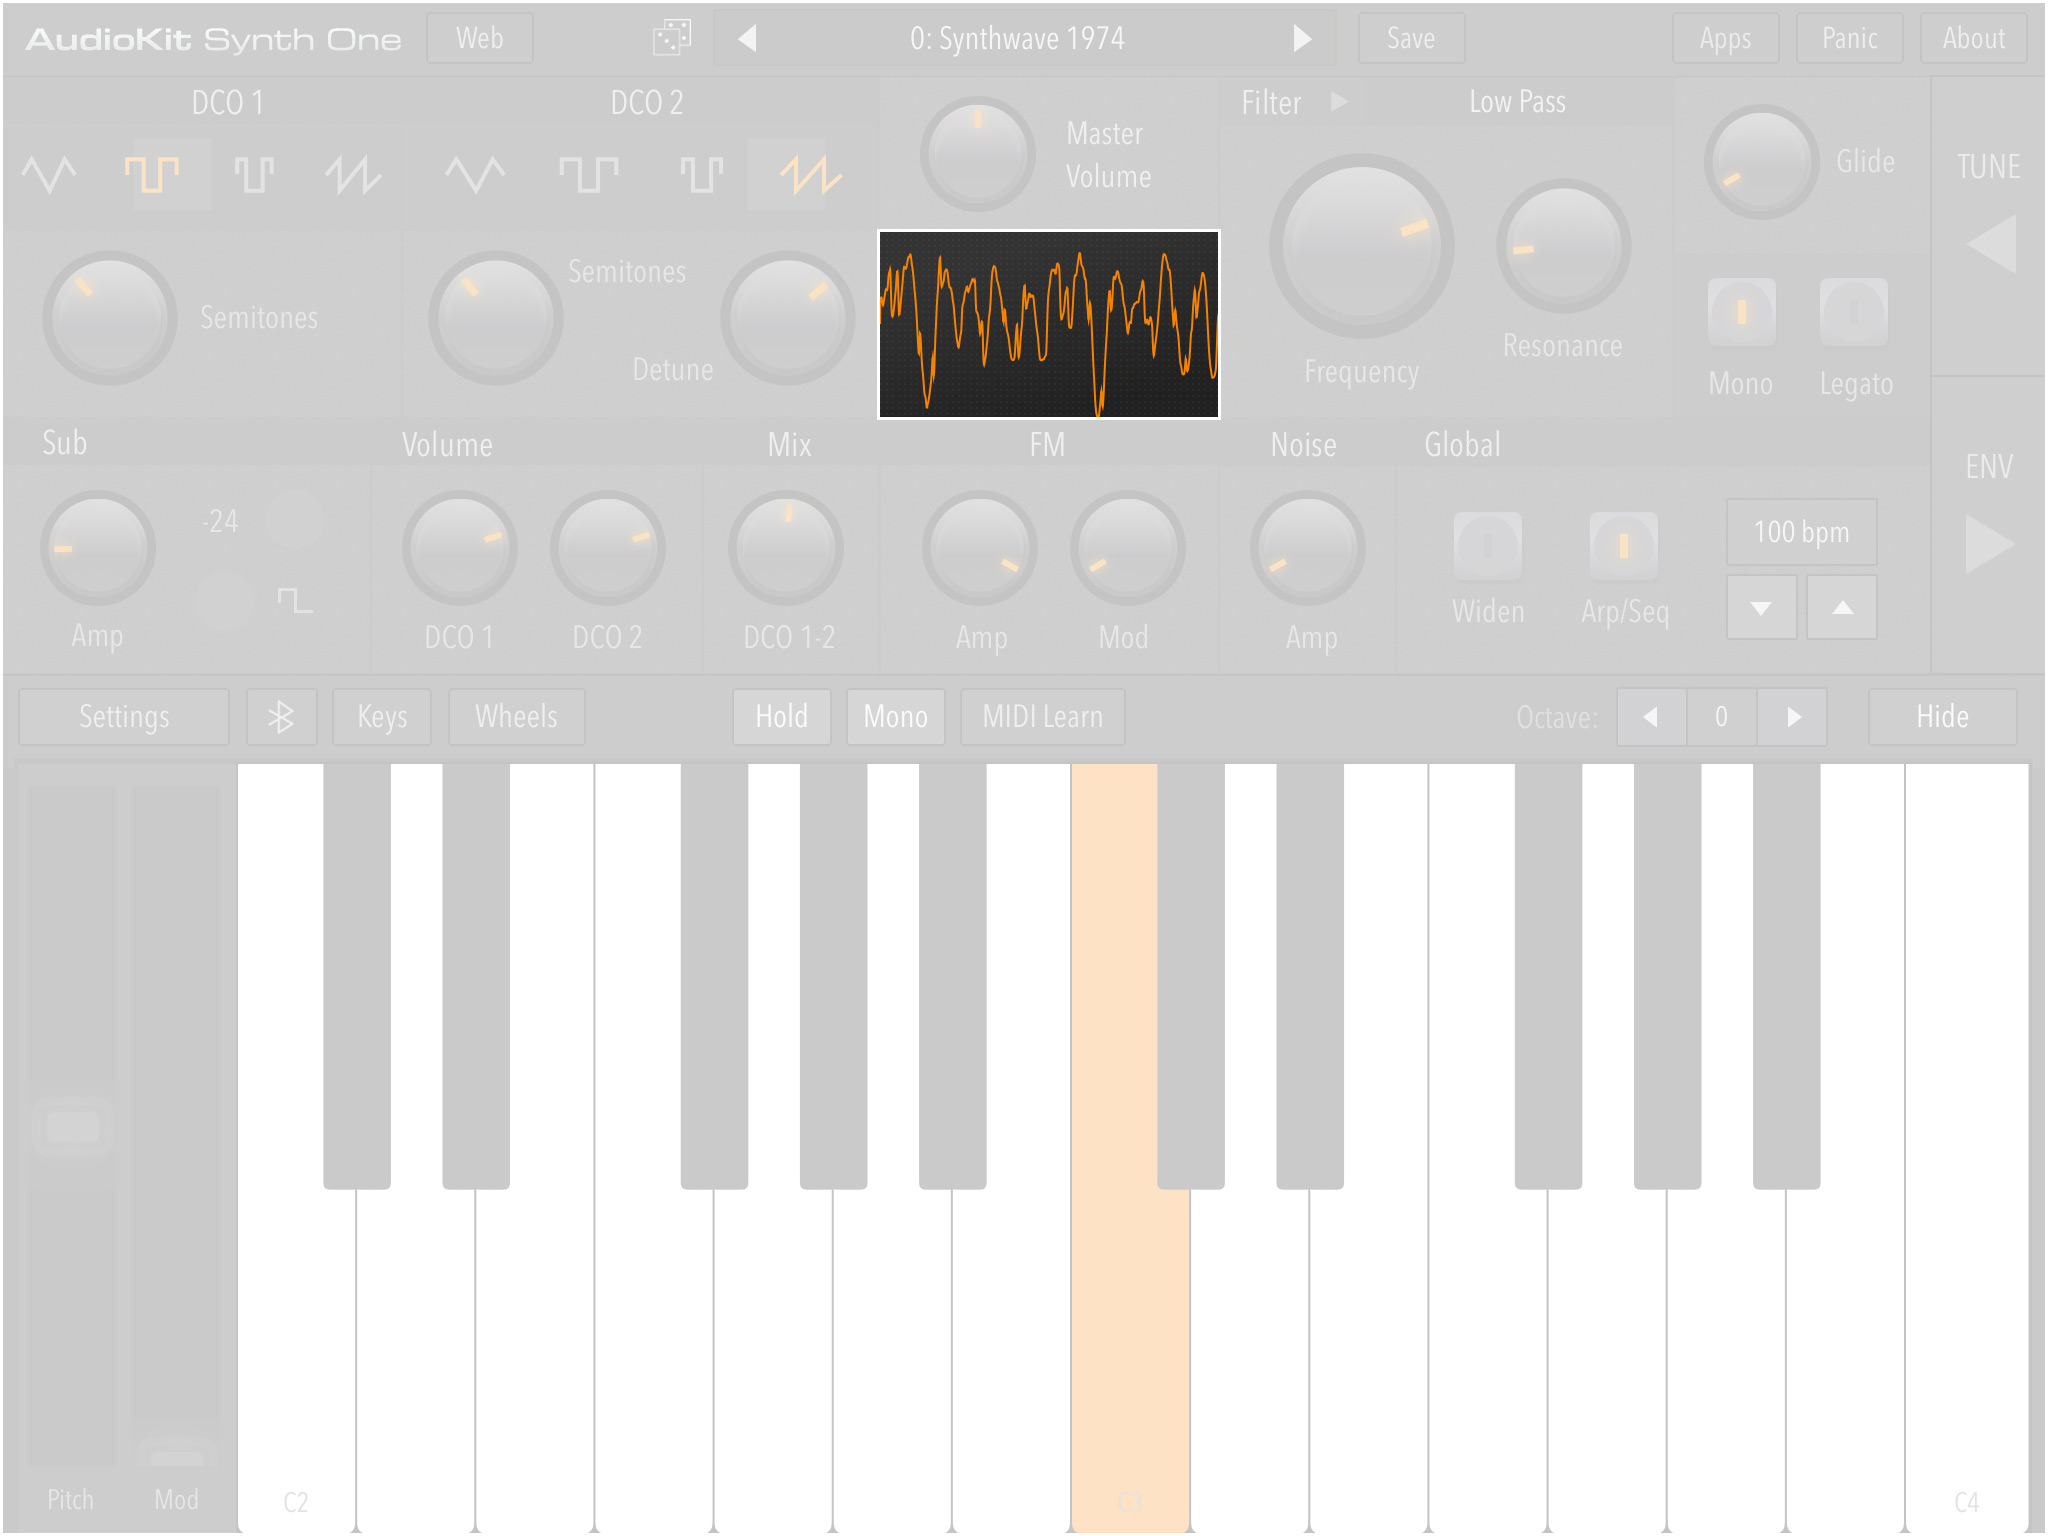
Main Panel: Waveform Animation Window
Filter
Use filters to restrict frequency ranges in presets, similar to using EQ to control specific audio spectrum frequencies to reduce/boost bass, mid, or treble frequencies. In this case, with far more precise control.
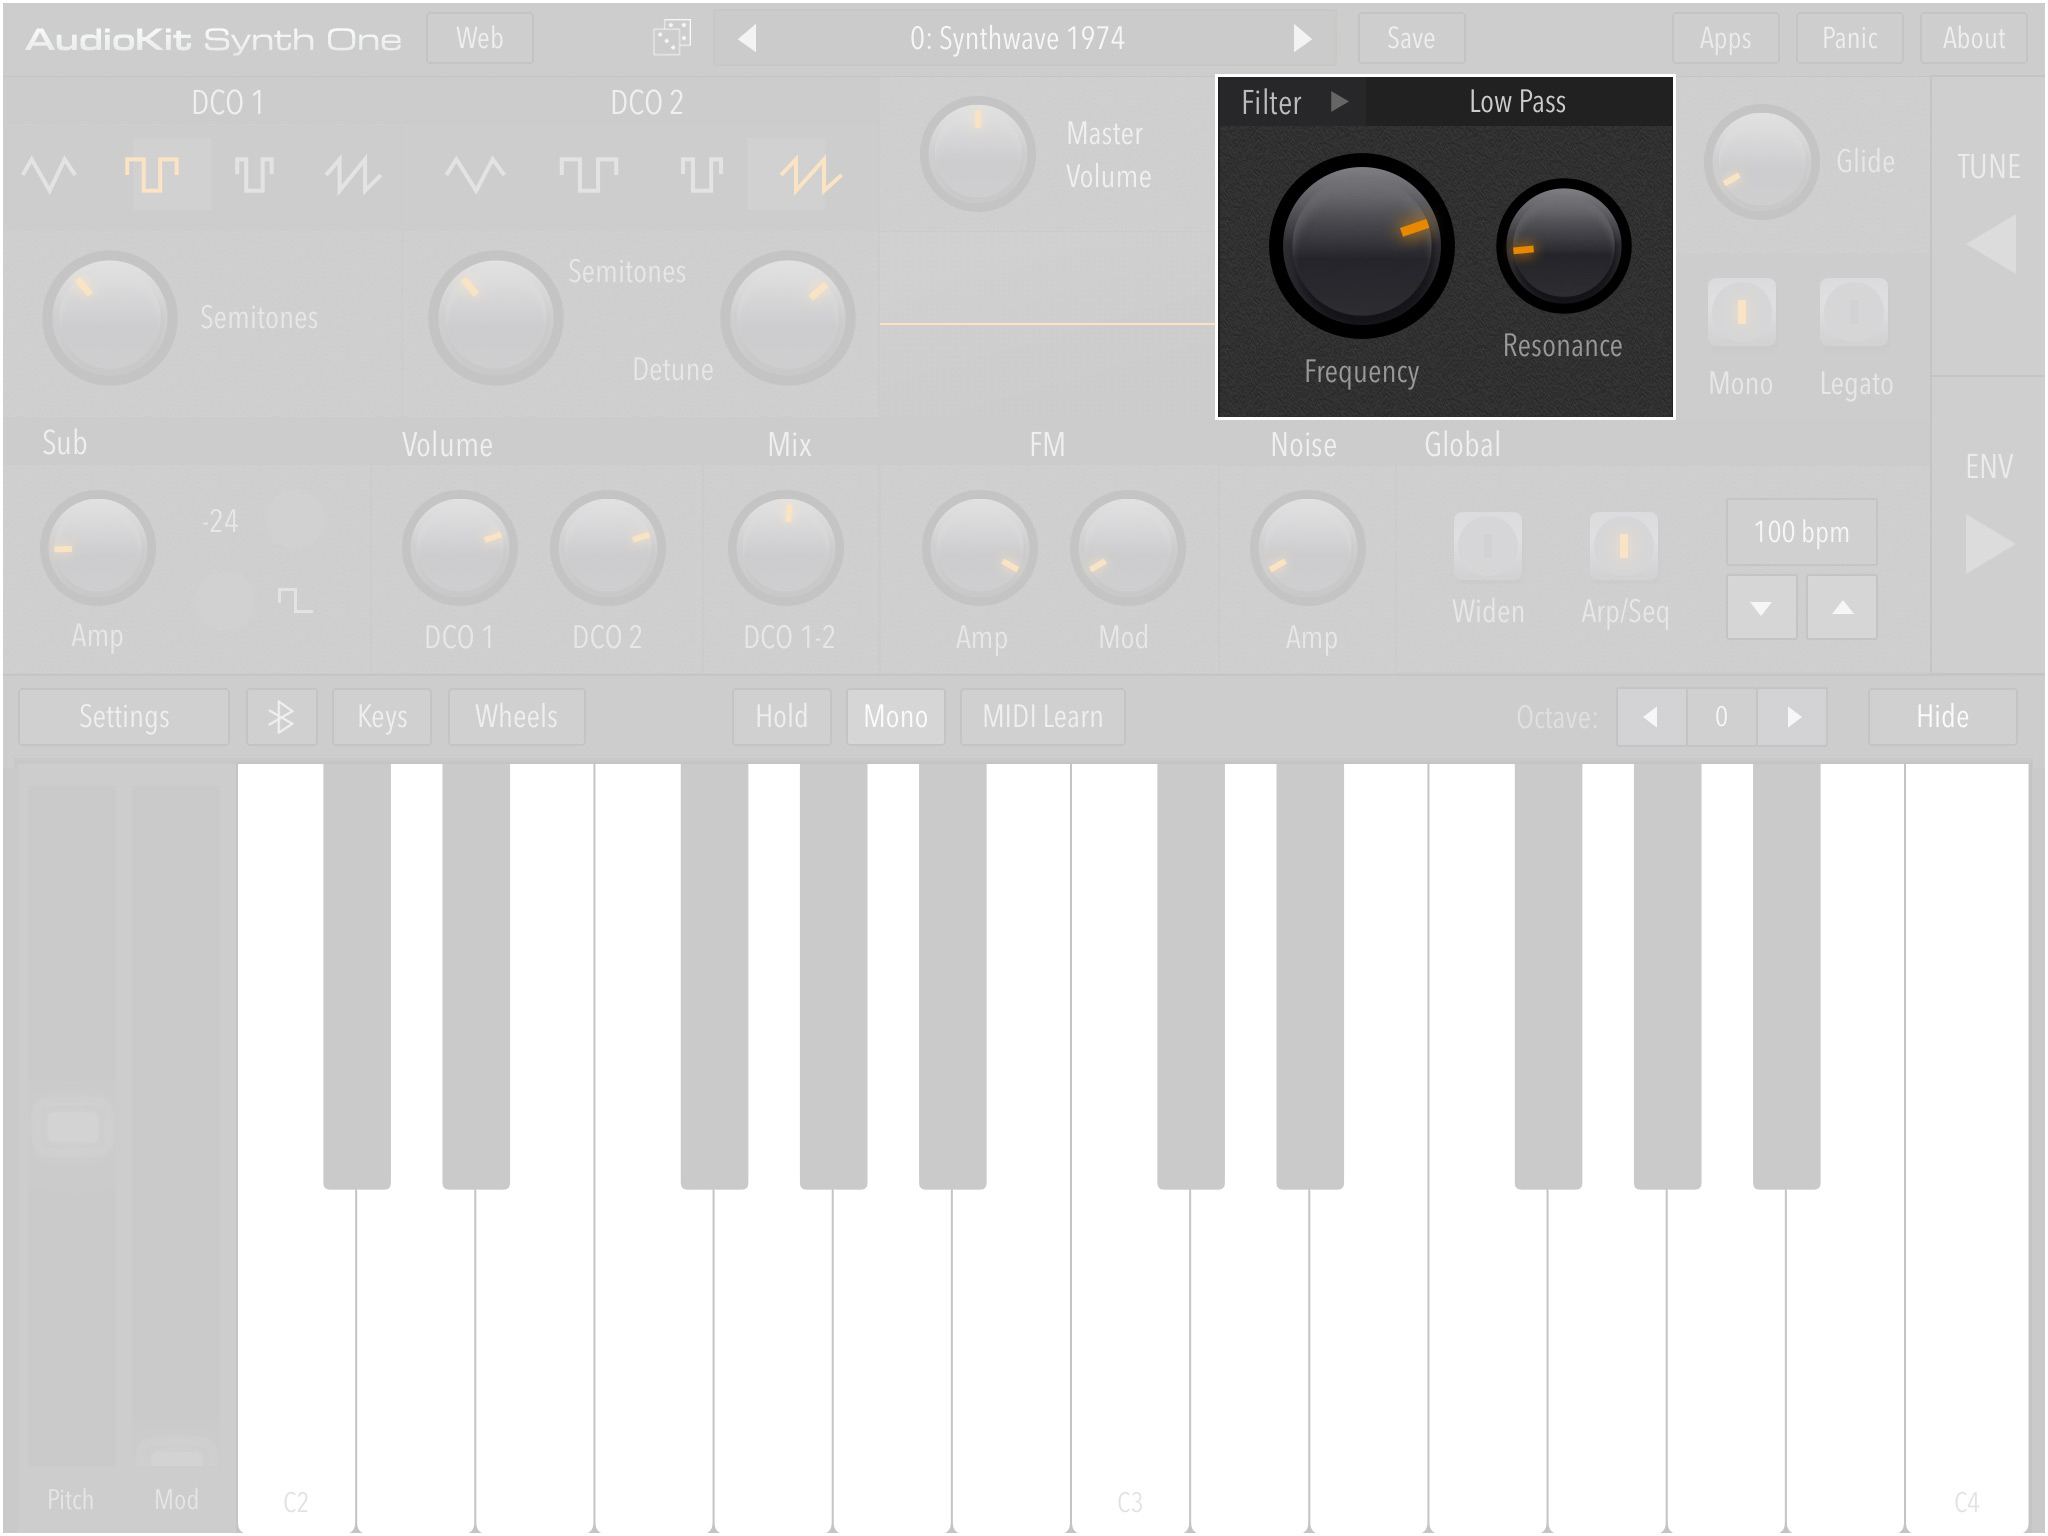
Main Panel: Filter
Type
Tap to the right of the Filter ▸ (Where it says Low Pass in the above image) to cycle between the 3 filter types.
-
Low Pass: This filter type is typically used for fatter, warmer analog-type sounds. Sound frequencies below Frequency cutoff value are allowed to 'pass-through" and frequencies above the cutoff are rejected.
-
Band Pass: This focused filter is typically used to create sounds that sit squarely in fairly specific sonic spectrum ranges, typically used more for special effects than anything else. Band Pass allows a range of frequencies within (
⚠️ ±64 Hz) of the Frequency Cutoff value to pass through while stopping all frequencies above and below this amount. -
High Pass: This filter type is typically used from brighter, thinner digital-like sounds. Sound frequencies above Frequency cutoff value are allowed to 'pass-through" and frequencies below the cutoff are rejected.
Frequency dial control: This dial controls the Filter value from 64 Hz to 22050 Hz
Resonance dial control: Controls emphasis added through feedback at the cutoff frequency. This often adds a phase-shift effect in presets.
Note Control
This section isn't labeled, but it's where you control note behavior/performance features of your keyboard.
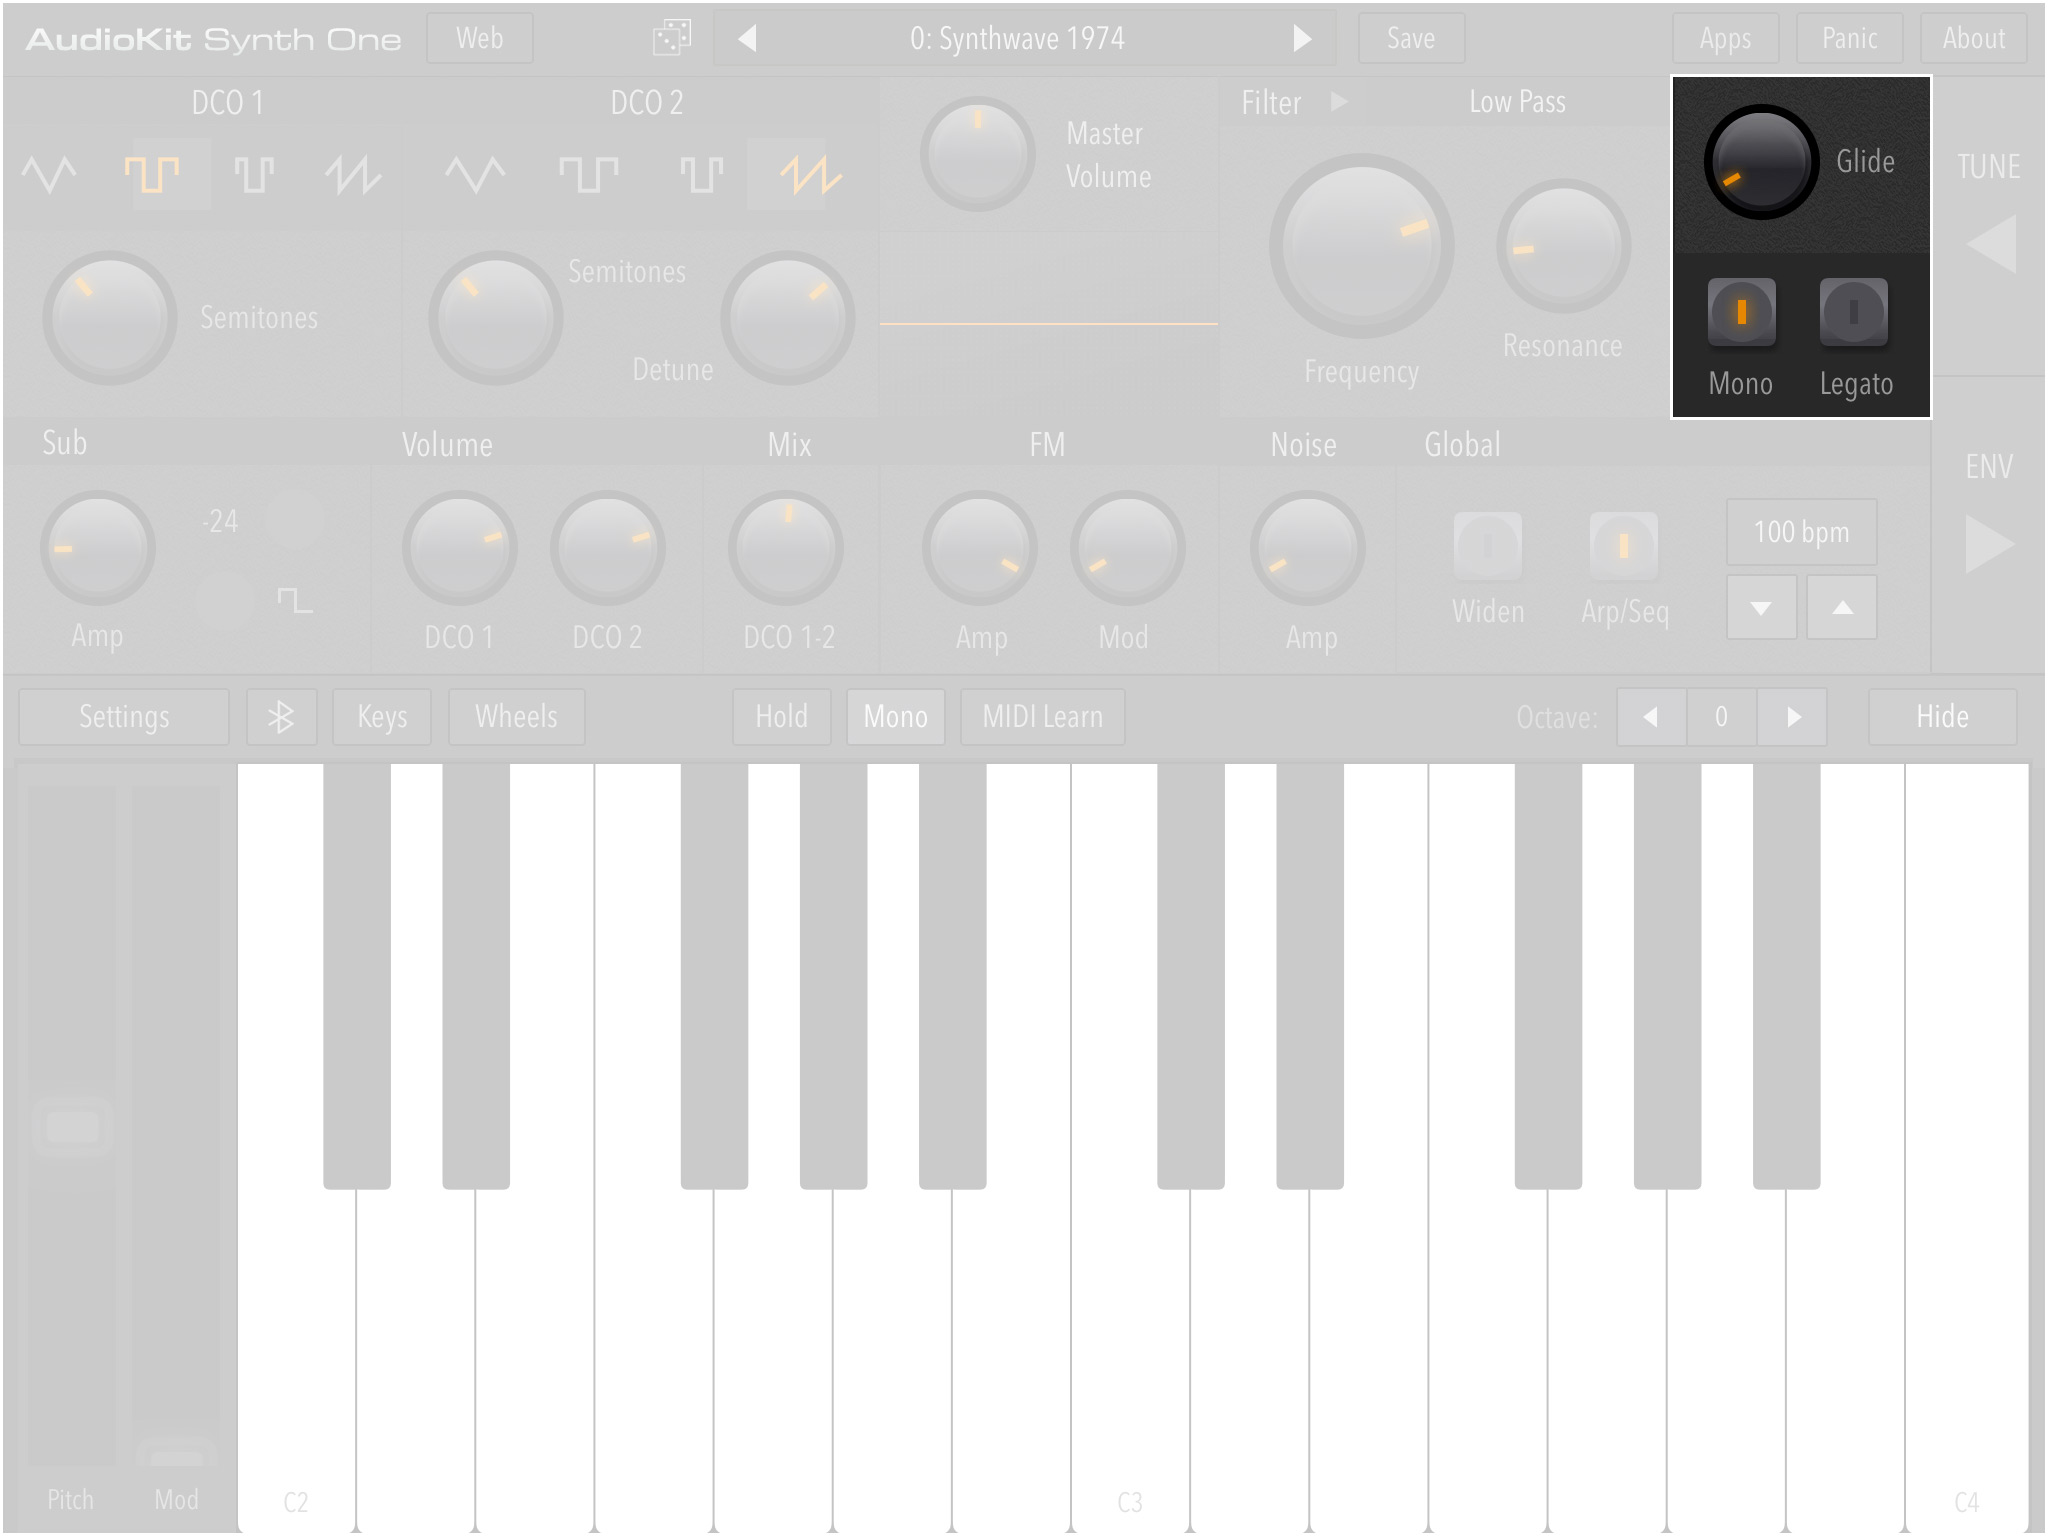
Main Panel: Note Control
Glide control dial: Controls the amount of "glide" (Legato) between notes. This is most noticeable when the Mono and Legato control switches are activated. Slide up and down to change the value of this parameter.
Mono toggle switch: This on/off control switches between monophonic (single-note) and polyphonic (multiple notes) modes. Typically mono is used for solo/arpeggiated/sequenced sounds where only one note is played at any given moment. When mono is off, multiple, polyphonic notes and chords are the order of the day.
Legato toggle switch: This on/off switch controls the smoothness of transition between one note and another. When Legato is on and Glide is high, notes will sound like the are "bending" into each other smoothly rather than abruptly. This can be used to simulate a finger slide of a traditional stringed instrument, or even otherworldy like a theremin.
Sub (Ocsillator)
This oscillator adds a pure sine or square wave either -12 or -24 semitones below the notes. This is all subjective of course, and the effects you achieve might be subtle. (See what we did there?)
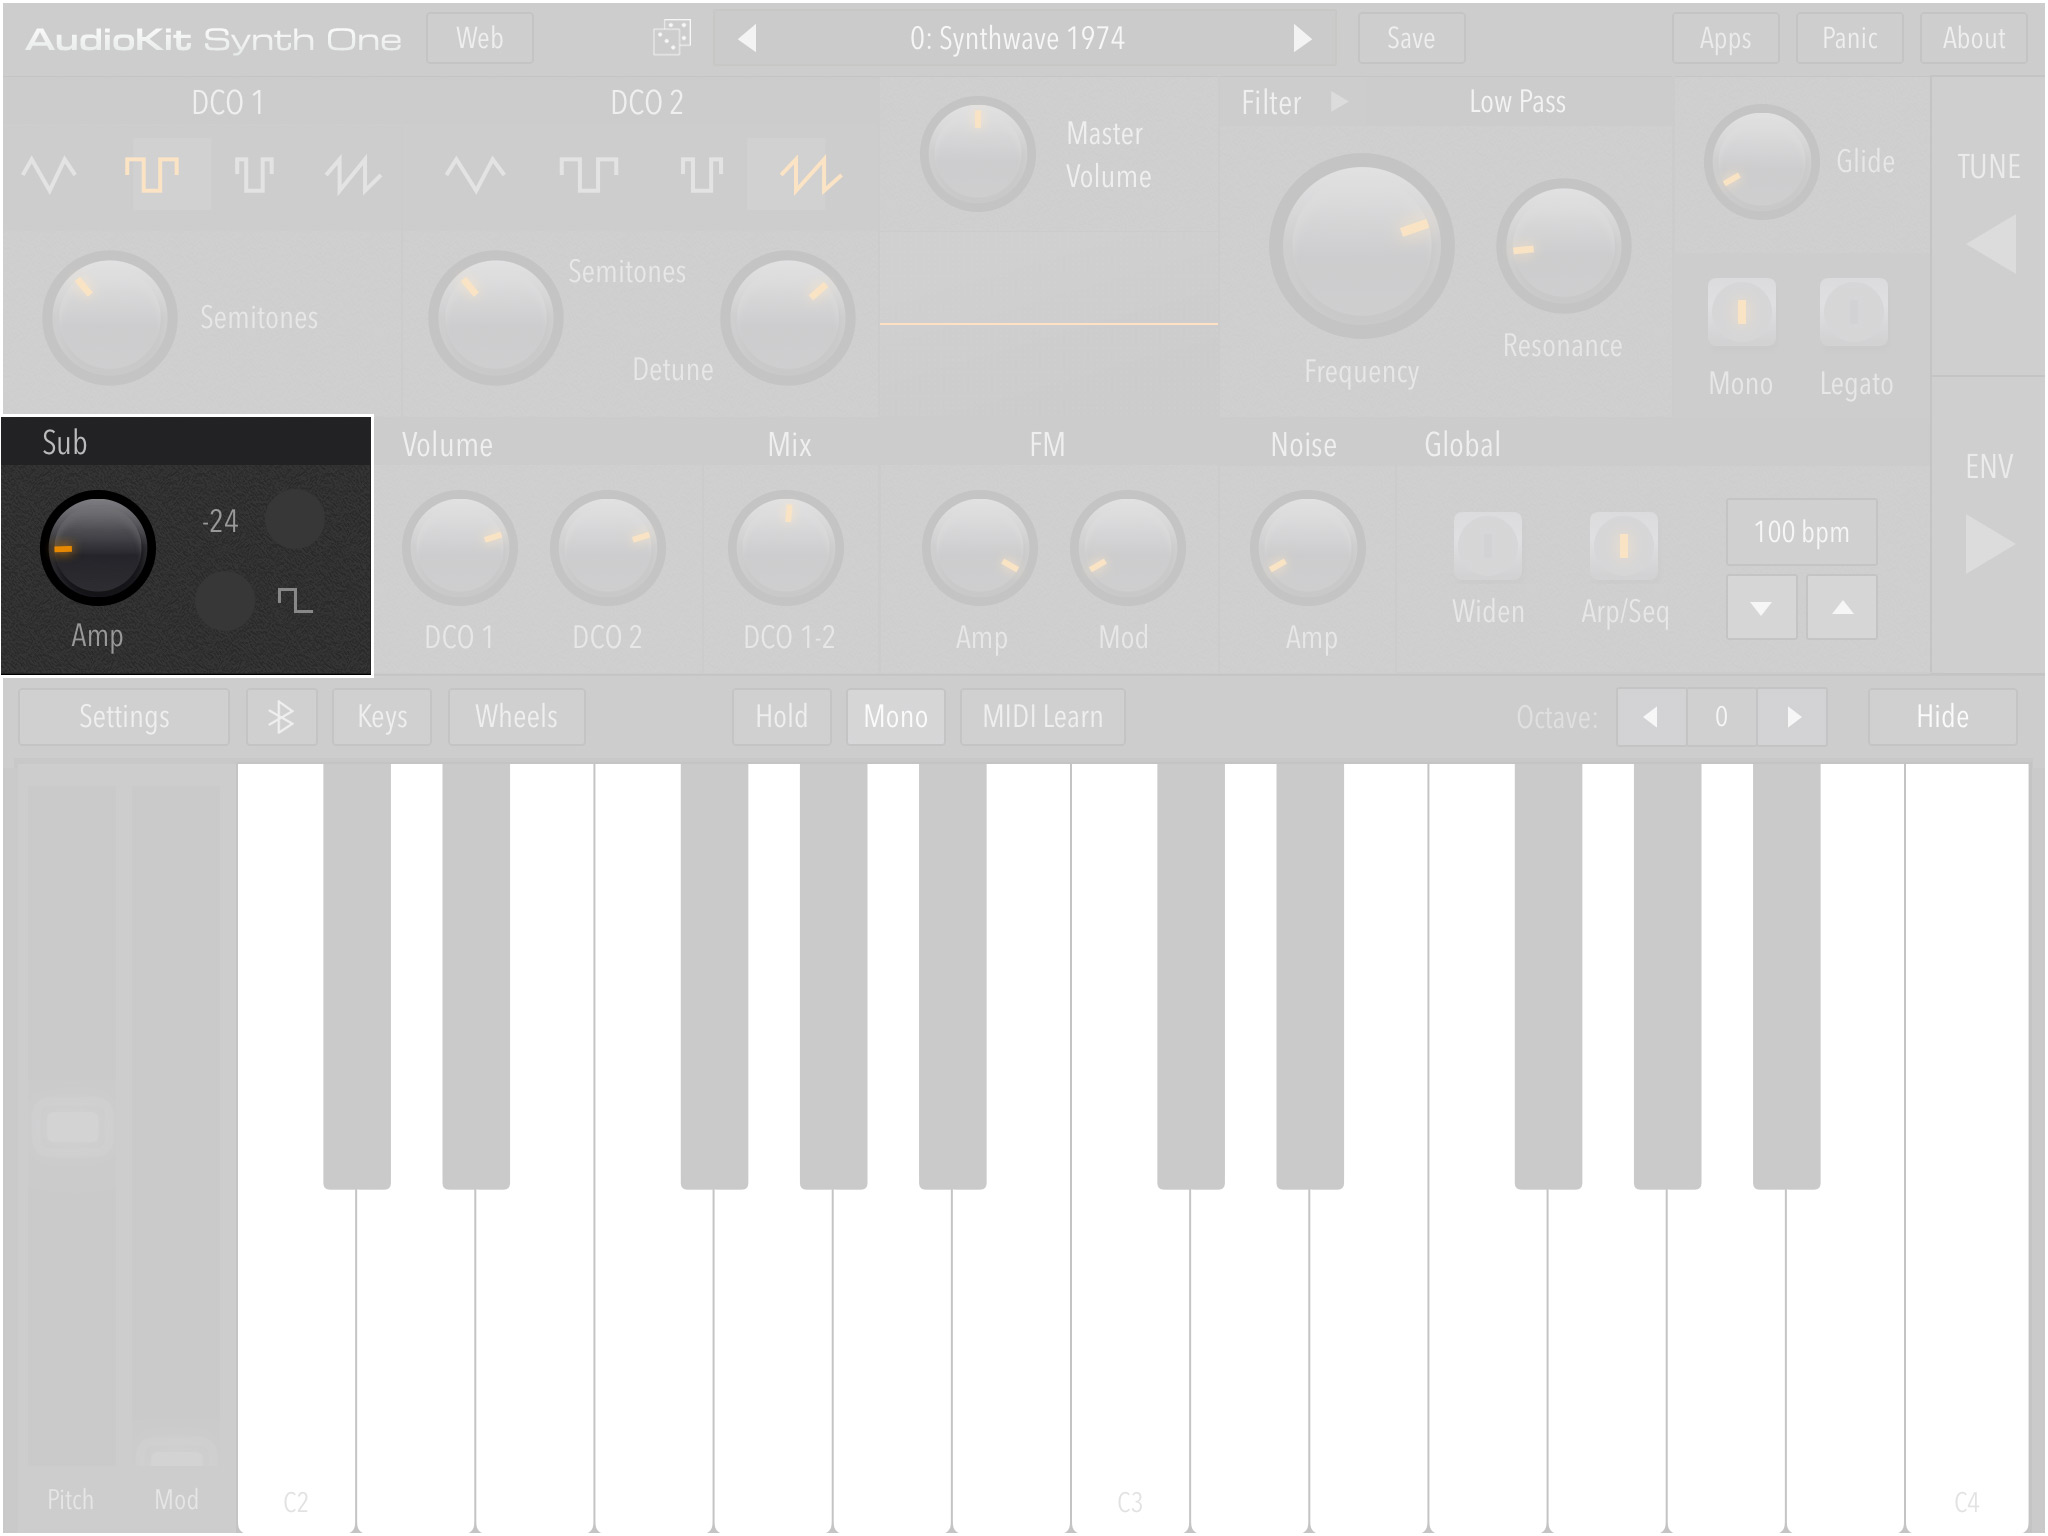
Main Panel: Sub Oscillator
- Amp control dial : This dial controls the amount of amplification of the sub oscillator
- -24 toggle switch: When on, this toggle lowers the sub frequencies from the default -12 semitones to -24 semitones (2 octaves).
- Square toggle switch: When activated, this toggles the default sine wave to a square wave, often introducing additional high frequency brightness to the tone.
(DCO) Volume (and Mix)
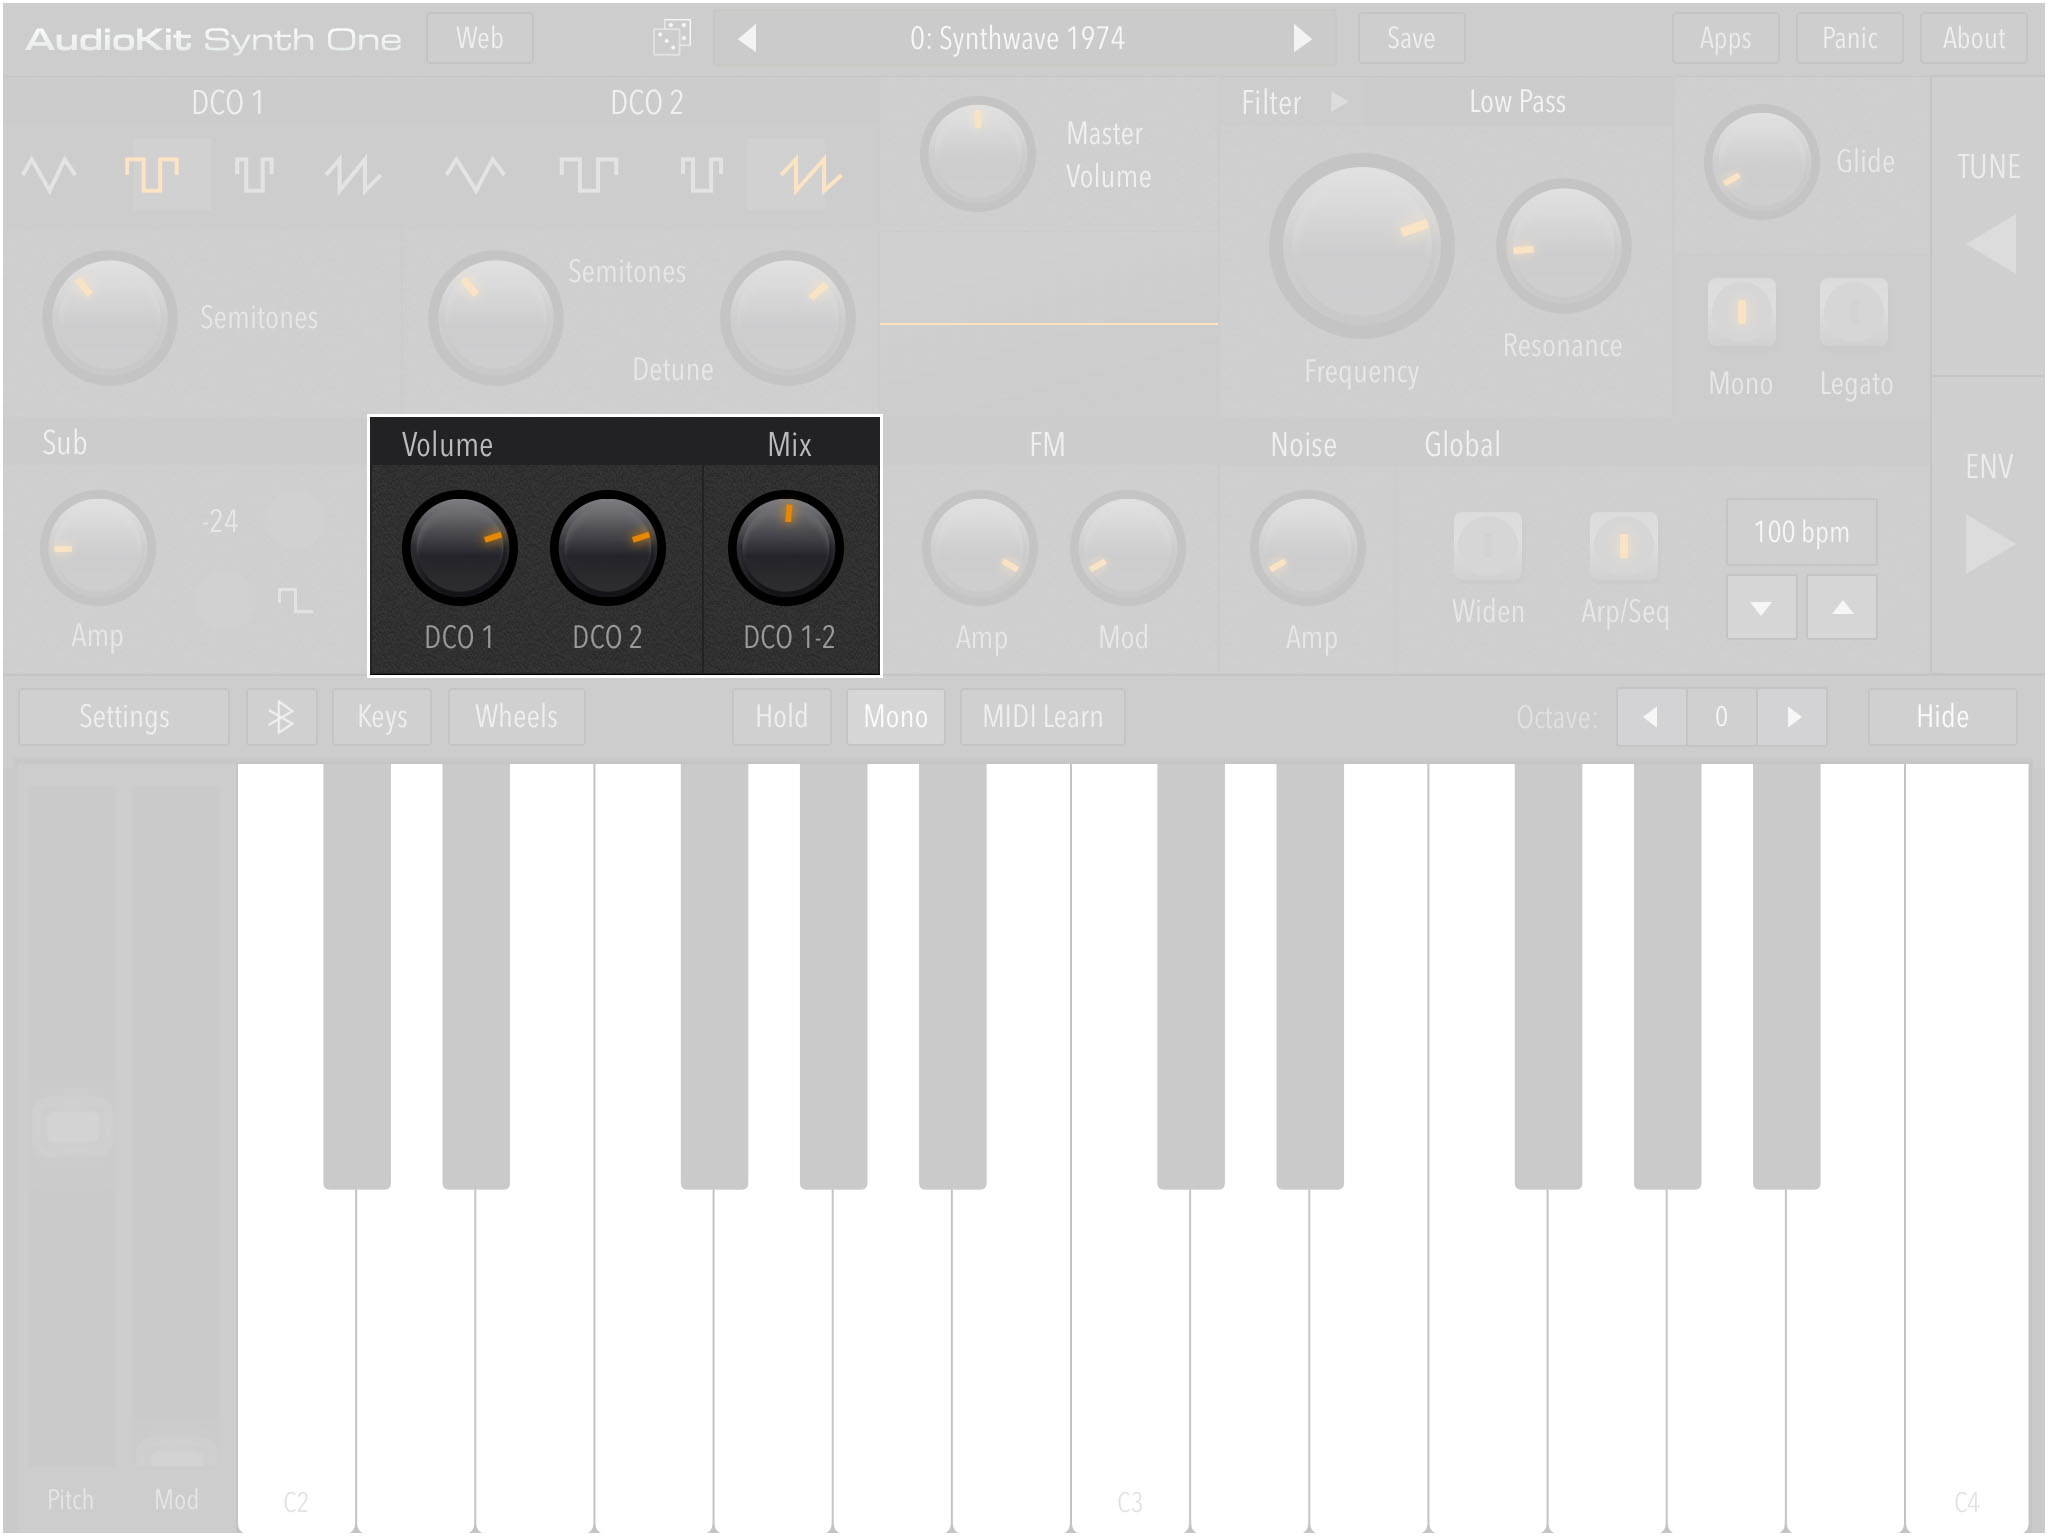 Main Panel: DCO Volume/Mix
- DCO1 control dial: Adjusts the overall volume of oscillator 1.
- DCO2 control dial: Adjusts the overall volume of oscillator 2.
Mix
- DCO 1-2 control dial: The mix ratio between Volume DCO1 and DCO 2 is controlled here.
FM (Oscillator)
This FM oscillator implements what is commonly known as a "classic FM oscillator pair," with one carrier oscillator and one modulator oscillator.
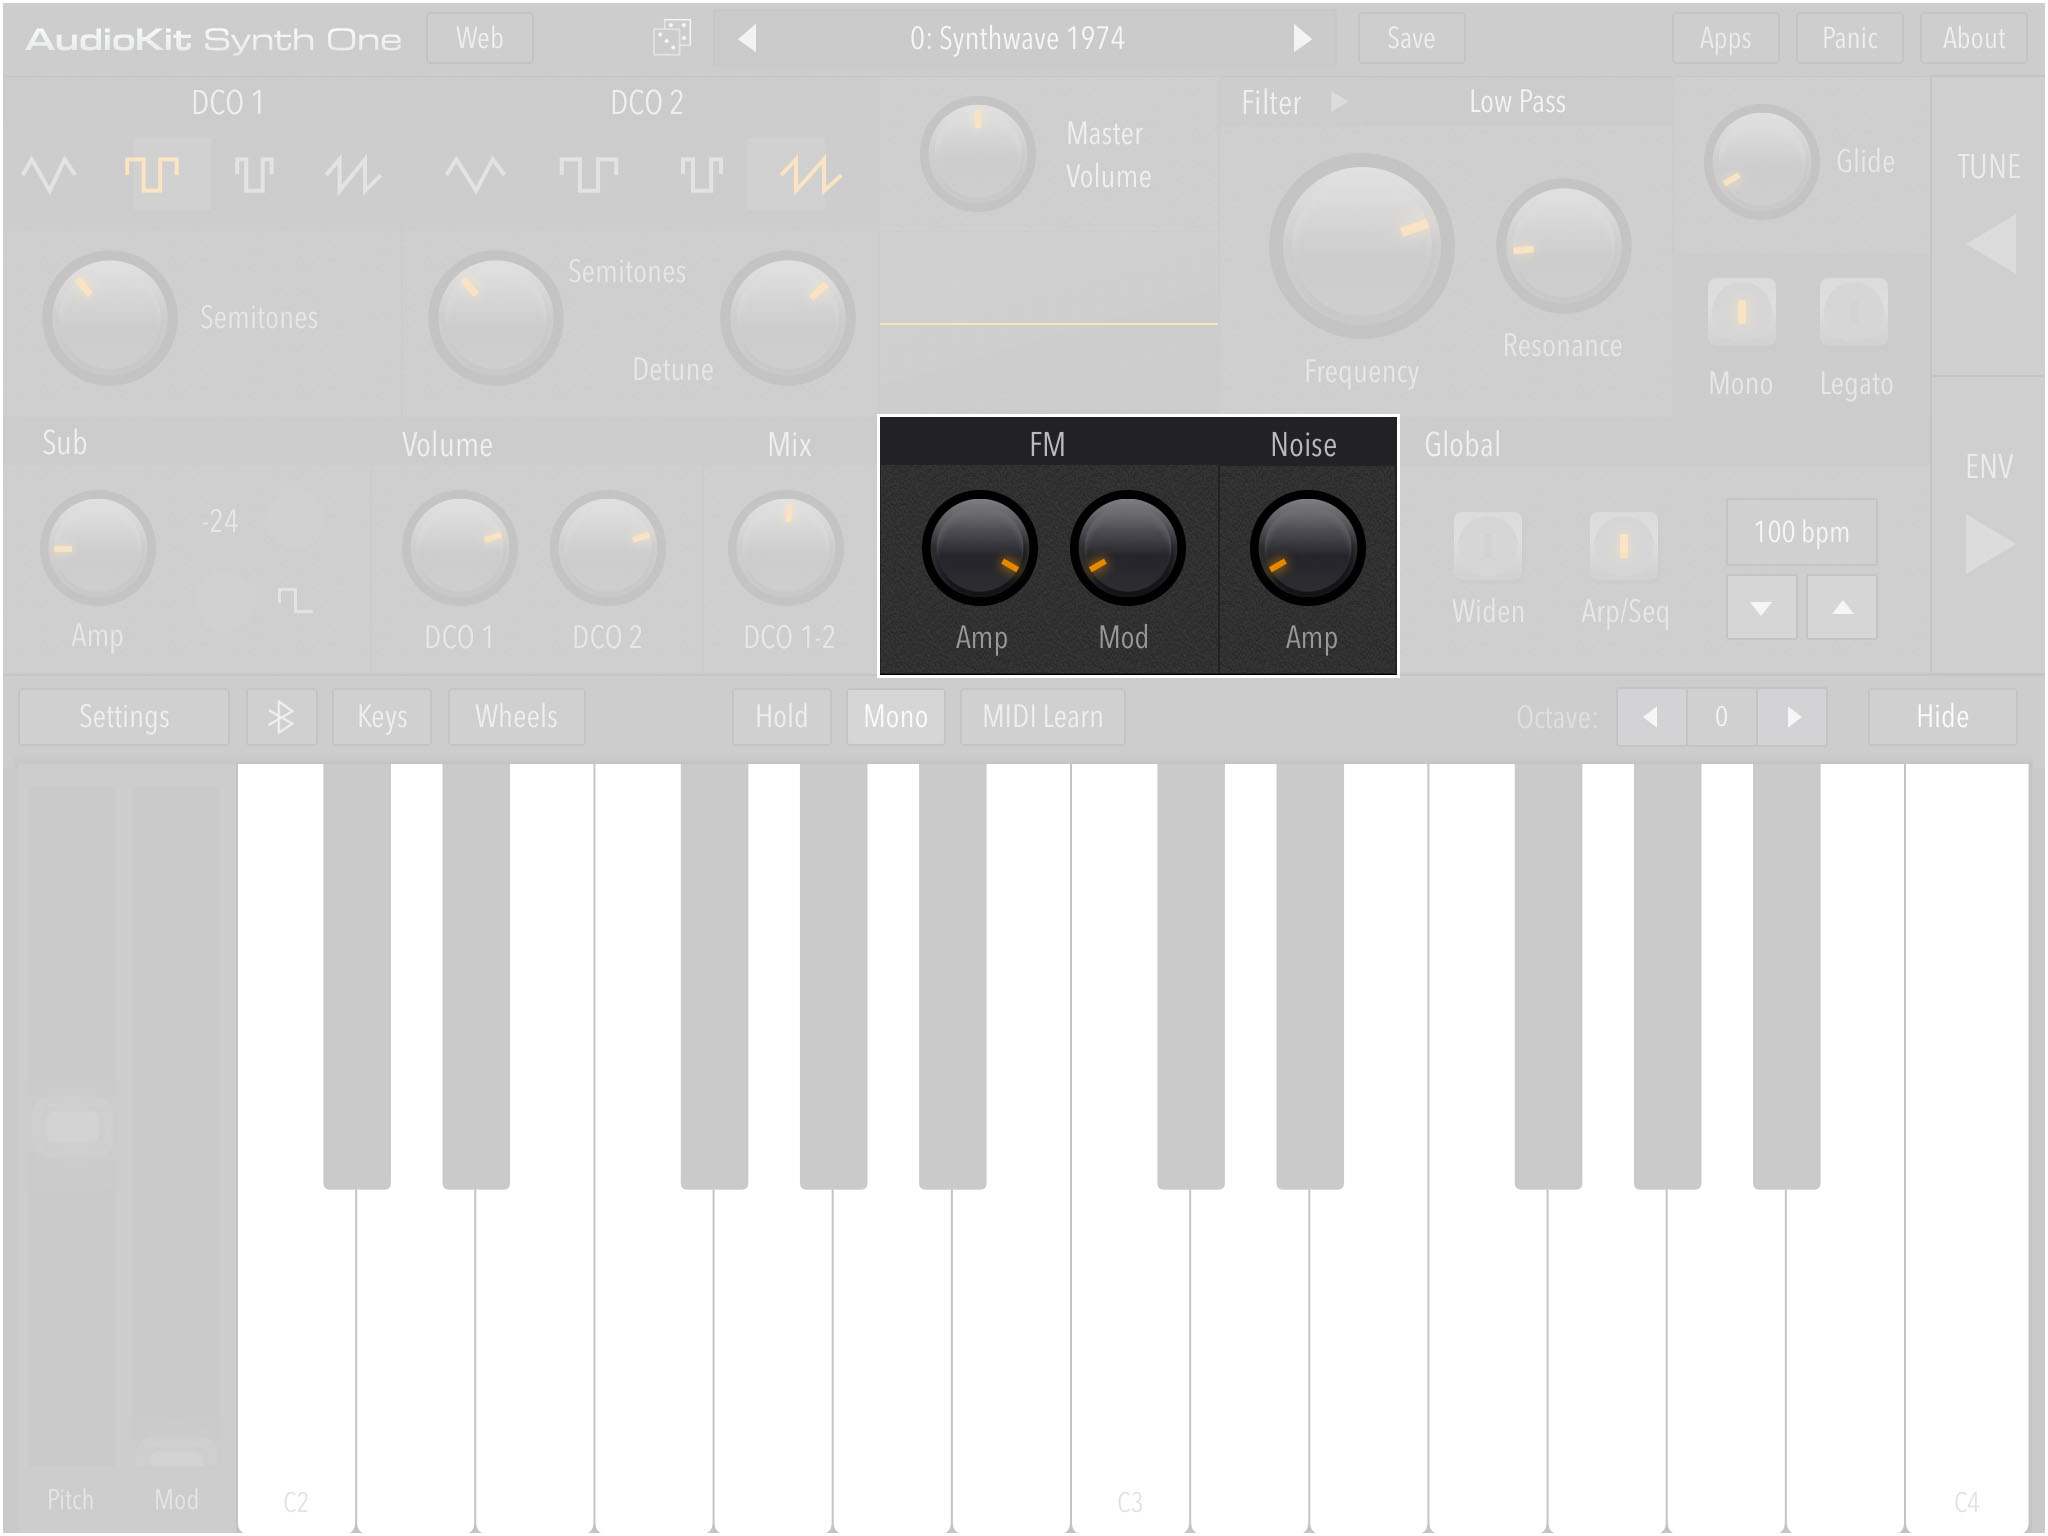
Main Panel: FM Oscillator
- Amp: control dial: Controls the overall level of the FM Oscillator.
- Mod: control dial: Modulation amount (also known as the modulation index). When Mod is 0, the output is just the carrier's sine wave. As the modulation index is turned up, higher-order harmonics are generated and emphasized, resulting in a richer, brighter waveform. From a sound designer point of view, Modulation index can often be seen as a sort of brightness control. This is an oversimplification, but it may be helpful to think of it that way.
Behind The Scenes:
ƒ ( t ) = a ( t ) sin (2 π ƒc t + i ( t ) sin ( 2 π ƒm t ) )

FM Modulation Index Equation (for the super nerds that appreciate elegant equations).
Noise
- Amp control dial: Increases/Decreases the amount of white noise added to the current Preset.
Global
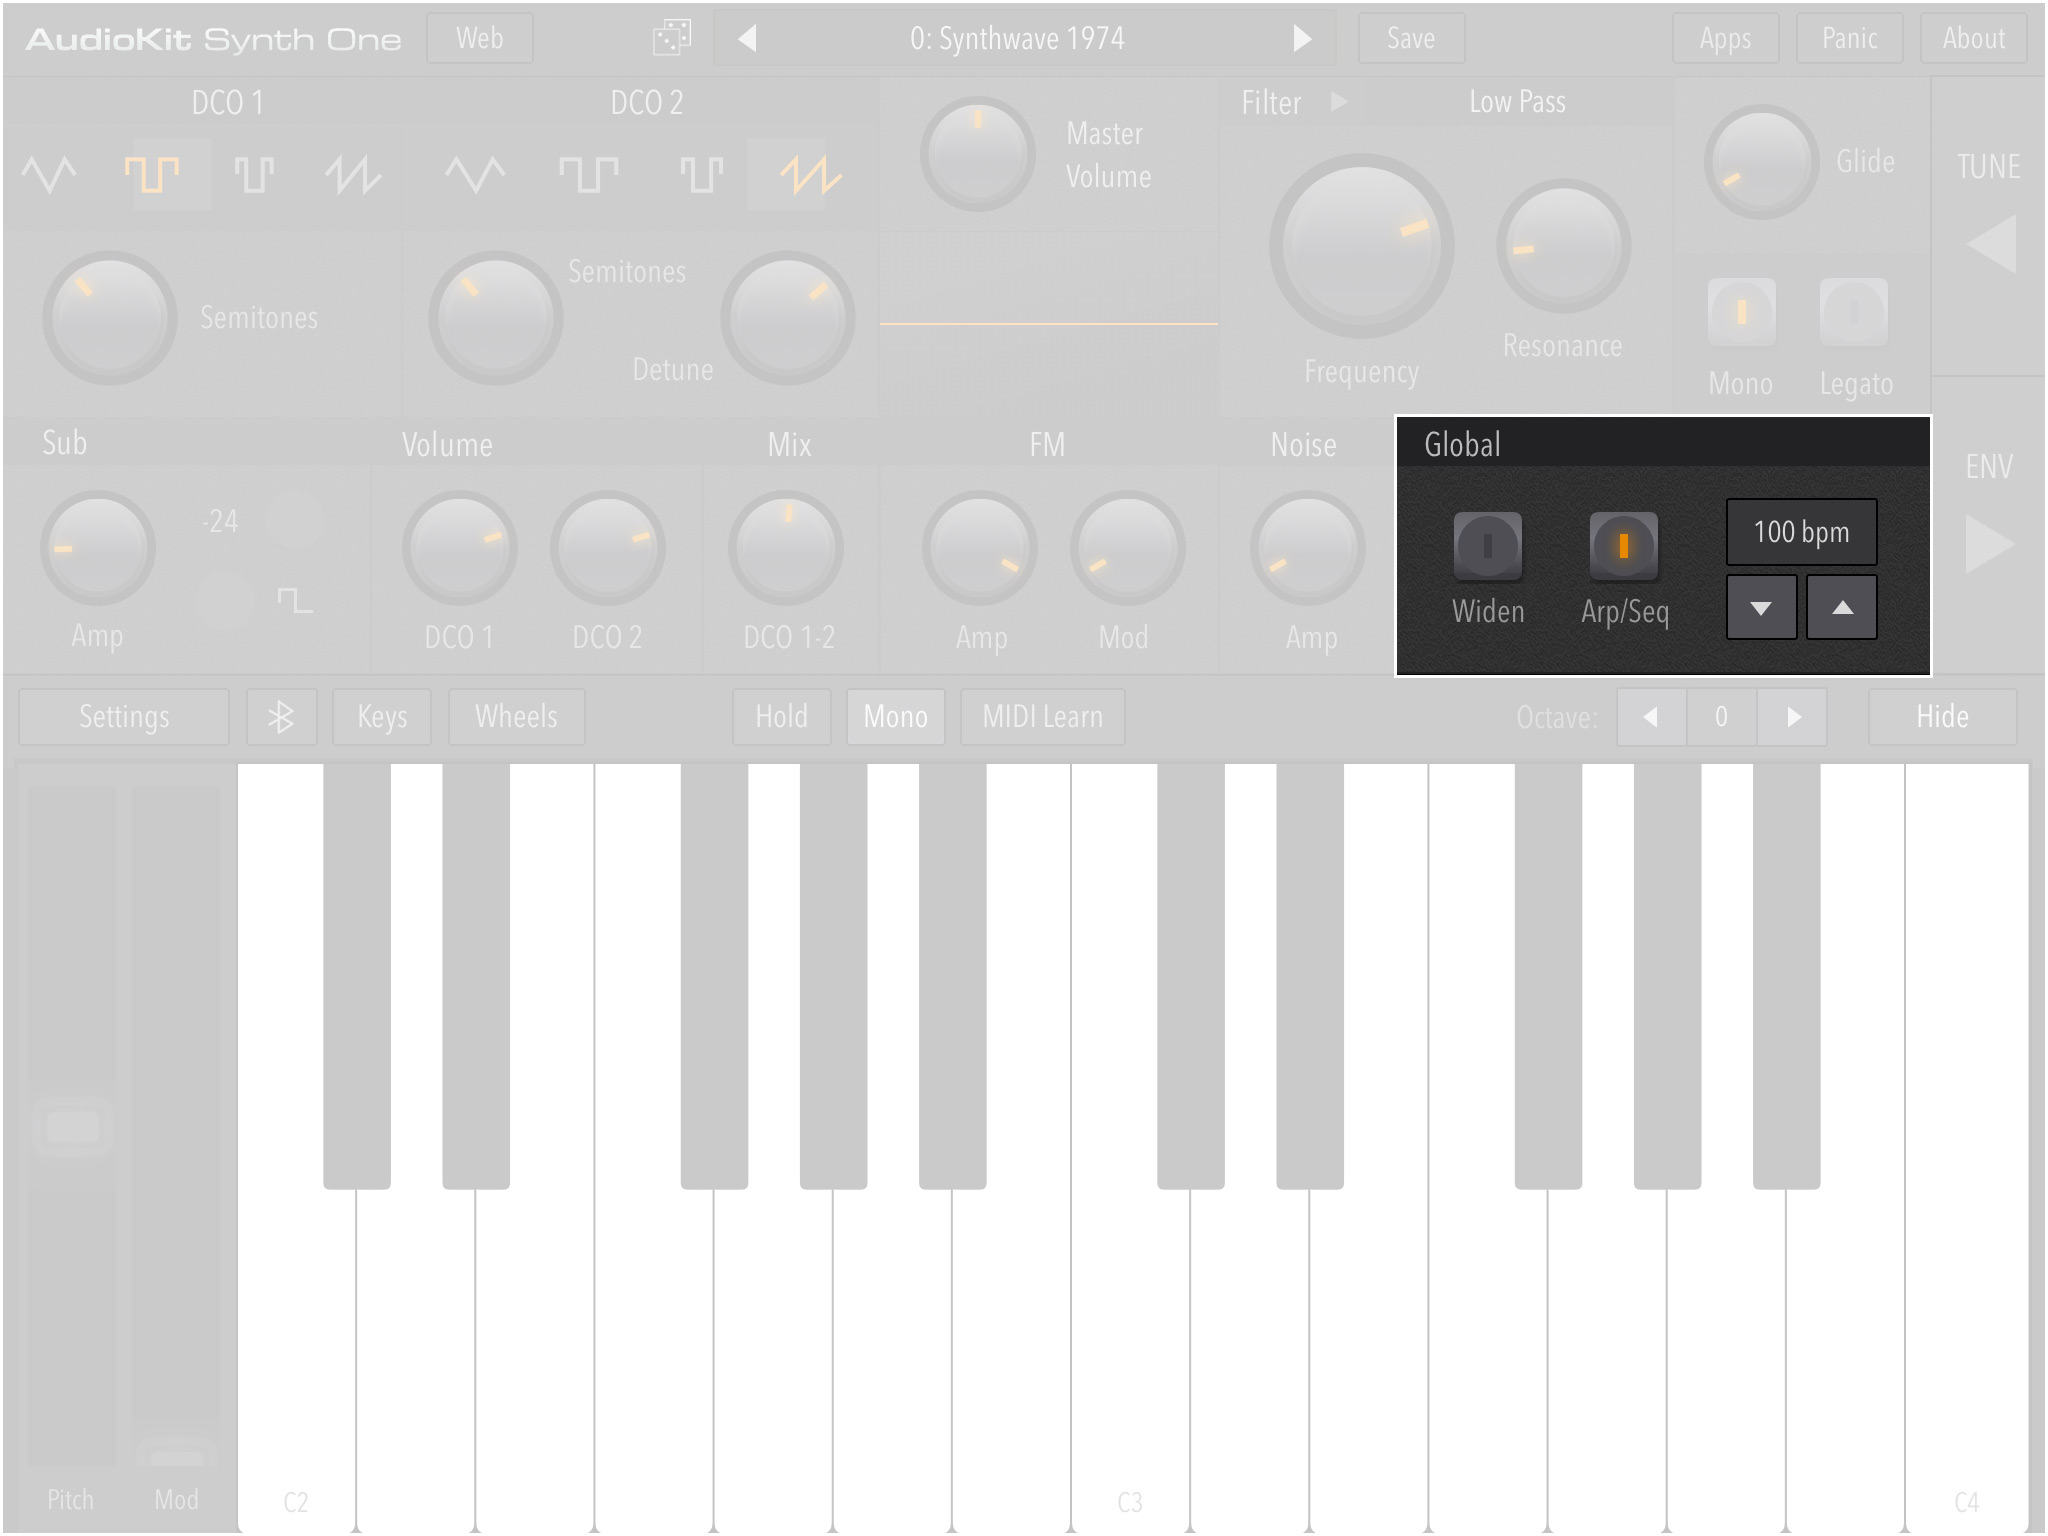
Main Panel: Global
- Widen toggle switch: Tap here for digital sorcery! Acoustically spreads the stereo effect of the current Preset.
- Arp/Seq toggle switch: This button activates the note sequencer/arpeggiator SEQ Panel.
-
BPM (Beats Per Minute): The tempo for the sequence/arpeggiator. Press and slide up and down to increase/decrease BPM or use the control arrows below. (
⚠️ Feature Request: tap repeatedly to set tempo) - ▲ Up Arrow: Speeds the tempo of the sequencer/arpeggiator up.
- ▼ Down Arrow: Slows the tempo of the sequencer/arpeggiator down.
…
…
…
…
…
@aure @analogcode /// Question: Are the performance pads assignable to other settings ala volume, fx, etc? ///
While the PAD view, there are two onscreen pads which allow you make live performance adjustments to the current sound. These pads are also a quick way to alter your sound on the fly to see which settings sound best to your ear. As you adjust the location of the pad target (the small orange rounded square in each pad) will follow your finger, you can see the adjustment values in the header, and hear the sound changing if you are holding any notes down. You will know the PAD is working as a "hyperspace simulator" animation plays onscreen as you adjust the sound.
LFO1 (Left PAD)
This PAD adjusts the LFO1 RATE and AMPLITUDE of a preset.
- Horizontal movement (left-right, or X-coordinate) controls the LFO1 RATE from a very slow 8 bar cycle (left) to a very fast 1/64 note triplet cycle (right).
- Vertical movement (up-down, or Y-coordinate) controls the LFO1 AMPLITUDE from 0% (bottom) to 100% (top), controlling the mix level of the modulation.
FILTER (Right PAD)
This PAD adjusts the FILTER RESONANCE and CUTOFF of of a preset.
This hidden Dev/Easter Egg panel was discovered in a matter of days after initial release, and though it's got a bunch of knobs to fiddle with we recommend using it with caution since it's main purpose was to tweak settings and balance sound levels out for our presets. In some ways this panel could be called the Advanced Settings panel, though it feels more like an Easter Egg. Many settings in this panel are saved with the other Preset panel settings, so once you commit to a change, it will stick. Some settings are Global Overrides and change every Preset globally, so be careful using those especially.
Compressors:
- Reverb Input Compressor
- Compressor on 100% wet reverb output before mixing
- Master Compressor (default settings are more like a limiter).
We've carefully set the defaults to minimize distortion and provide a baseline loudness… note that all the sound designers who created the bundled presets used these default settings. Users can change these but it can be a rabbit hole.
DelFCut:
We have a low-pass Butterworth filter on the delay input that tracks the oscillator filter cutoff. It defaults to 0.75. If your oscillator cutoff is 10,000HZ the delay input cutoff will be 7,500HZ. This way the input to the delay will always have a lower cutoff frequency than the oscillator's cutoff frequency. It gives a beautiful separation between the oscillators and delay.
DelFRes:
Doesn't have an effect because we currently have the resonance of the delay input filter set to 0. This setting is reserved for future potential (ab)use.
PreGain:
The input gain for the Master Compressor.
DSPParamHalftime:
Almost all DSP parameters are "smoothed" to reduce artifacts when switching presets, or zippering when consuming UI events. You can make this a fast or sloooooow smooth with this parameter.
Settings (Not saved with Presets):
These are a few variables that we wanted to set apart from the Preset saves in order to control a few Global Parameters and not have to fiddle around while scrubbing through Presets. Can be useful when you're trying to find a certain sound that you need to have Arp/Warble at a particular tempo, or with a specific Reverb/Delay combo. Flip these switches back off when you want the Preset to override these Settings.
LockArpRate:
OFF by default. When enabled: loading a Preset will ignore the Preset's tempo. This is great for when you want to jam at a constant tempo and blaze through Presets. When we add tempo sync (i.e., Ableton Link) we might have to change how this works.
LockReverb:
OFF by default. When enabled: Loading a Preset will ignore the Preset's Reverb settings. We like to use this when we want to record a dry signal across multiple Presets. Useful for adding effects in your DAW, post-recording.
LockDelay:
OFF by default. When enabled: Loading a Preset will ignore the Preset's Delay settings. Again, useful for applying delay in you DAW, after you've recorded Synth One.
- Getting Started
- Sharing is Caring
- Synthesizer Basics
- MIDI
- USB
- Bluetooth
- Accessibility
Working with Other Apps: