-
创建
sel4test目录,用repo命令获取官方仓库:mkdir sel4test && cd sel4test #the directory mentioned below repo init -u https://github.com/seL4/sel4test-manifest.git repo sync -
在另一个目录,拉取我们的脚本仓库。把脚本软链接到sel4test仓库下:
git clone -b liuqingtao [email protected]:tyyteam/seL4-oscompProblemSolutions.git ln -s ${directory_of_seL4-oscompProblemSolutions}/scripts/sel4test/* ${directory_of_sel4test}/ -
在
sel4test目录下,将原有仓库替换为龙芯仓库:./init_loongarch-seL4-test_dev.sh ssh # you can pull all the github repos of loongarch version using ./pull_loongarch_seL4-test_dev.sh ssh
-
拉取
la-seL4-CAmkES-L4v-dockerfilesr仓库:git clone https://github.com/tyyteam/la-seL4-CAmkES-L4v-dockerfiles.git -
加入bash alias,需要替换
${directory_of_la-seL4-CAmkES-L4v-dockerfiles}目录为绝对目录。echo $'alias la-container=\'make -C ${directory_of_la-seL4-CAmkES-L4v-dockerfiles}/la-seL4-CAmkES-L4v-dockerfiles user_sel4-loongarch HOST_DIR=$(pwd)\'' >> ~/.bashrc source ~/.bashrc -
在
sel4test目录下,运行如下命令。将当前目录映射到container。la-container -
在运行的docker镜像里,编译镜像。
mkdir build_3A5000 && cd build_3A5000
../init-build.sh -DPLATFORM=3A5000 -DLoongarch64=1 -DSIMULATION=1 && ninja

# For riscv(spike):
# mkdir build_spike && cd build_spike
# ../init-build.sh -DPLATFORM=spike -DRISCV64=1 -DSIMULATION=1 && ninja

# For arm(raspi3b):
# mkdir build_rpi && cd build_rpi
# ../init-build.sh -DPLATFORM=rpi3 -DBAMBOO=TRUE -DAARCH64=TRUE -DSIMULATION=1 && ninja

# Note: You can also copy the 'cmake_ninja.sh' script to directory of sel4test. The soft link of the script mentioned above could not be executed.
-
本地安装seL4官方推荐的依赖包:Dependencies(seL4 docs),安装龙芯交叉编译工具:张老师提供的资料。
-
在
sel4test目录下,创建build_3A5000文件夹,编译龙芯版本的可执行镜像。mkdir build_3A5000 # you can create build_spike for seL4-riscv or build_rpi for seL4_rpi ./cmake_ninja.sh -l # the elf iamge is /build_3A5000/images/sel4test-driver-image-loongarch-3A5000 # For riscv: # mkdir build_spike && ./cmake_ninja.sh -r # For arm(raspi3b): # mkdir build_rpi && ./cmake_ninja.sh -a
-
克隆qemu-loongarch-runenv。
# chose one git repo below. foxsen`s one is the original one. We made some change to the scripts and linux images. # 1. foxsen`s git repo: # git clone [email protected]:foxsen/qemu-loongarch-runenv.git # 2. Gootal`s git repo: # git clone [email protected]:GooTal/qemu-loongarch-runenv.git -
将编译出的镜像软链接到qemu-loongarch-runenv目录下。需要替换
${directory_of_sel4test}和${directory_of_qemu-loongarch-runenv}为绝对目录。ln -s ${directory_of_sel4test}/build_3A5000/images/sel4test-driver-image-loongarch-3A5000 ${directory_of_qemu-loongarch-runenv}/ -
在
sel4test目录下,运行:./run_debug.sh -l
-
运行效果见视频。😊😊
参考项目仓库拉取方法,拉取本项目必要的仓库。
对于真实机器,我们修改了这些仓库,增加了realhd分支:
la-seL4、 la-seL4_tools
具体地,你需要进入这些仓库目录,并将其切换到realhd分支。
# 在项目仓库sel4test文件夹下
cd kernel && git checkout readhd
cd tools/seL4 && git checkout readhd
然后,按照上述方法编译出elf格式微内核。
对于UEFI bios的机器,可以将elf微内核放在/boot/下,机器启动后进入grub输入如下命令。连接串口线可以看到打印信息。
linux (hd0,gpt2)/sel4test_image
boot
对于pmon bios的机器,//TODO
按照张老师的运行环境文档,安装必要的工具:qemu-6.2.0(qemu-7.0.0 调试riscv存在问题),交叉编译工具链等。
上述工具和运行示例都在qemu-loongarch-runenv目录下。
-
将sel4test-driver-image-loongarch-3A5000复制到qemu-loongarch-runenv目录下。
-
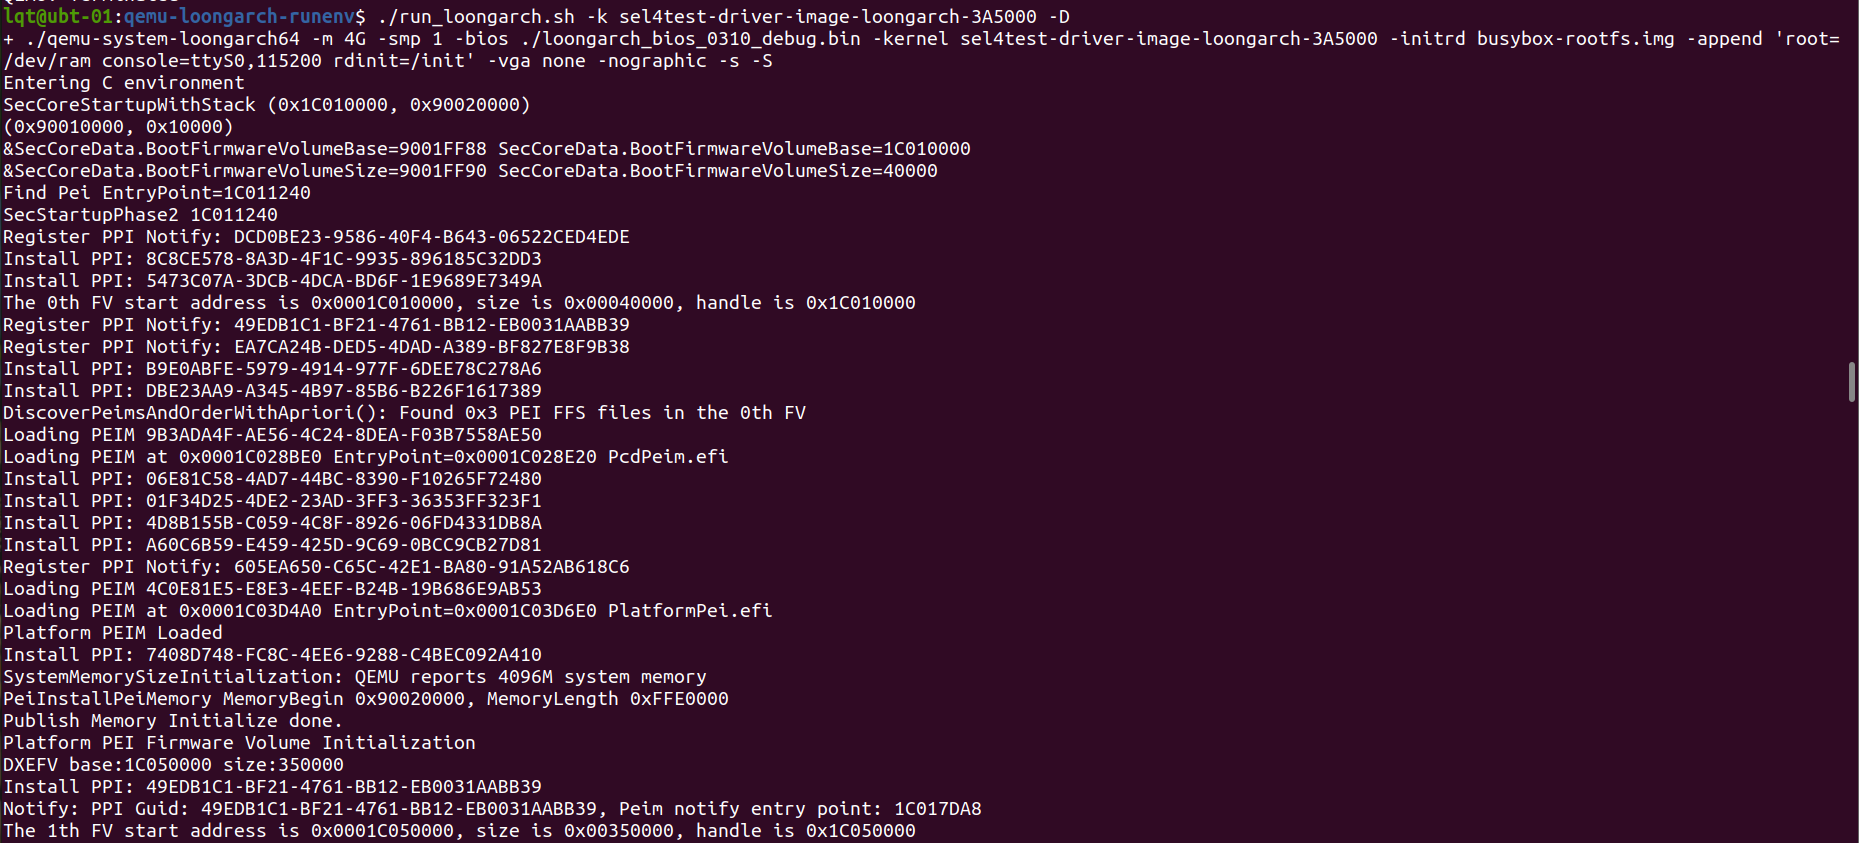
qemu debug插桩模式运行sel4test-driver-image-loongarch-3A5000:
./run_loongarch.sh -k sel4test-driver-image-loongarch-3A5000 -D
-
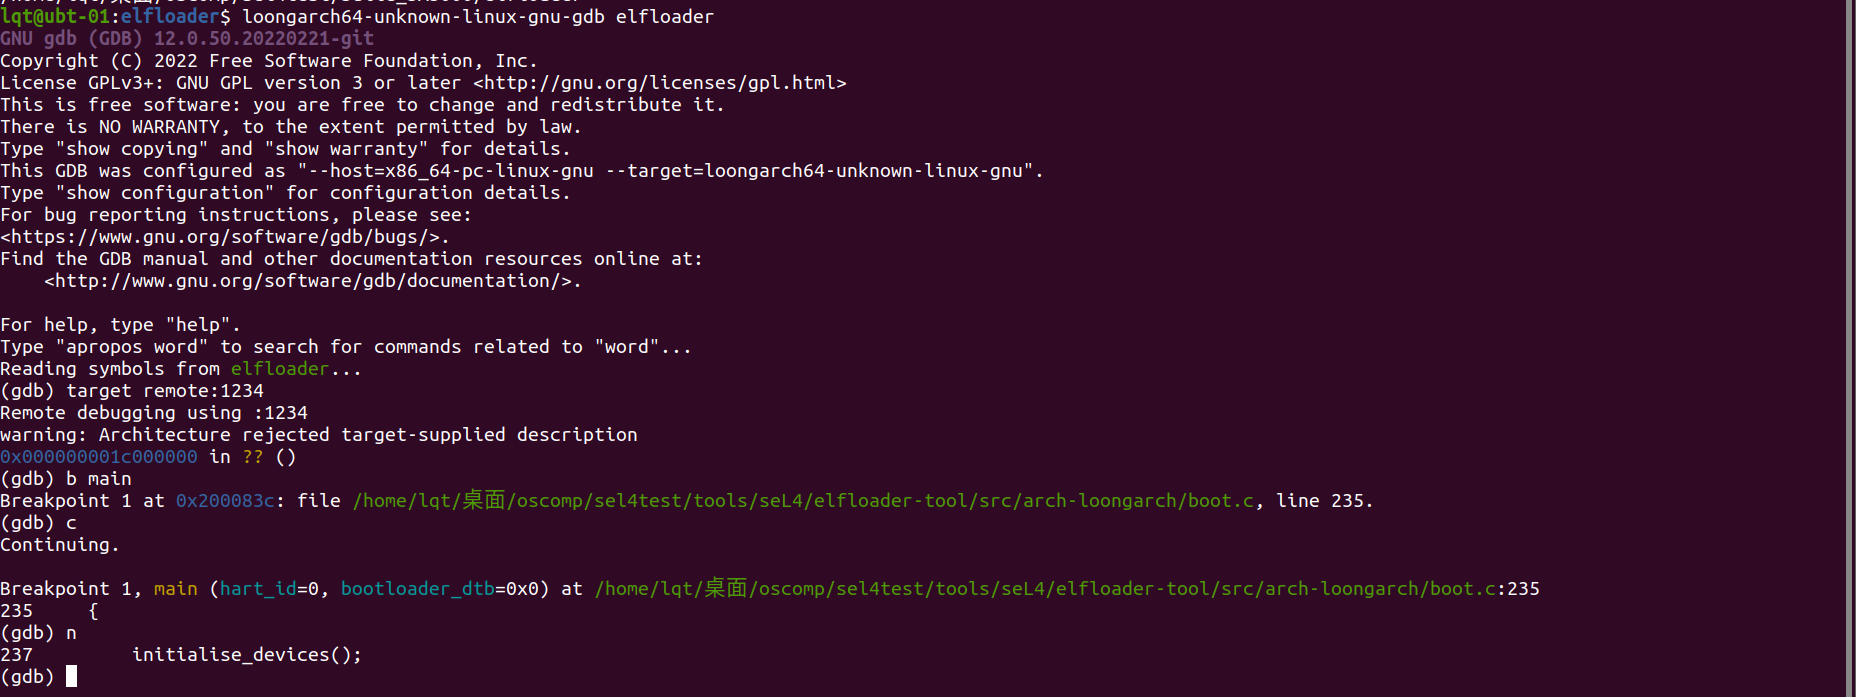
在build_3A5000/elfloader目录下,新建终端,用龙芯gdb调试elfloader:
loongarch64-unknown-linux-gnu-gdb elfloader
target remote:1234
b main
-
在tools/seL4/elfloader-tool/src/arch-loongarch/boot.c的main()函数插桩,运行情况如下图所示。
-
将sel4test-driver-image-loongarch-3A5000复制到qemu-loongarch-runenv目录下。
-
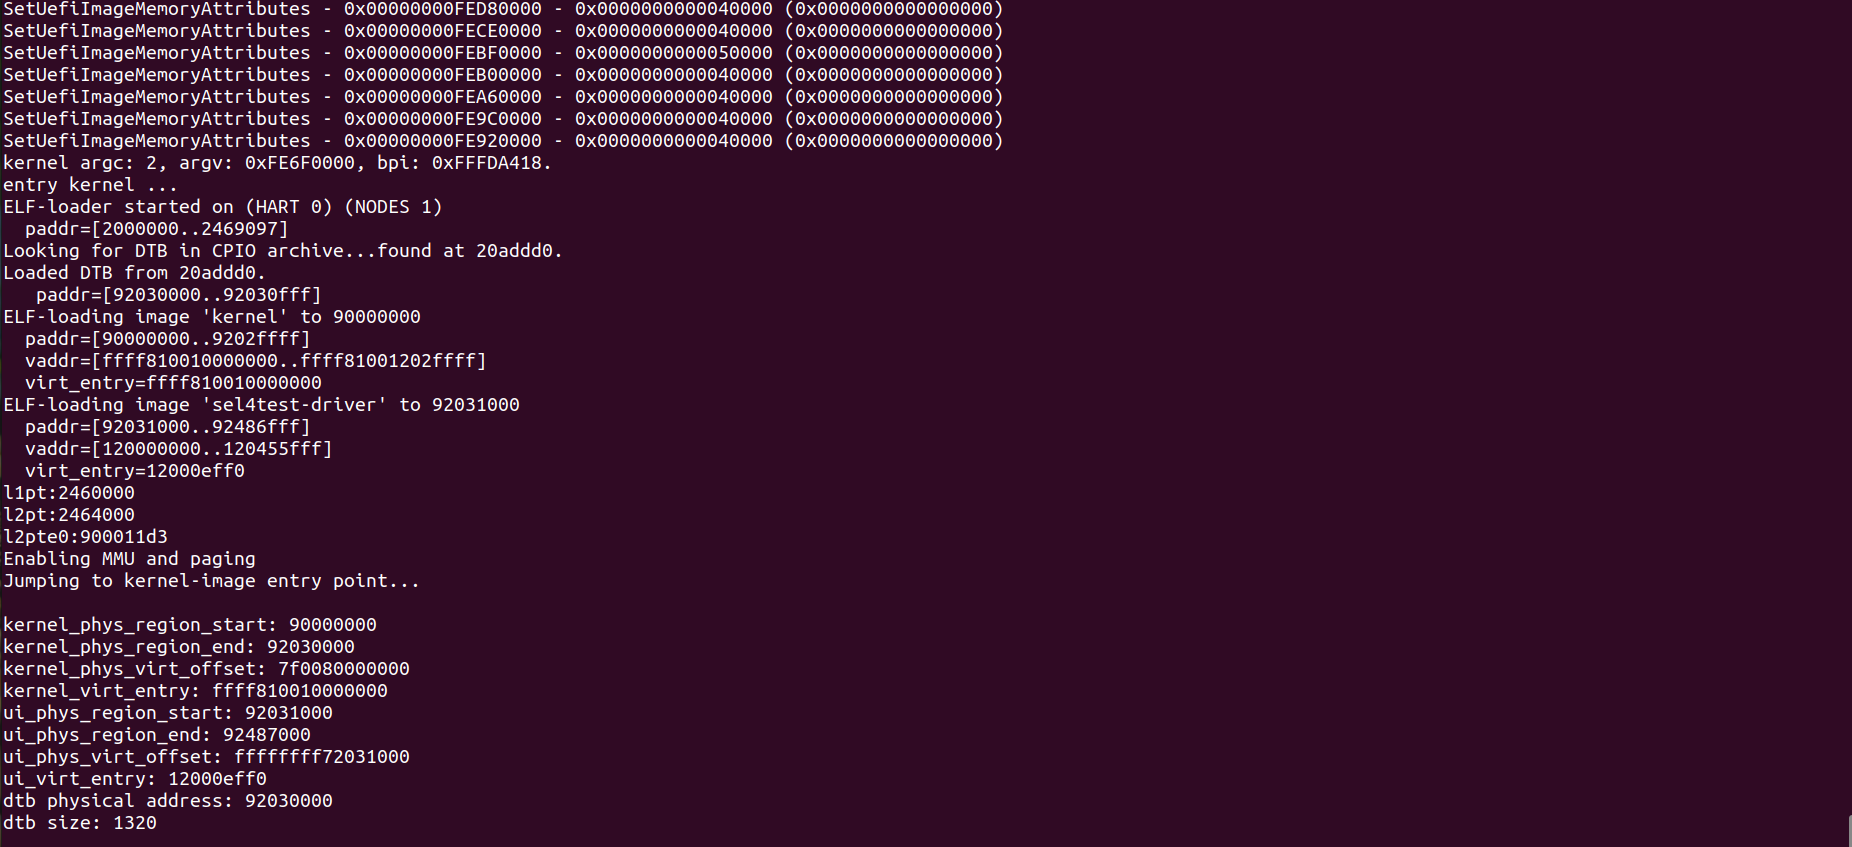
qemu debug插桩模式运行sel4test-driver-image-loongarch-3A5000:
./run_loongarch.sh -k sel4test-driver-image-loongarch-3A5000 -D
-
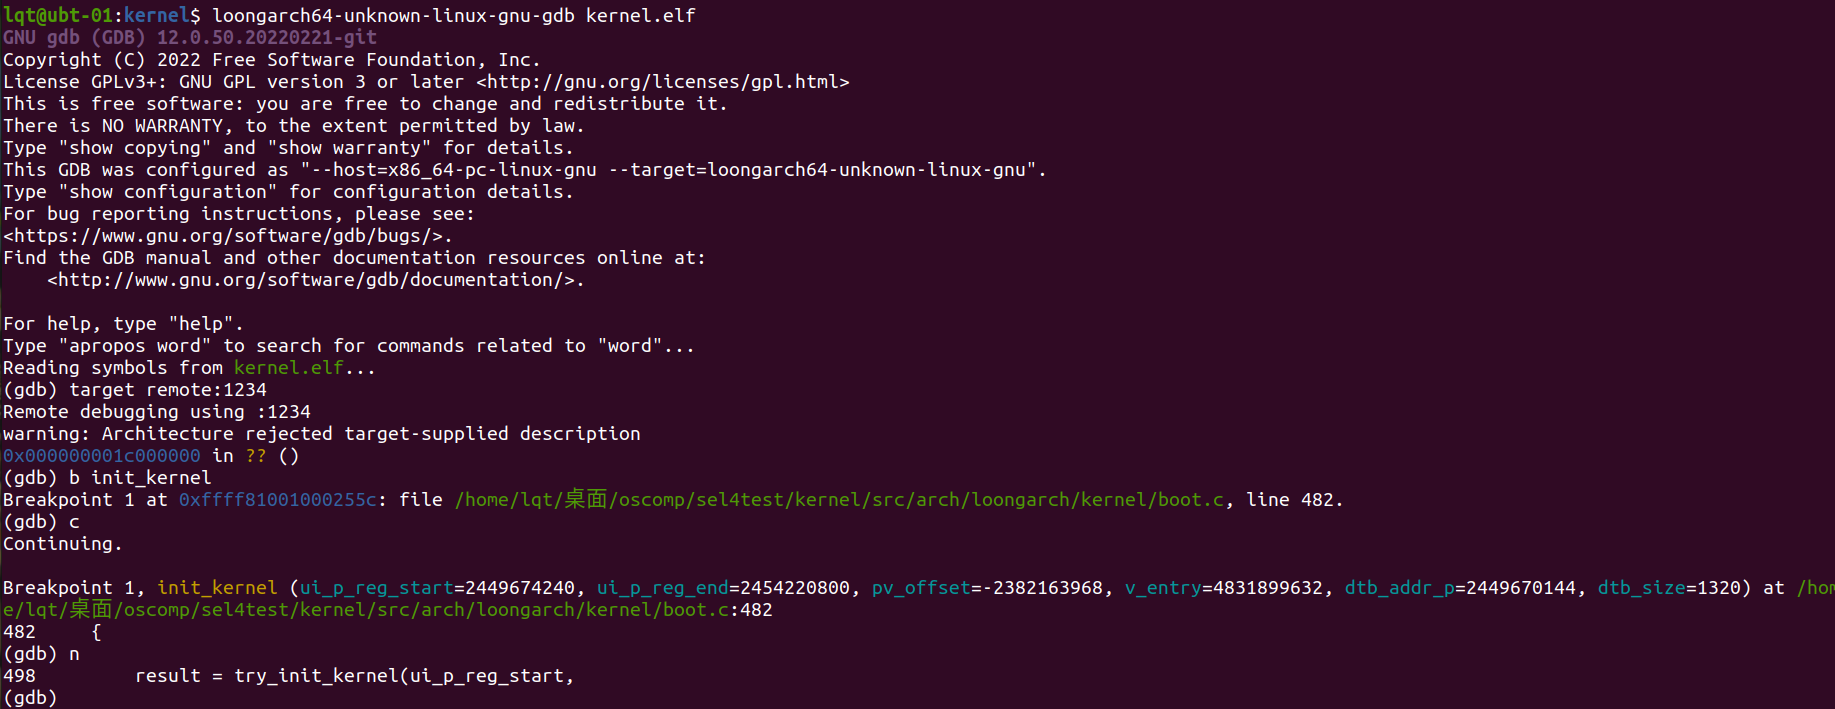
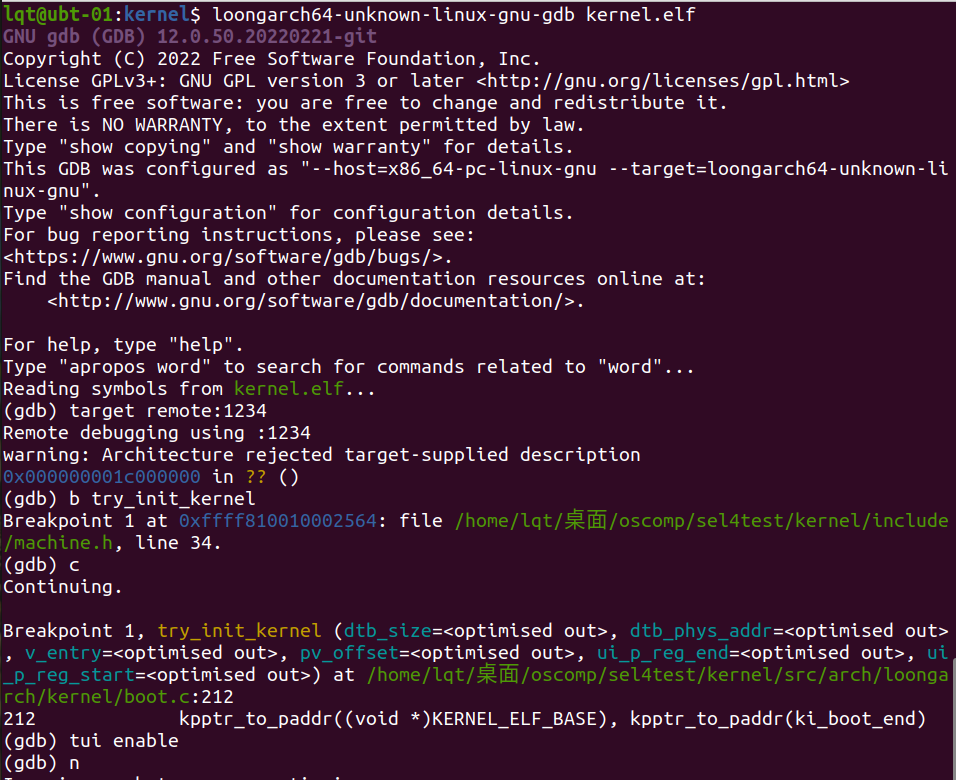
在build_3A5000/kernel目录下,新建终端,用龙芯gdb调试kernel.elf
loongarch64-unknown-linux-gnu-gdb kernel.elf
target remote:1234
b init_kernel
-
在kernel/src/arch/loongarch/kernel/boot.c的init_kernel()函数插桩,运行情况如下图所示。
此节内容帮助你调试qemu模拟的龙芯机器,方便查看机器运行情况,加深代码理解。
根据张老师提供的qemu编译方法,进入此处拉取loongarch分支,编译出debug版本的qemu-system-loongarch64可执行程序。
需要开启3个终端。
- 终端1:运行sel4test-driver-image-loongarch-3A5000
-
qemu debug插桩模式运行sel4test-driver-image-loongarch-3A5000
./run_loongarch.sh -k sel4test-driver-image-loongarch-3A5000 -D
- 终端2:调试build_3A5000/kernel目录下的kernel.elf
-
在build_3A5000/kernel目录下,用龙芯gdb调试kernel.elf
loongarch64-unknown-linux-gnu-gdb kernel.elf
target remote:1234
b try_init_kernel
- 终端3:调试qemu-system-loongarch64
-
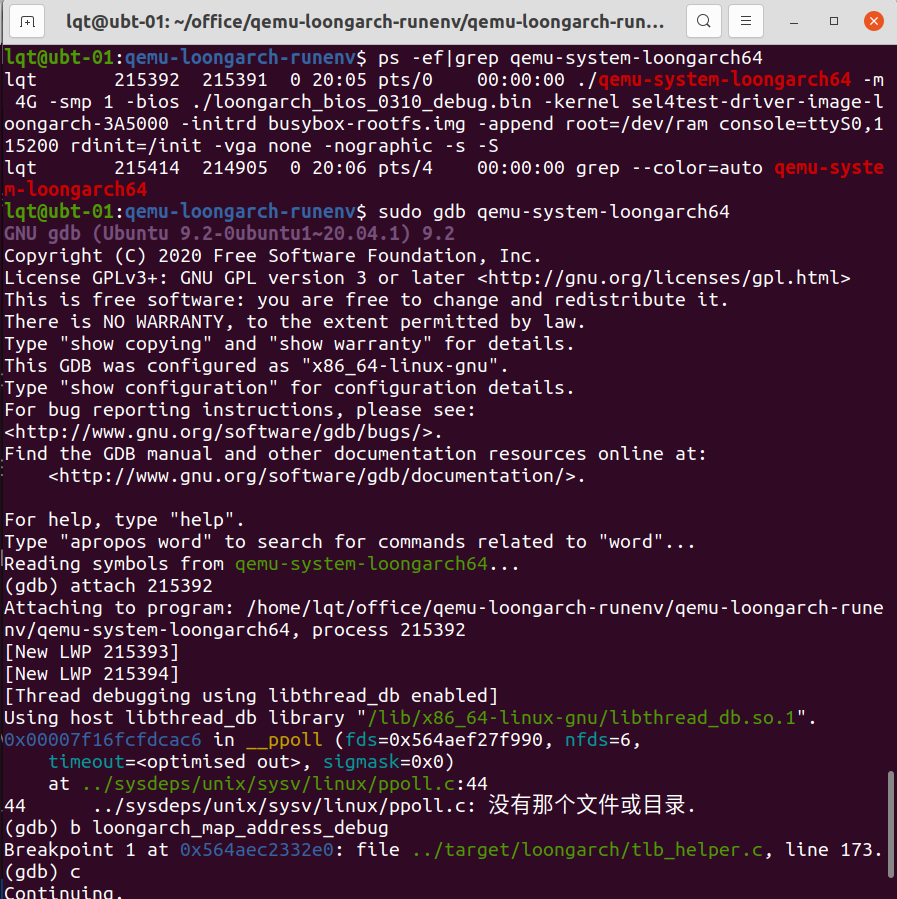
查看qemu-system-loongarch64的进程号
ps -ef|grep qemu-system-loongarch64 -
在qemu-loongarch-runenv目录下,用gdb调试qemu-system-loongarch64
sudo gdb qemu-system-loongarch64
attach <进程号>
b loongarch_map_address_debug
c
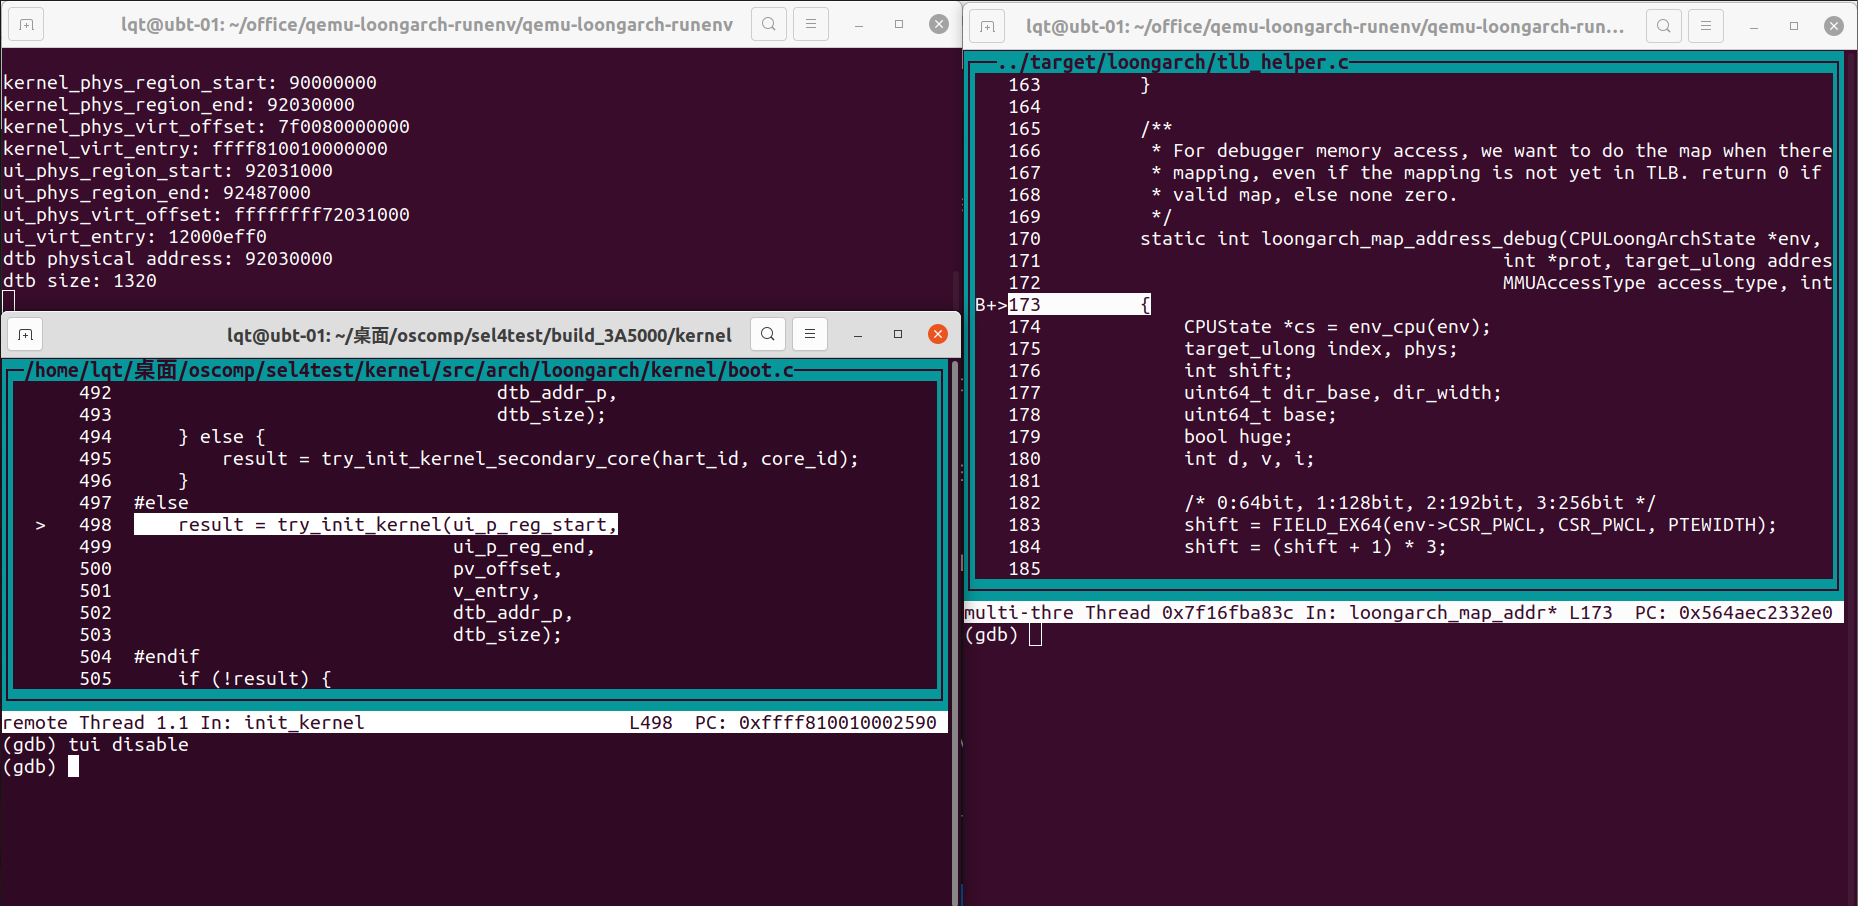
- 在终端2中输入c继续调试,程序将运行至qemu-system-loongarch64的loongarch_map_address_debug断点处。如下图所示。
